Loading ...
Loading ...
Loading ...
GENERAL RECOMMENDATIONS
The warranty on this unit does not
cover items that have been subjected
to operator abuse or negligence, To
receive full value from the warranty,
the operator must maintain unit as
instructed in this manual, Various ad-
justments will need to be made peri-
odically to properly maintain your unit.
CHECK FOR LOOSE
FASTENERS AND PARTS
• Spark Plug Boot
• Air Filter
• Housing Screws
• Assist Handle Screw
• Debris Shield
CHECK FOR DAMAGED OR
WORN PARTS
Contact Sears Service Center for re-
placement of damaged or worn parts.
• ON/STOP Switch - Ensure ON/STOP
switch functions properly by pushing
and releasing the switch. Make sure
engine stops, Wait 5 seconds be-
fore attempting to restart unit to al-
low switch to reset. Restart engine
and continue.
• Fuel Tank - Discontinue use of unit
if fuel tank shows signs of damage
or leaks.
• Debris Shield - Discontinue use of
unit if debris shield is damaged.
INSPECT AND CLEAN UNIT AND
LABELS
• After each use, inspect complete
unit for loose or damaged parts.
Clean the unit and labels using a
damp cloth with a mild detergent.
• Wipe off unit with a clean dry cloth.
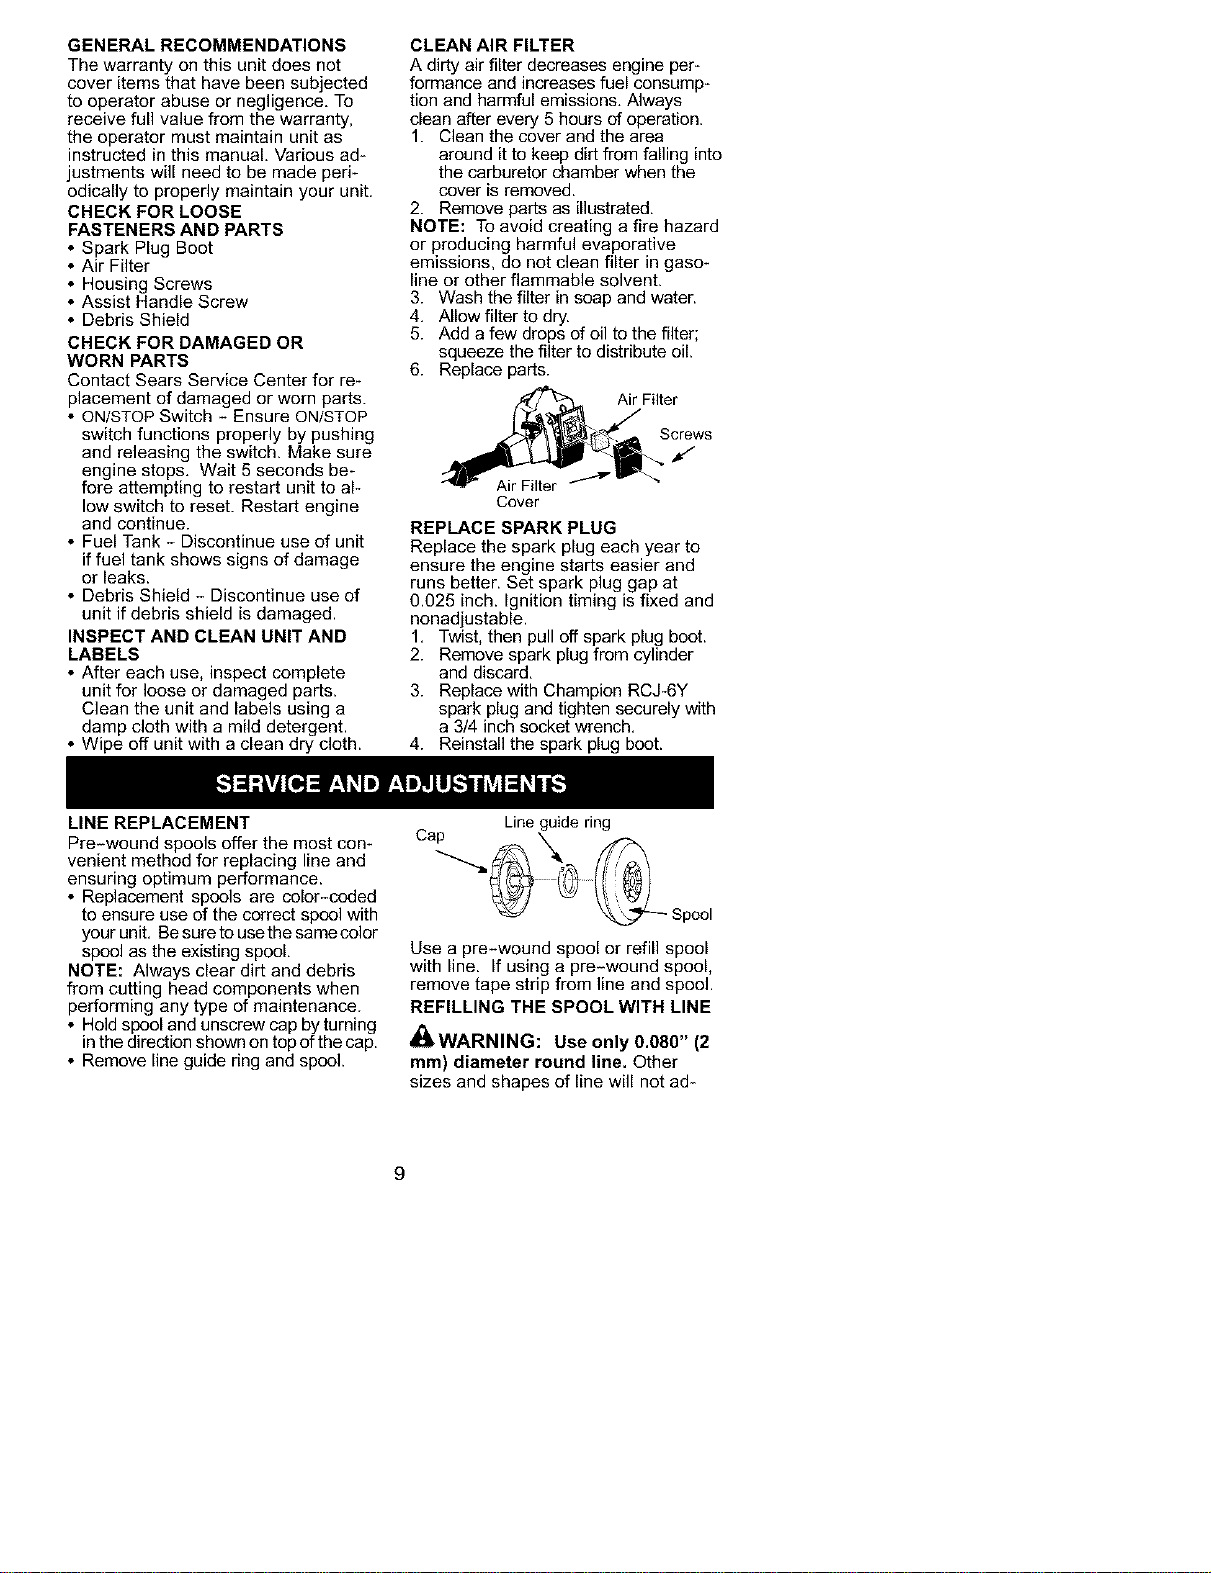
CLEAN AIR FILTER
A dirty air filter decreases engine per-
formance and increases fuel consump-
tion and harmful emissions, Always
clean after every 5 hours of operation.
1. Clean the cover and the area
around it to keep dirt from falling into
the carburetor chamber when the
cover is removed.
2. Remove parts as illustrated,
NOTE: To avoid creating a fire hazard
or producing harmful evaporative
emissions, do not clean filter in gaso-
line or other flammable solvent.
3. Wash the filter in soap and water.
4, Allow filter to dry.
5. Add a few drops of oil to the filter;
squeeze the filter to distribute oil.
6. Replace parts.
_S_gilter
Cover
REPLACE SPARK PLUG
Replace the spark plug each year to
ensure the engine starts easier and
runs better. Set spark plug gap at
0.025 inch. Ignition timing is fixed and
nonadjustable.
1, Twist, then pull off spark plug boot.
2. Remove spark plug from cylinder
and discard,
3. Replace with Champion RCJ-GY
spark plug and tighten securely with
a 3/4 inch socket wrench,
4. Reinstall the spark plug boot.
LINE REPLACEMENT
Pre-wound spools offer the most con-
venient method for replacing line and
ensuring optimum performance.
• Replacement spools are color-ceded
to ensure use of the correct spool with
your unit, Be sure to use the same color
spool as the existing spool,
NOTE: Always clear dirt and debris
from cutting head components when
performing any type of maintenance.
• Hold spool and unscrew cap by turning
in the direction shown on top of the cap.
• Remove line guide ring and spool.
Line guide ring
Cap
Use a pre-wound spool or refill spool
with line. If using a pre-wound spool,
remove tape strip from line and spool.
REFILLING THE SPOOL WITH LINE
_IkWARNING: Use only 0.080" (2
mm) diameter round line. Other
sizes and shapes of line will not ad-
9
Loading ...
Loading ...
Loading ...