Loading ...
Loading ...
Loading ...
Io Remove thebroiler pan and grid, oven racks,
utensils and any foil thatmaybe in the oven.
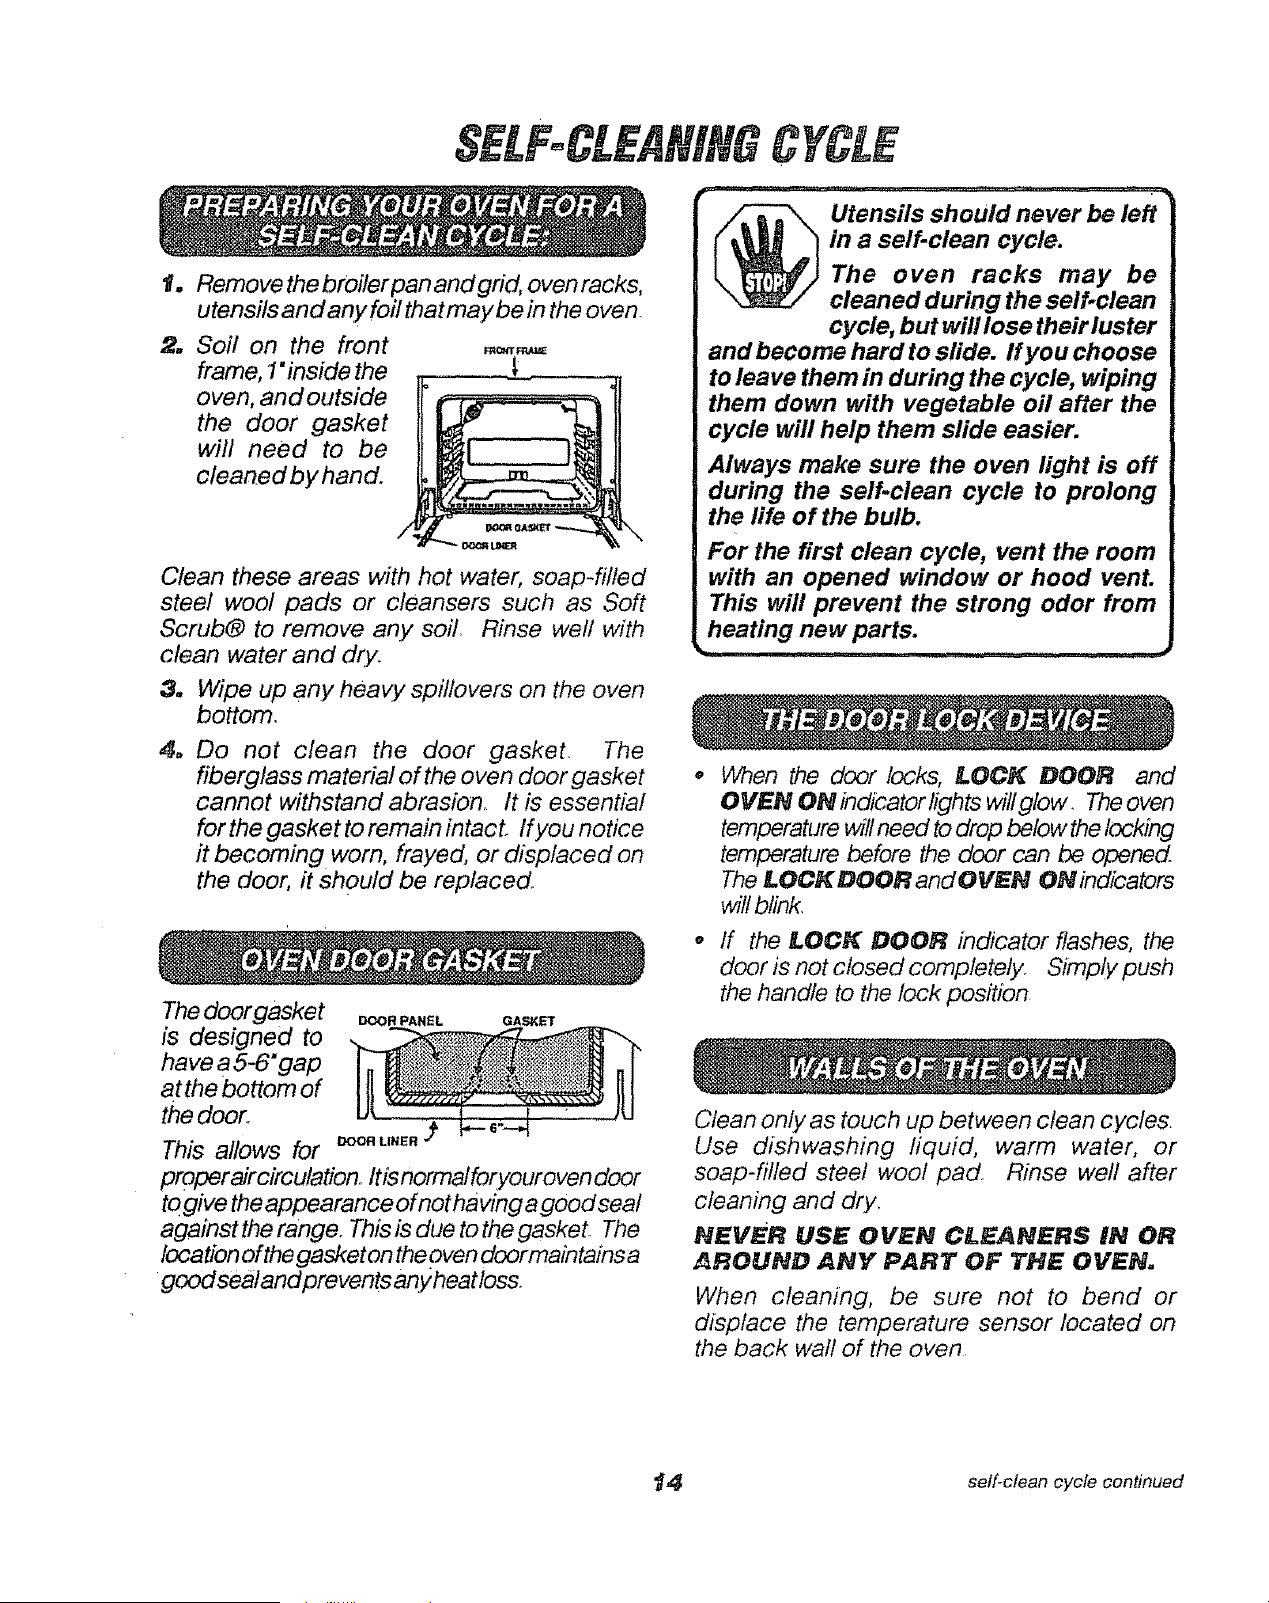
2. Soil on the front
frame, 1"inside the
oven, and outside
the door gasket
will need to be
clean.ed by hand.
/!,,
\
Clean these areas with hot water, soap-filled
steel wool pads or cleansers such as Soft
Scrub® to remove any soil, Rinse well with
clean water and dry.
3. Wipe up any heavy spitlovers on the oven
bottom.
4. Do not clean the door gasket. The
fiberglass material of the oven door gasket
cannot withstand abrasion. It is essential
forthe gasket to remain intact. If you notice
it becoming worn, frayed, or displaced on
the door, it should be replaced.
The door gasket _=O,PA.EL QA_
is designed to
have a 5-6" gap
atthe bottom of
the door,.
This allows for _u._.
proper aircirculationo Itis normal foryour oven door
to give the appearance of not having agood sea/
against the range. This is due to the gasket. The
location of the gasket on the oven door main tains a
good seal and prevents any heat loss.
Utensils should never be left
in a self-clean cycle.
The oven racks may be
cleaned during the self-clean
cycle, but will lose their luster
and become hard to slide, ff you choose
to leave them in during the cycle, wiping
them down with vegetable oil after the
cycle will help them slide easier.
Always make sure the oven light is off
during the self-clean cycle to prolong
the life of the bulb.
For the first clean cycle, vent the room
with an opened window or hood vent.
This will prevent the strong odor from
heating new parts.
When the door locks, LOCK DOOR and
OVEN ON indicator lights willglow. Theoven
temperature will need to drop below the locking
temperature before the door can be opened
The LOCK DOOR and OVEN ON indicators
will blink,
o If the LOCK DOOR indicator flashes, the
door is not closed completely. Simply push
the handle to the lock position
Clean only as touch up between clean cycles.
Use dishwashing fiquid, warm water, or
soap-fitted steel wool pad Rinse weh' after
cleaning and dry,
NEVER USE OVEN CLEANERS IN OR
AROUND ANY PART OF THE OVEN.
When cleaning, be sure not to bend or
displace the temperature sensor located on
the back wall of the oven
_4 self-clean cycle continued
Loading ...
Loading ...
Loading ...