Loading ...
Loading ...
Loading ...
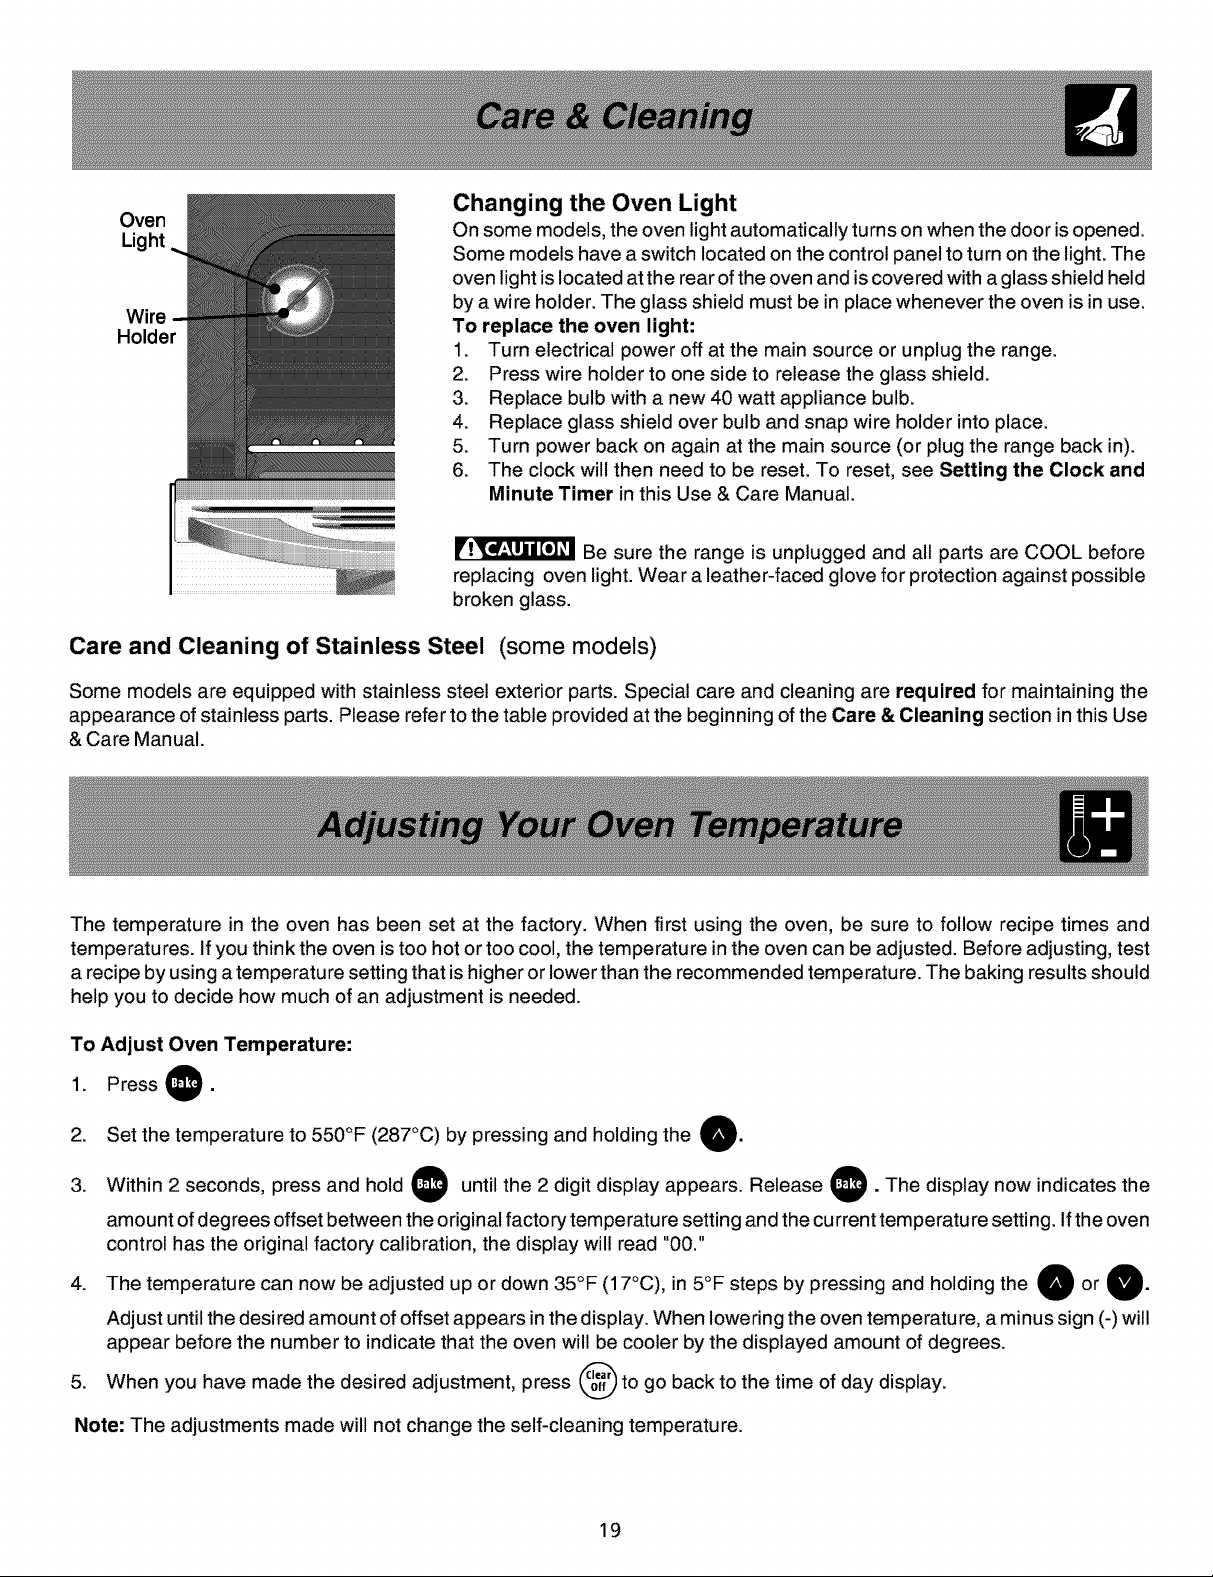
Oven
Light
Holder
Changing the Oven Light
On some models, the oven lightautomatically turns on when the door isopened.
Some models have a switch located on the control panel to turn on the light. The
oven light is located at the rear of the oven and is covered with a glass shield held
by a wire holder. The glass shield must be in place whenever the oven is in use.
To replace the oven light:
1. Turn electrical power off at the main source or unplug the range.
2. Press wire holder to one side to release the glass shield.
3. Replace bulb with a new 40 watt appliance bulb.
4. Replace glass shield over bulb and snap wire holder into place.
5. Turn power back on again at the main source (or plug the range back in).
6. The clock will then need to be reset. To reset, see Setting the Clock and
Minute Timer inthis Use & Care Manual.
lr_L_T_"_t'_ Be sure the range is unplugged and all parts are COOL before
replacing oven light. Wear a leather-faced glove for protection against possible
broken glass.
Care and Cleaning of Stainless Steel (some models)
Some models are equipped with stainless steel exterior parts. Special care and cleaning are required for maintaining the
appearance of stainless parts. Please refer to the table provided at the beginning of the Care & Cleaning section in this Use
& Care Manual.
The temperature in the oven has been set at the factory. When first using the oven, be sure to follow recipe times and
temperatures. If you think the oven is too hot or too cool, the temperature in the oven can be adjusted. Before adjusting, test
a recipe by using a temperature setting that is higher or lower than the recommended temperature. The baking results should
help you to decide how much of an adjustment is needed.
To Adjust Oven Temperature:
1. Press O
2. Set the temperature to 550°F (287°C) by pressing and holding the W).
3. Within 2 seconds, press and hold O until the 2 digit display appears. Release O "The display now indicates the
amount of degrees offset between the original factory temperature setting and the current temperatu re setting. Ifthe oven
control has the original factory calibration, the display will read "00."
4. The temperature can now be adjusted up or down 35°F (17°C), in 5°F steps by pressing and holding the O or e).
Adjust until the desired amount of offset appears inthe display. When lowering the oven temperature, a minus sign (-) will
appear before the number to indicate that the oven will be cooler by the displayed amount of degrees.
5. When you have made the desired adjustment, press _ to go back to the time of day display.
Note: The adjustments made will not change the self-cleaning temperature.
19
Loading ...
Loading ...
Loading ...