Loading ...
Loading ...
Loading ...
8
1886
1886
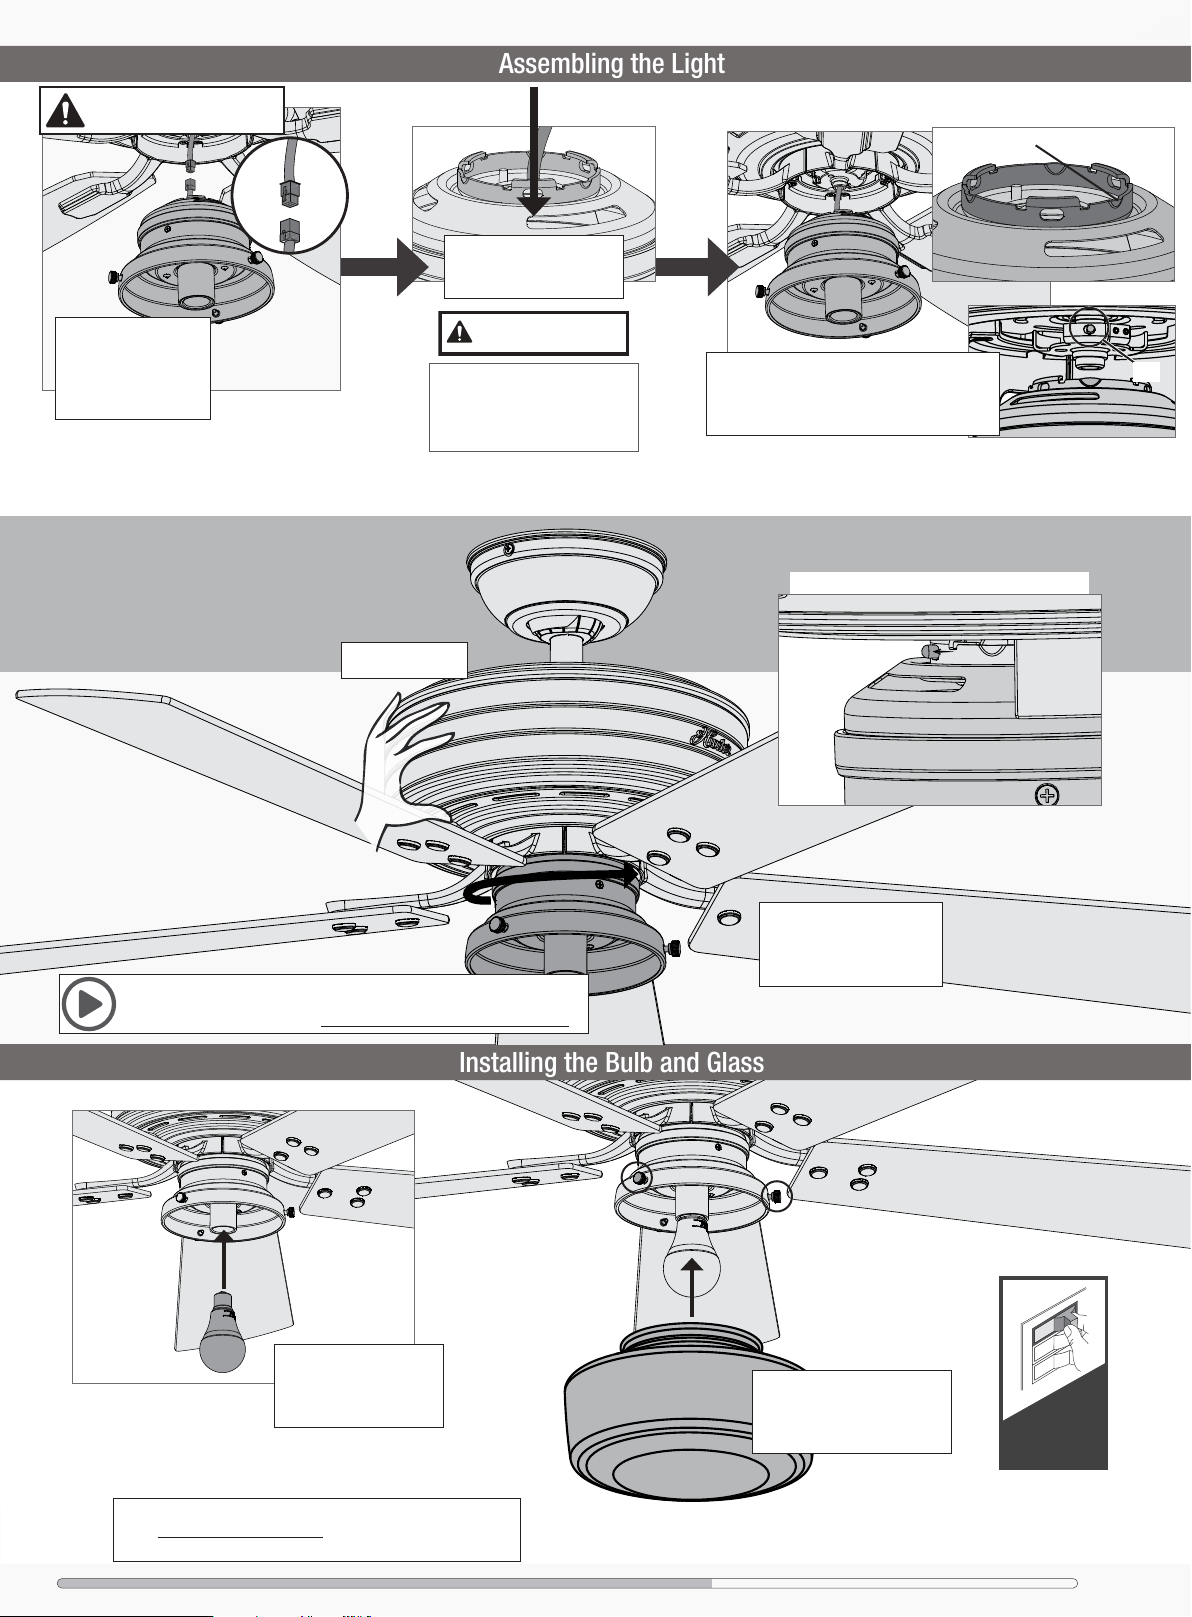
Lift the glass and attach it to
the light xture using the three
thumbscrews. Tighten all three
screws securely by hand.
Installing the Bulb and Glass
ON
Turn Power
Repeat x5
Canopy Screw
Want to install your fan without a light kit?
Go to www.HunterFan.com/FAQs and click “How do I install my
fan without the light kit?”
Hunter Pro Tip:
Need a little more help with assembling this light?
Visit our light kit video at: http://bit.ly/HunterQuickConnect
Notch
Some components not shown for visual clarity.
IMPORTANT
Push the connector and
excess wire into the hole at
the top of the light xture.
The connector and excess wiring
must be pushed into the light
xture in order to successfully
mount the light xture to the fan.
Pin
Raise the light kit to the bottom of the fan.
Align the notch on the mounting ring on the
top of the light kit with the pin in the mounting
bracket on the bottom of the fan.
HOLD HERE
Assembling the Light
Connect the plugs from
the fan and light xture.
Make sure to line up
the colored markings
on the connectors.
Remove the cardboard plug
guard before proceeding!
Give the xture a gentle,
clockwise turn to ensure the
xture is secure and that the
locking pin has engaged.
Install the included LED
bulb into the socket. When
necessary, replace with
bulb of same wattage.
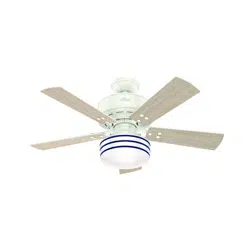
Ceiling Bracket Hanging Fan Wiring Canopy Blades Light Remote Remote Cradle Troubleshooting
Loading ...
Loading ...
Loading ...