Loading ...
Loading ...
Loading ...
• To minimize possible shock hazard, the cord must be
plugged into a mating, 3 prong, ground-type outlet, grounded
in accordance with local codes and ordinances. If a mating
outlet is not available, it is the personal responsibility and
obligation of the customer to have the properly grounded
outlet installed by a qualified electrician.
• If codes permit and a separate ground wire is used, it is
recommended that a qualified electrician determine that the
ground path is adequate.
• Do not ground to a gas pipe.
• Check with a qualified electrician if you are not sure the
washer is properly grounded.
• Do not have a fuse in the neutral or ground circuit.
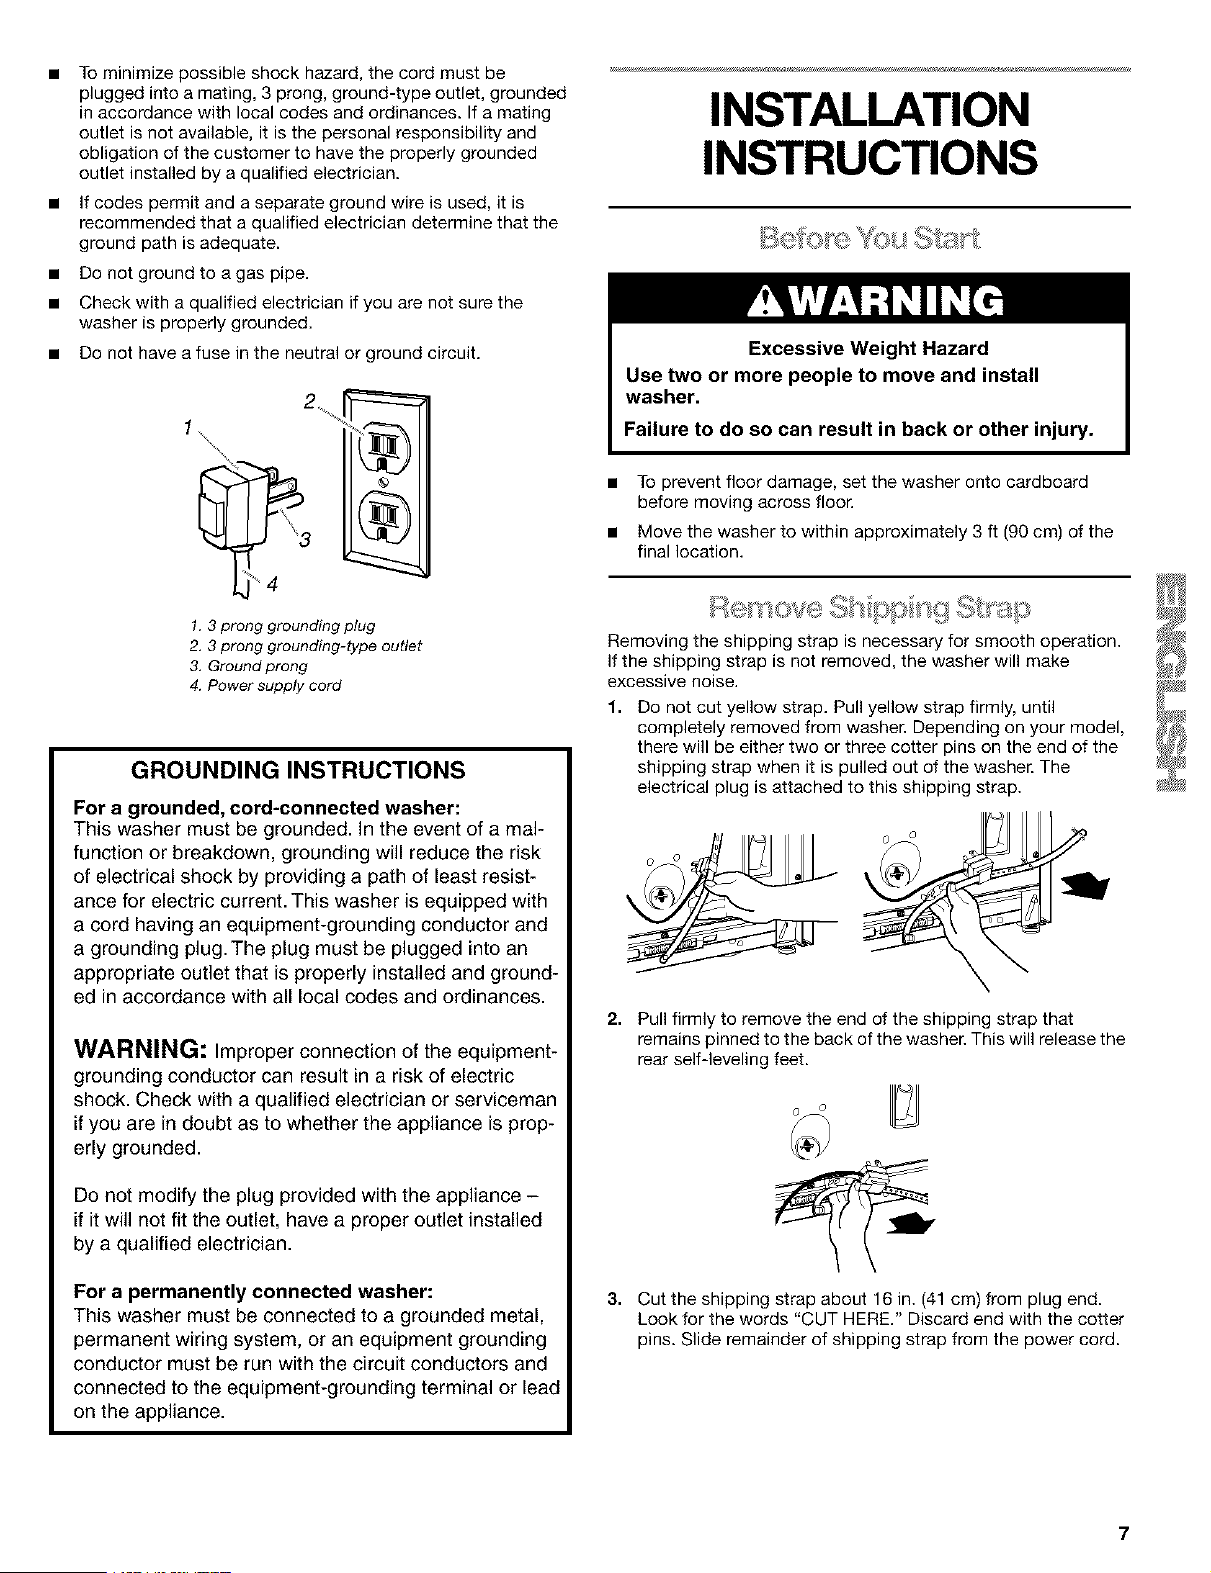
1.3 prong grounding plug
2. 3 prong grounding-type outlet
3. Ground prong
4. Power supply cord
GROUNDING INSTRUCTIONS
For a grounded, cord-connected washer:
This washer must be grounded. In the event of a mal-
function or breakdown, grounding will reduce the risk
of electrical shock by providing a path of least resist-
ance for electric current. This washer is equipped with
a cord having an equipment-grounding conductor and
a grounding plug.The plug must be plugged into an
appropriate outlet that is properly installed and ground-
ed in accordance with all local codes and ordinances.
WARNING: Improper connection of the equipment-
grounding conductor can result in a risk of electric
shock. Check with a qualified electrician or serviceman
if you are in doubt as to whether the appliance is prop-
erly grounded.
Do not modify the plug provided with the appliance -
if it will not fit the outlet, have a proper outlet installed
by a qualified electrician.
For a permanently connected washer:
This washer must be connected to a grounded metal,
permanent wiring system, or an equipment grounding
conductor must be run with the circuit conductors and
connected to the equipment-grounding terminal or lead
on the appliance.
INSTALLATION
INSTRUCTIONS
To prevent floor damage, set the washer onto cardboard
before moving across floor.
Move the washer to within approximately 3 ft (90 cm) of the
final location.
Removing the shipping strap is necessary for smooth operation.
If the shipping strap is not removed, the washer will make
excessive noise.
1. Do not cut yellow strap. Pull yellow strap firmly, until
completely removed from washer. Depending on your model,
there will be either two or three cotter pins on the end of the
shipping strap when it is pulled out of the washer. The
electrical plug is attached to this shipping strap.
2. Pull firmly to remove the end of the shipping strap that
remains pinned to the back of the washer. This will release the
rear self-leveling feet.
3. Cut the shipping strap about 16 in. (41 cm) from plug end.
Look for the words "CUT HERE." Discard end with the cotter
pins. Slide remainder of shipping strap from the power cord.
Loading ...
Loading ...
Loading ...