Loading ...
Loading ...
Loading ...
AREPA MAKER/ ASADOR DE AREPAS
MANUAL DE INSTRUCCIONES
6
BEFORE FIRST USE
• Remove all packing material and stickers from the product and save instruction manual.
Caution: Tear up all plastic bags as they can pose a risk to children.
• Cut and remove tie wrap located between the electric plug blades.
• Before using your new appliance, wipe the body of the appliance with a damp cloth.
• Condition the non-stick cooking surfaces with a light coating of cooking oil. Remove any excess
oil with a cloth or paper towel.
HOW TO USE YOUR AREPA MAKER
When the appliance is operating for the first time, there may be a slight burning odor, as the heating ele-
ments warm up. This represents no danger to the user and does not indicate a defect in the appliance.
Allow the appliance to heat up until the odor clears.
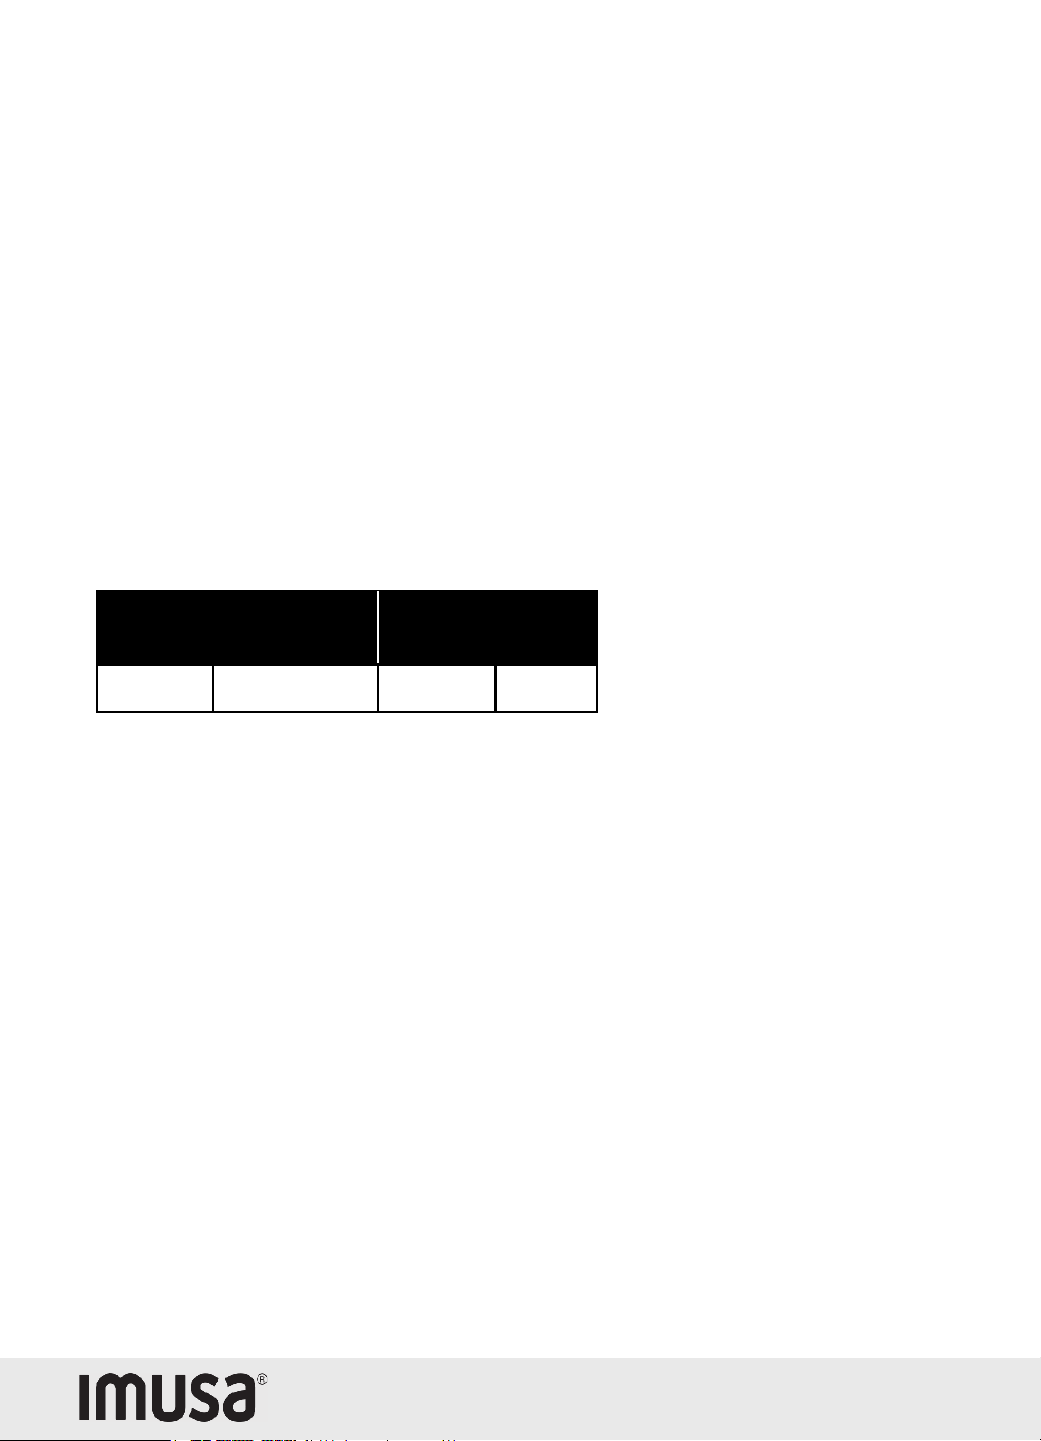
Working Temperature Range Highest Temperature
°C °F °C °F
155 - 210 311 - 410 230 446
• Prepare the Arepa dough.
• Make balls of dough, about 2 to 3 inches in diameter.
Note: Be sure that each ball is not larger than the cavity on each cooking plate.
Caution: Because some countertop finishes are more sensitive than others, use care not to place the
appliance on surfaces where heat may cause damage.
• Plug the appliance into a standard 120 Volt AC outlet.
• The red-light indicator “POWER” will come on indicating that the unit is heating.
Caution: The temperature of accessible surfaces may be high when the appliance is operating.
• When the red-light indicator turns off, release the locking latch and lift the lid to open position.
• Open the unit using an oven mitt to avoid burning by touching the hot surface.
• Place the balls of dough onto the bottom cooking plate, making sure it does not overflow onto the
cooking plate. You can place up to 2 balls of dough each cooking cycle.
Loading ...
Loading ...
Loading ...