Loading ...
Loading ...
Loading ...
14 15
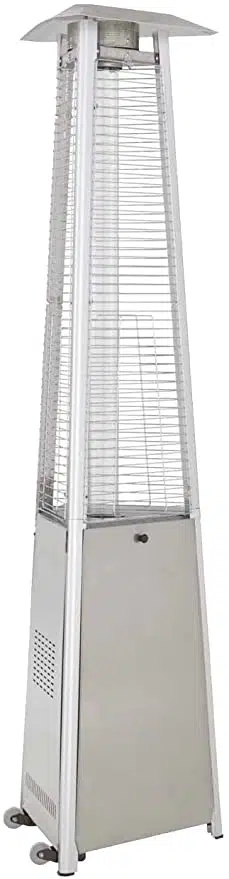
ASSEMBLY INSTRUCTIONS
Hardware Used
13. Secure the table connect panel (R) to the
side door with M5 x 12 mm bolts (DD). Install
table (Q) by putting the preassembled bolts
through the holes of the table connect panel
(R). Repeat for the other side door.
14. OPTIONAL: Use nails (not included)
to secure unit to the ground.
M5 x 12 mm Screw
x 4
DD
Philips
Screwdriver
x 1
OO
13
14
R
Q
DD
ASSEMBLY INSTRUCTIONS
11. Use Phillips screwdriver (OO) to install
protective guards (F) to the upper supports (E)
with M5 x 12 mm screws (DD) and xing
brackets (FF) as shown.
12. Carefully lean the assembly and attach
reector (A) to mesh (B) with studs (CC),
small at washers (BB) on either side of
reector (A) and then wing nuts (AA).
Gently return the assembly to the upright
position.
11
12
Hardware Used
M5 x 12 mm Screw
x 3
DD
Philips
Screwdriver
x 1
OO
A
AA
CC
BB
F
DD
FF
Fixing Bracket
FF
x 3
Hardware Used
Wing Nut
x 3
AA
Stud
x 1
CC
Small Flat Washer
BB
x 3
Loading ...
Loading ...
Loading ...