Loading ...
Loading ...
Loading ...
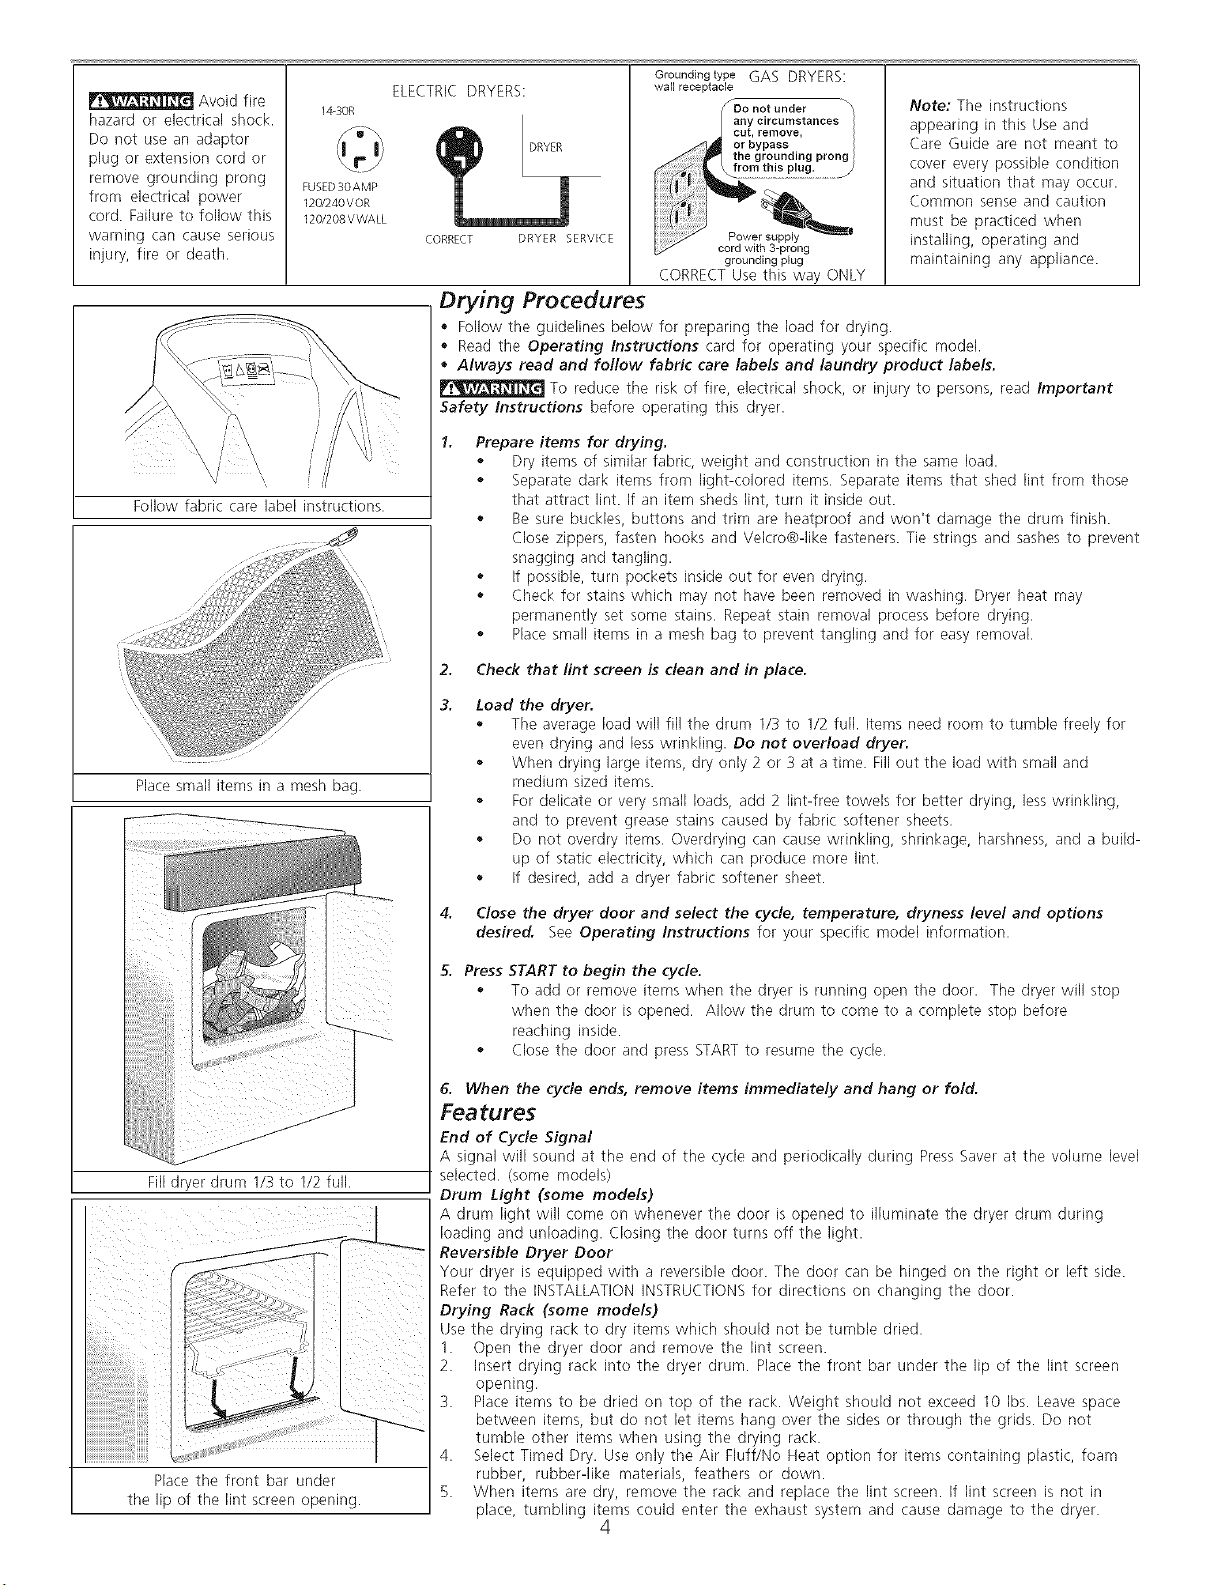
Avoid fire
hazard or electrical shock.
Do not use an adaptor
plug or extension cord or
remove grounding prong
from electrical power
cord. Failure to follow this
warning can cause serious
injury, fire or death.
ELECTRIC DRYERS:
14-30R
FUSED3OAMP
12G/240VOR
120/208VWALL
CORRECT DRYER SERVICE
Follow fabric care label instructions.
Place small items in a mesh bag.
Fill dryer drum 113 to 112full.
Place the front bar under
the lip of the lint screen opening.
Drying Procedures
Grounding type GAS DRYERS:
wall receptacle
any circumstances
cut, remove,
or bypass
the grounding pron
grounding plug
CORRECT Use this way ONLY
Note: The instructions
appearing in this Use and
Care Guide are not meant to
cover every possible condition
and situation that may occur.
Common sense and caution
must be practiced when
installing, operating and
maintaining any appliance.
* Follow the guidelines below for preparing the load for drying.
* Read the Operating Instructions card for operating your specific model.
Always read and follow fabric care labels and laundry product labels.
To reduce the risk of fire, electrical shock, or injury to persons, read /mportant
Safety Instructions before operating this dryer.
Prepare items for drying.
Dry items of similar fabric, weight and construction in the same load.
Separate dark items from light-colored items. Separate items that shed lint from those
that attract lint. If an item sheds lint, turn it inside out.
Be sure buckles, buttons and trim are heatproof and won't damage the drum finish.
Close zippers, fasten hooks and Vekro®-Nke fasteners. Tie strings and sashes to prevent
snagging and tangling.
If possible, turn pockets inside out for even drying.
Check for stains which may not have been removed in washing. Dryer heat may
permanently set some stains. Repeat stain removal process before drying.
Place small items in a mesh bag to prevent tangling and for easy removal.
2. Check that lint screen is clean and in place.
Load the dryer.
* The average load will fill the drum 113to 112 full. Items need room to tumble freely for
even drying and less wrinkling. Do not overload dryer.
* When drying large items, dry only 2 or 3 at a time. Fill out the load with small and
medium sized items.
* For delicate or very small loads, add 2 Nnt-free towels for better drying, less wrinkling,
and to prevent grease stains caused by fabric softener sheets.
* Do not overdry items. Overdrying can cause wrinkling, shrinkage, harshness, and a build-
up of static electricity, which can produce more lint.
* If desired, add a dryer fabric softener sheet.
4. Close the dryer door and select the cycle, temperature, dryness level and options
desired. See Operating Instructions for your specific mode[ information.
5, Press
START to begin the cycle.
To add or remove items when the dryer is running open the door. The dryer will stop
when the door is opened. Allow the drum to come to a complete stop before
reaching inside.
Close the door and press START to resume the cycle.
5. When the cycle ends, remove items immediately and hang or fold.
Features
End of Cycle Signal
A signal will sound at the end of the cycle and periodically during Press Saver at the volume level
selected. (some models)
Drum Light (some models)
A drum light will come on whenever the door is opened to illuminate the dryer drum during
loading and unloading. Closing the door turns off the Nght.
Reversible Dryer Door
Your dryer is equipped with a reversible door. The door can be hinged on the right or left side.
Refer to the INSTALLATION INSTRUCTIONS for directions on changing the door.
Drying Rack (some models)
Use the drying rack to dry items which should not be tumble dried.
1. Open the dryer door and remove the lint screen.
2. Insert drying rack into the dryer drum. Place the front bar under the lip of the Nnt screen
opening.
3. Place items to be dried on top of the rack. Weight should not exceed 10 Ibs. Leave space
between items, but do not let items hang over the sides or through the grids. Do not
tumble other items when using the drying rack.
4. Select Timed Dry. Use only the Air Fluff/No Heat option for items containing plastic, foam
rubber, rubber-like materials, feathers or down.
5. When items are dry, remove the rack and replace the Nnt screen. If Nnt screen is not in
place, tumbling items could enter the exhaust system and cause damage to the dryer.
4
Loading ...
Loading ...