Loading ...
Loading ...
Loading ...
31OPERATION
ENGLISH
NOTE
• Allow hot foods to cool at room temperature for
30 minutes, and then package and freeze.
Cooling hot foods before freezing saves energy.
Packaging
Successful freezing depends on correct packaging.
When you close and seal the package, it must not
allow air or moisture in or out. If it does, you could
have food odor and taste transfer throughout the
refrigerator and could also dry out frozen food.
Packaging Recommendations
• Rigid plastic containers with tight-fitting lids
• Straight-sided canning/freezing jars
• Heavy-duty aluminum foil
• Plastic-coated paper
• Non-permeable plastic wraps
• Specified freezer-grade self-sealing plastic bags
Follow package or container instructions for
proper freezing methods.
Do not use
• Bread wrappers
• Non-polyethylene plastic containers
• Containers without tight lids
• Wax paper or wax-coated freezer wrap
• Thin, semi-permeable wrap
Drawers
Removing/Assembling Drawers
1 To remove drawers, pull them out to full
extension, lift the front, and pull straight out.
NOTE
• When removing or installing the drawer, lift the
cover to help remove or insert the drawer.
2 To assemble drawers, slightly tilt up the front,
insert into the frame and push back into
place.
CAUTION
• Use both hands to remove and assemble
drawers. The compartment is heavy when filled
with food and may cause injury if dropped.
• Open refrigerator doors fully when removing or
assembling drawers.
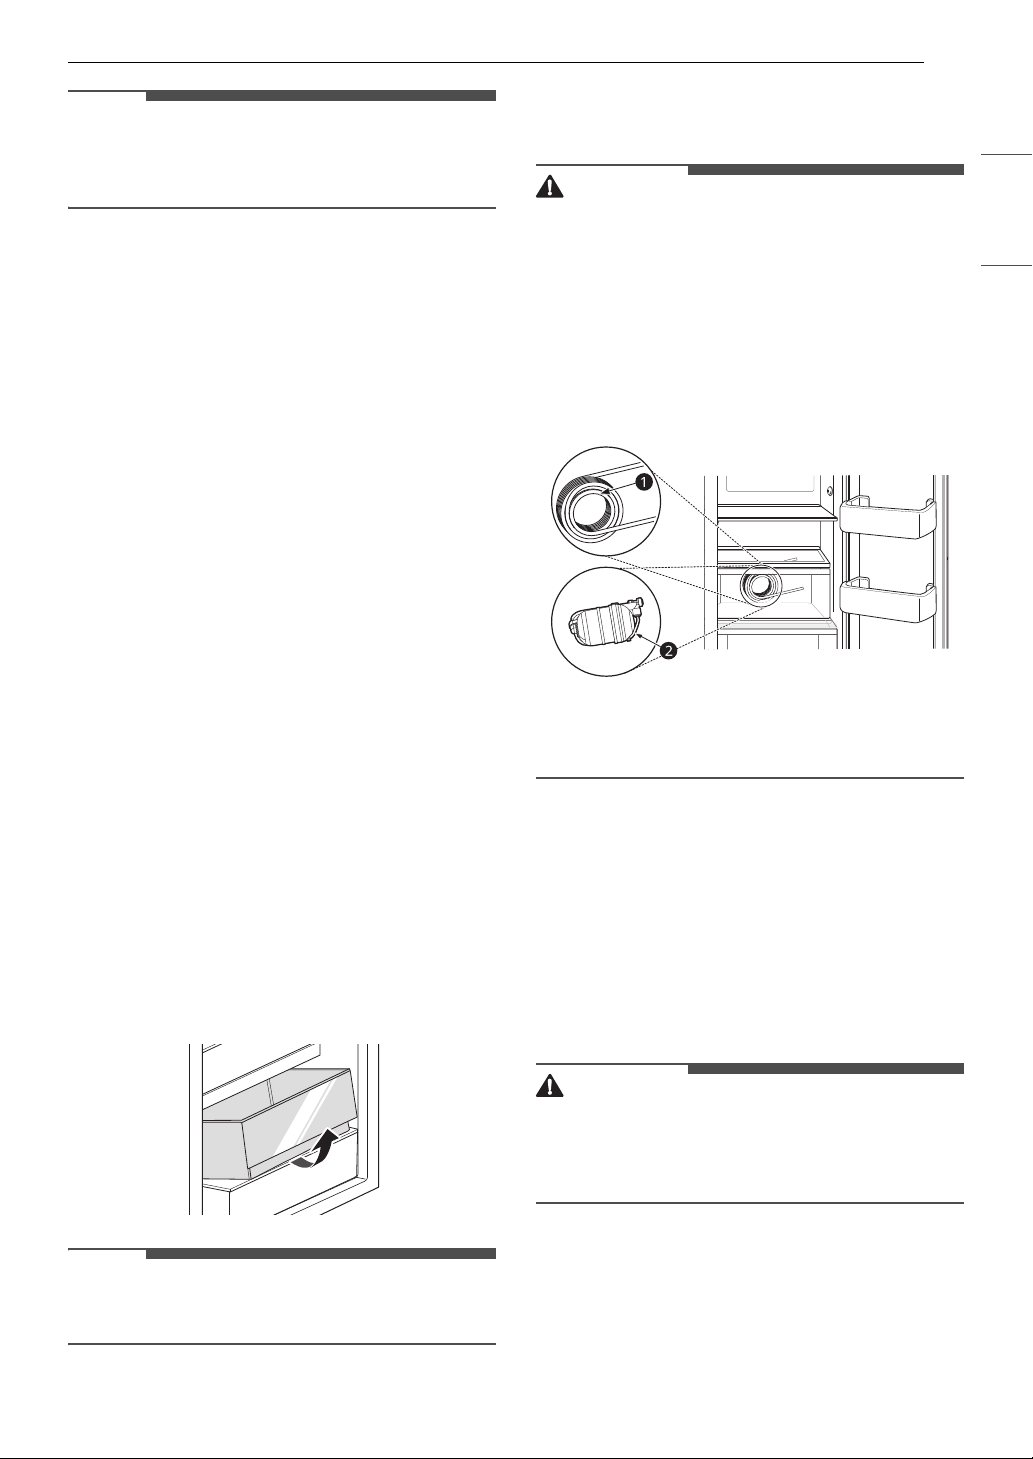
• You will see the water tank while removing the
Fresh Zone drawer. Do not remove the water
tank or water leakage may occur. The water tank
is not a removable part.
a Water tank (Type A)
b Water tank (Type B)
Refrigerator Shelves
The shelves in the refrigerator are adjustable to
meet individual storage needs.
Adjusting the shelves to fit items of different
heights will make finding the exact item you want
easier.
Detaching/Assembling Shelves
CAUTION
• Do not clean glass shelves with warm water
while they are cold. Shelves may break if
exposed to sudden temperature changes or
impact.
1 Use safety gloves. To disassemble, remove all
items from the shelf. Supporting the shelf
from underneath, lift the back of the shelf and
slide the shelf forward slightly to disengage
the back stop a.
Loading ...
Loading ...
Loading ...