Loading ...
Loading ...
Loading ...
GAS CONNECTIONS
LOCAL AUTHORITY REQUIREMENTS
Check Gas Type and specifications plate placed on the bottom face of the unit. All gas fitting work, service and
repairs can only be performed by an authorized person in accordance with the current edition of AS/NZS5601
and local gas regulations. Failure to comply with this condition will render the warranty invalid. Always unplug
the appliance before carrying out any maintenance operations or repairs. The walls of the units must not be
higher than work top and must be capable of resisting temperatures of 75 above temperature. Do not install the
appliance near flammable materials (eg. curtains). The final act of any installation or gas type conversion must
be the full testing of this appliance, which includes leak testing, ignition of each burner and the functionality of the
burners separately and together.
INSTALLATION
The appliance is predisposed and adjusted to operate with the gas indicated on the specifications plate (normally
NG) applied onto the appliance. Please see gas rates summary information on the previous page.
If the appliance must be operated with a gas different than that indicated on the plate, it is necessary to execute
the following operations:
-Gas connection including regulator (NG) to be changed.
-Replacement of the injectors.
-New gas label attached stating gas type.
-Adjustment of minimum setting.
-Check (and adjust if necessary) the gas pressure using a manometer connected to 6mm rubber tubing.
GAS CONNECTION
The connection must be made by a qualified gas fitter according to the relevant standard. The gas connection is
positioned 40mm from the left-hand side (from front), 30mm in from the back edge.
The fitting is made up of one elbow and one gasket (fitted between the inlet and elbow).
The hob must be installed in a room with adequate ventilation (see installation section).
N.G.:
Fit the supplied NG regulator to the elbow fitting using two spanners (note orientation of the NG regulator gas
flow).
Connect the other side of the NG regulator to the gas inlet pipe with the correct ½” BSPT thread connector using
two spanners.
UNIVERSAL L.P.G.:
Connect the cooking hob inlet to the gas inlet pipe with the correct ½” BSPT thread connector (or using the
appropriate adaptor) using two spanners. Connect the other end of the pipe to the cylinder pressure regulator.
ORIENTATION OF THE ELBOW
The appliance is supplied with a gas connection oriented towards the centre of the cooking hob. The connection
to the gas supply must be affected only from this side or in vertical position by turning the elbow downwards. To
turn the elbow, first loosen the nut. Adjust the position of the elbow to the final position and retighten the nut.
Make sure that there are no leakages by testing with a soapy solution and brush.
IMPORTANT:
Never attempt to turn the elbow without having first slackened off the relative lock nipple.
It is recommended that the seal be replaced when it begins to show even the slightest deformation or
imperfection.
After connecting to the gas supply, check that the couplings are correctly sealed, using soapy solution and a
brush, but never a naked flame.
Where a flexible hose assembly is used, ensure it is approved to AS/NZS 1869, Class B Ø10mm, and no longer
than 1m. Any hose assembly must be restrained from accidental contact with the flue outlet of an under-bench
oven.
OPERATIONS TO BE PERFORMED WHEN CONVERTING GAS TYPES:
This operation can only be performed by an authorized person.
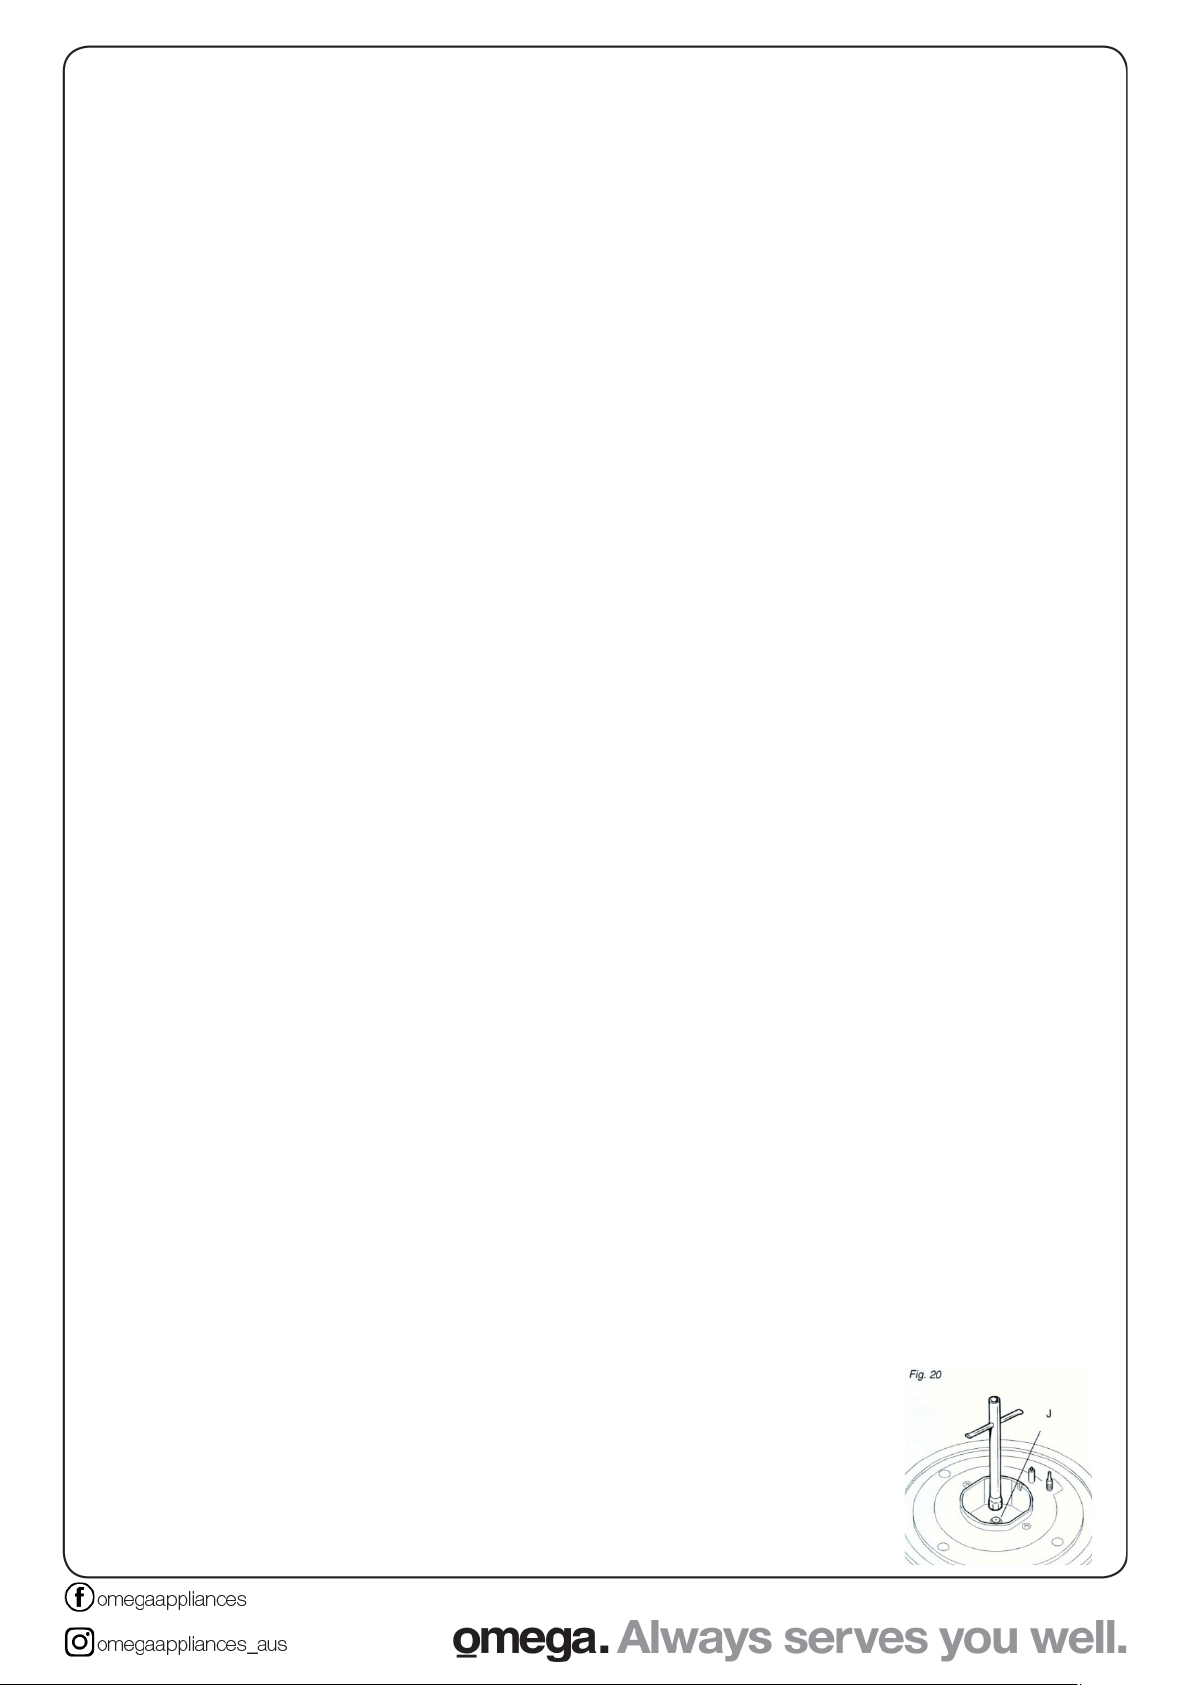
Remove the gratings and the burner covers;
Using a spanner, replace the nozzle injectors “J” (Fig.20) with either Natural Gas sized
injectors or ULPG sized injectors.
5
Loading ...
Loading ...
Loading ...