
Loading ...
Loading ...
Loading ...
using your oven
Separate Grill
The “grill” directs radiant heat from the powerful upper
elements onto the food. You can use the “grill” function for
tender cuts of meat, steak, chops, sausages, fish, cheese
toasties and other quick cooking foods. Grill with the oven
door open. Preheat your grill for 3 minutes to get the best
results. This will help seal in the natural juices of steak, chops
etc. for a better flavour. The grill dish is to be positioned
between the upper pair of support rails.
cooling/Venting fan
Your built-in appliance is fitted with a cooling fan. It will
operate whenever you are using your oven or grill and will
blow warm air across the top of the oven door. In some
appliances the cooling fan may continue to operate after
the appliance is turned off. This is to cool the product.
condensation
Excess condensation may fog the oven door. This may
happen when you are cooking large quantities of food
from a cold start. You can minimize condensation by:
• Keepingtheamountofwaterusedwhilstcooking
to a minimum.
• Makingsurethattheovendoorisrmlyclosed.
• Bakingcustardinabakingdishthatisslightlysmaller
than the water container.
• Cookingcasseroleswiththelidon.
Note: If you are using water in cooking, this will turn
to steam and may condense outside your appliance.
this is not a problem or fault with your oven.
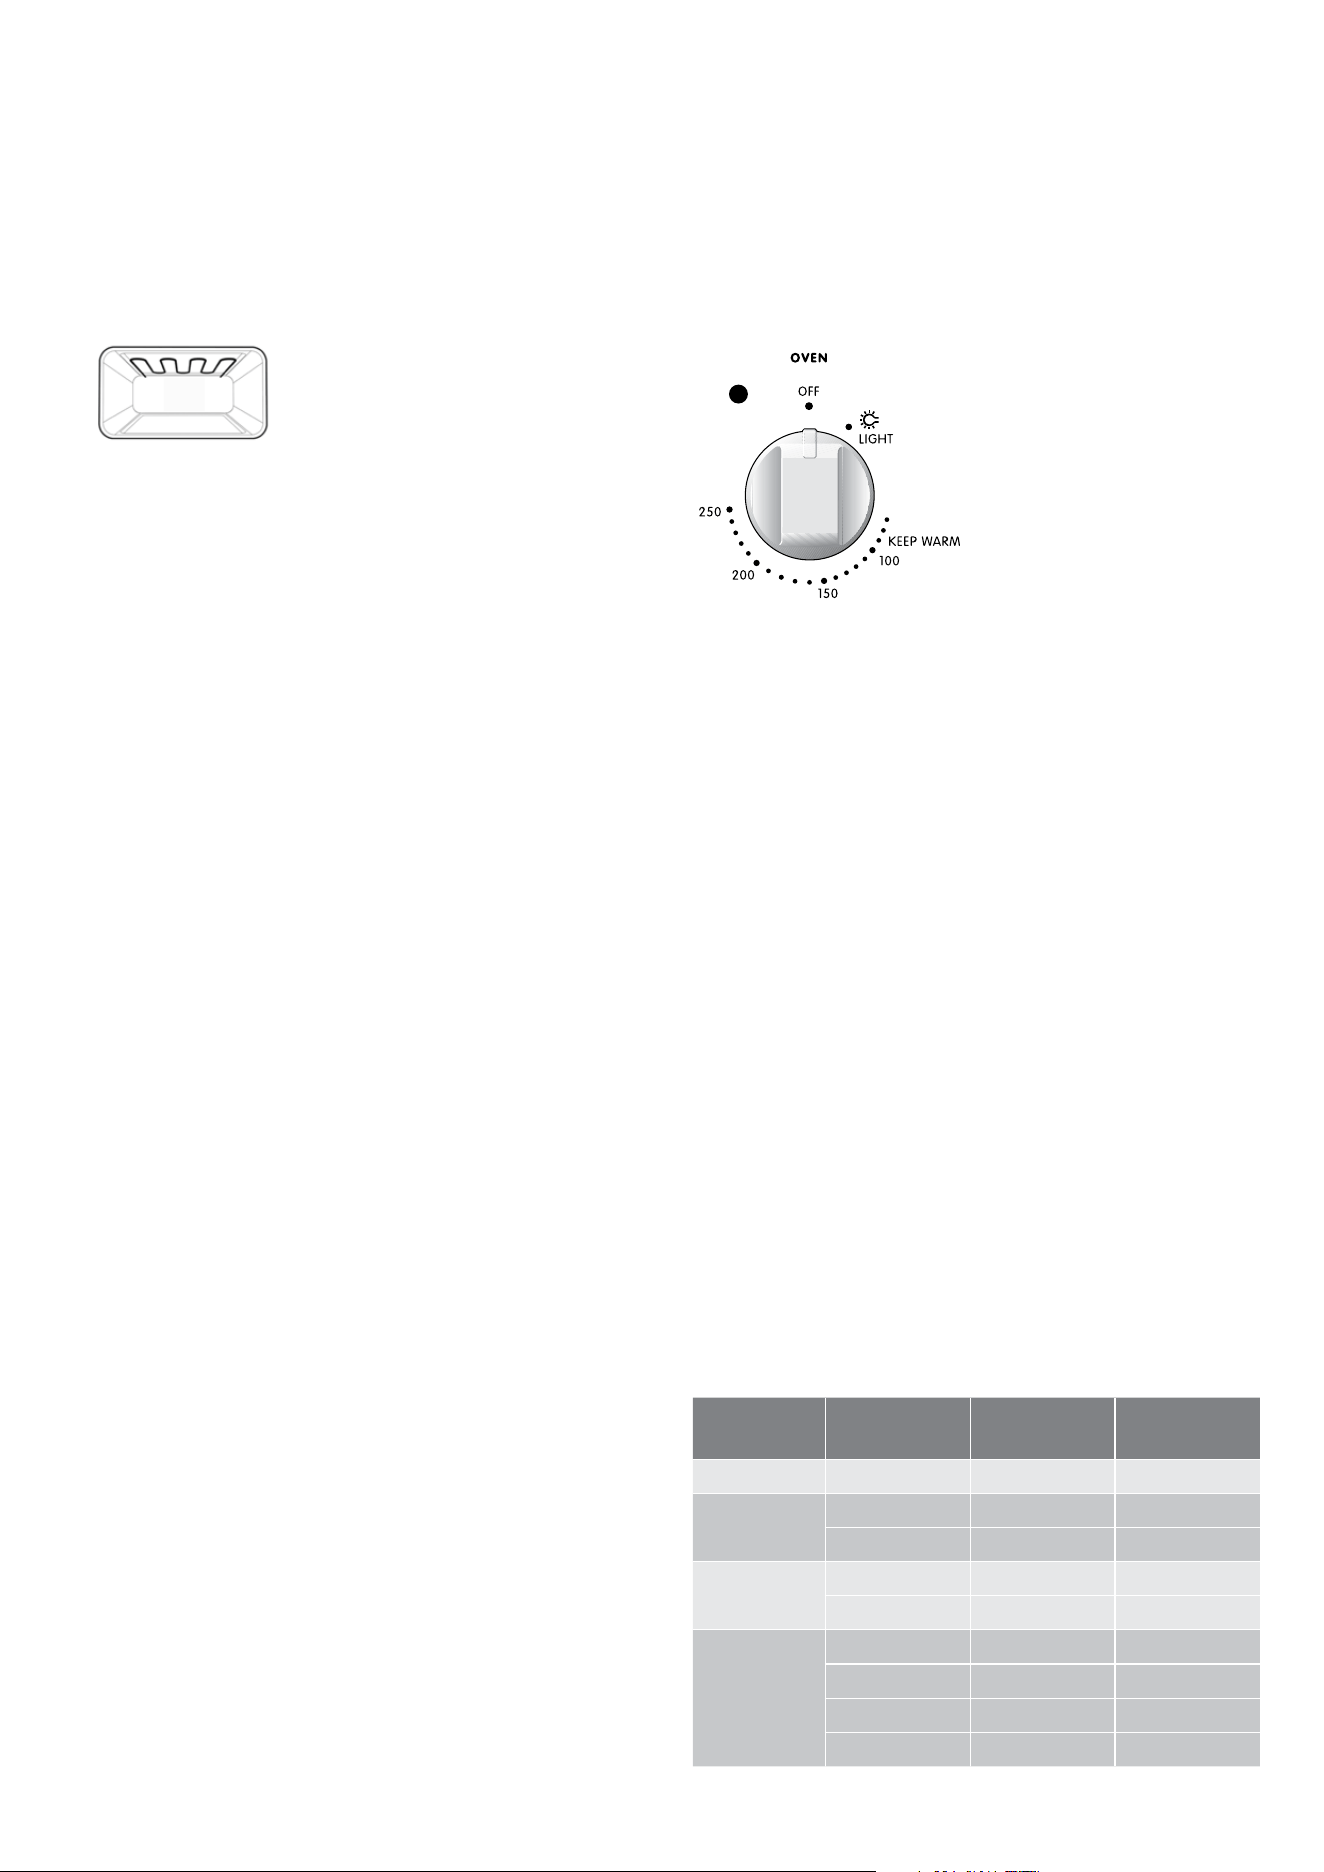
operating your oven temperature selector
A thermostat controls the temperature in your appliance.
The temperature can be selected within the specified range.
To set the temperature, turn the temperature selector in a
clockwise direction to the desired setting. An indicator light
above the temperature selector will come on. When the
temperature is reached, the heating source switches itself off
and the indicator light goes out. When the oven temperature
falls below the desired setting, the heating source switches
on and the indicator light comes on again. Once the food
is cooked, turn the temperature selector back in an anti-
clockwise direction. Do not force it right round in a clockwise
direction as this will result in damage to the thermostat.
3 button programmable timer
General features
Your 3 button programmable timer has the following features:
• Timer–your3buttonprogrammabletimerallowsyou
to set a countdown time that will beep when the set time
has elapsed.
• Cookingduration–Youcansetacookingduration.
A timer will count down the preset cooking time, beep
when the time has elapsed and turn the oven off.
• Endcookingtime–youcansetacookingnishtime.
A timer will count down the preset cooking time, beep when
the finish time has been reached and turn the oven off.
• Delayedstartcookingtime–Youcancombinethe
cooking time and stop cooking time to switch the oven
on and off at a specific time during the day.
Note: Your 3 button programmable timer only operates
with your main oven.
Setting the time of day
You must set the time of day before you can operate your
appliance. When power is supplied to your oven “12.00“
will be displayed and the “clock” indicator
will flash.
1. Tosetthetimeofdayinhoursandminutes,pressthe–or
+buttons.5secondsafterthelastchange,the“clock”
indicator
will disappear, confirming the time has been set.
Note: the clock has a 24-hour display.
Setting the timer
1. Press the “mode“ button until the “timer” indicator
begins flashing.
2. Setthecountdowntimeyouwantbyusingthe–and+
buttons. 5 seconds after the last change the “timer” indicator
will stop flashing, confirming the timer has been set.
3. To stop the beeper, press any button.
Setting the cooking duration
1. Check the clock displays the correct time of day.
2. Select the desired oven function and temperature. The oven
indicator light will glow and the heating source will come on.
3. Press the “mode“ button until the “cook time” indicator
begins flashing.
4. Setthecookingdurationyouwantbyusingthe–or+
buttons. 5 seconds after the last change, the “cook time”
indicator
will stop flashing, and the time of day will
be displayed.
Note: Do not forget to add preheating time if necessary.
operating the
programmable clock
Note: For multifunction ovens the desired cooking function
must be selected before the oven will operate. once the
desired function has been selected, use the temperature
selector to set the required temperature.
Pre-heating your appliance
Pre-heating your oven is recommended in cooking and
grilling functions. For best results when baking you must
preheat your oven for 30 minutes.
With “Fan Forced”
1. It is recommended to preheat your appliance when
cooking or baking.
2. Set the desired temperature, by rotating your oven
temperature selector.
When the indicator light above the temperature selector goes
out, the oven has reached the desired temperature, place your
food into the oven, close the door and set the timer if you desire.
With “grill”
Preheat the grill for at least 3 minutes to obtain best results.
This will help to seal the natural juices of steak, chops and
other meats for a better flavour.
Setting temperatures
The following table displays the temperature settings
for recipes which do not show actual temperatures.
oven temperature
º
c
temperature
º
F
Cool 80 175
Low Heat
Very slow 100–110 210–230
Slow 130–140 265–285
Moderate
Heat
Moderately slow 150–160 300–320
Moderate 170–180 340–355
High Heat
Moderately hot 190–200 375–390
Hot 200–210 390–410
Very hot 220–230 430–450
Extremely hot 240–250 465–480
8 USING YOUR OVEN Built-in Cooking Built-in Cooking OPERATING THE PROGRAMMABLE CLOCK 9
Setting the cooking end time
1. Check the clock displays the correct time of day.
2. Select the desired oven function and temperature. The
oven indicator light will glow and the heating source will
come on.
3. Press the “mode“ button until the “end time” indicator
begins flashing.
4. Enter the time of day you want to finish cooking by
pressingthe–or+buttons.5secondsafterthelast
change, the “end time” indicator
will stop flashing
and the current time of day will be displayed.
Setting the delayed start cooking time
1. Program the “cook time“ and “end time“ as described
in the relevant sections. Once both the “cook time“ and
“end time“ have been set, the “cook time“ and “end time”
indicators will stop flashing and the current time of day
will be displayed.
To check or cancel settings
1. To check your settings, press the mode button until the
setting you want is displayed. A red light will flash next
to the mode (cook time, end time etc) that is currently
on display.
2. To cancel “delayed start” press the mode button until
alightashesnextto“endtime”.Pressandholdthe–
button until the clock no longer reverses (you will hear a
beep). If you have left the temperature and function knobs
at a setting the oven will start once the “end time” light
stops flashing.
3. To cancel “auto shut off” press the mode button until
a light flashes next to “cook time”. Press and hold the
–buttonuntiltheclocknolongerreversesat(“0:00”
and you will hear a beep). This automatically cancels
“delayed start”. If you have left the temperature and
function knobs at a setting, the oven will start once
the “cook time” light stops flashing. Because you have
cancelled “auto off” the oven will continue to heat until
you manually turn it off.
On completion of cooking
The oven will turn off, the timer will beep and the “end time“
and/or “cook time“ indicators will flash.
1. Turn the function and temperature controls to the off position.
2. Press any button to stop the timer from beeping.
Loading ...
Loading ...
Loading ...