Loading ...
Loading ...
Loading ...
4
NOTE: When cleaning stainless steel, always wipe with the
grain to avoid cross-grain scratching.
WARNING
Explosion Hazard
Risk of Fire or Explosion due to Puncture of Refrigerant
Tubing;
Follow Handling Instructions Carefully.
Flammable Refrigerant Used.
4. There is no need for routine condenser cleaning in normal
home operating environments. If the environment is
particularly greasy or dusty, or there is a significant pet traffic
in the home, the condenser should be cleaned every 2 to 3
months to ensure maximum efficiency.
If you need to clean the condenser:
� Pull refrigerator out away from the wall. See “Unpack the
Refrigerator.”
� Remove the base grille.
� Vacuum coils when they are dusty or dirty.
� Replace the base grille when finished.
� Roll refrigerator back into place. Make sure to leave 1"
(2.5 cm) between the cabinet back and the wall.
� Check to see that the refrigerator is level.
5. Plug in refrigerator or reconnect power.
Changing the LED Module
IMPORTANT: The lights in both the refrigerator and freezer
compartments use LED technology that do not need to be
replaced.
If an LED module(s) do not illuminate when the refrigerator and/or
freezer door is opened, call for assistance or service. See "Quick
Start Guide" for contact information.
Water Filtration System
Do not use with water that is microbiologically unsafe or of
unknown quality without adequate disinfection before or after the
system. Systems certified for cyst reduction may be used on
disinfected waters that may contain filterable cysts.
IMPORTANT: The disposable water filter should be replaced at
least every 6 months. If the water flow to the water dispenser or
ice maker decreases noticeably before 6 months have passed,
replace the water filter more often.
Install the Water Filter
To order a replacement filter, contact us at www.whirlpool.com/
Parts & Accessories. See the “Quick Start Guide” for details.
NOTE: If the filter is not installed correctly, water may dispense at
a lower flow rate and there will be slower ice production. Improper
filter installation may also cause the water filter housing to leak.
Right-Hand Side of Refrigerator Ceiling
1. Locate the accessory packet in the refrigerator and remove
the water filter.
2. Take the water filter out of its packaging and remove the cover
from the O-rings. Be sure the O-rings are still in place after the
cover is removed.
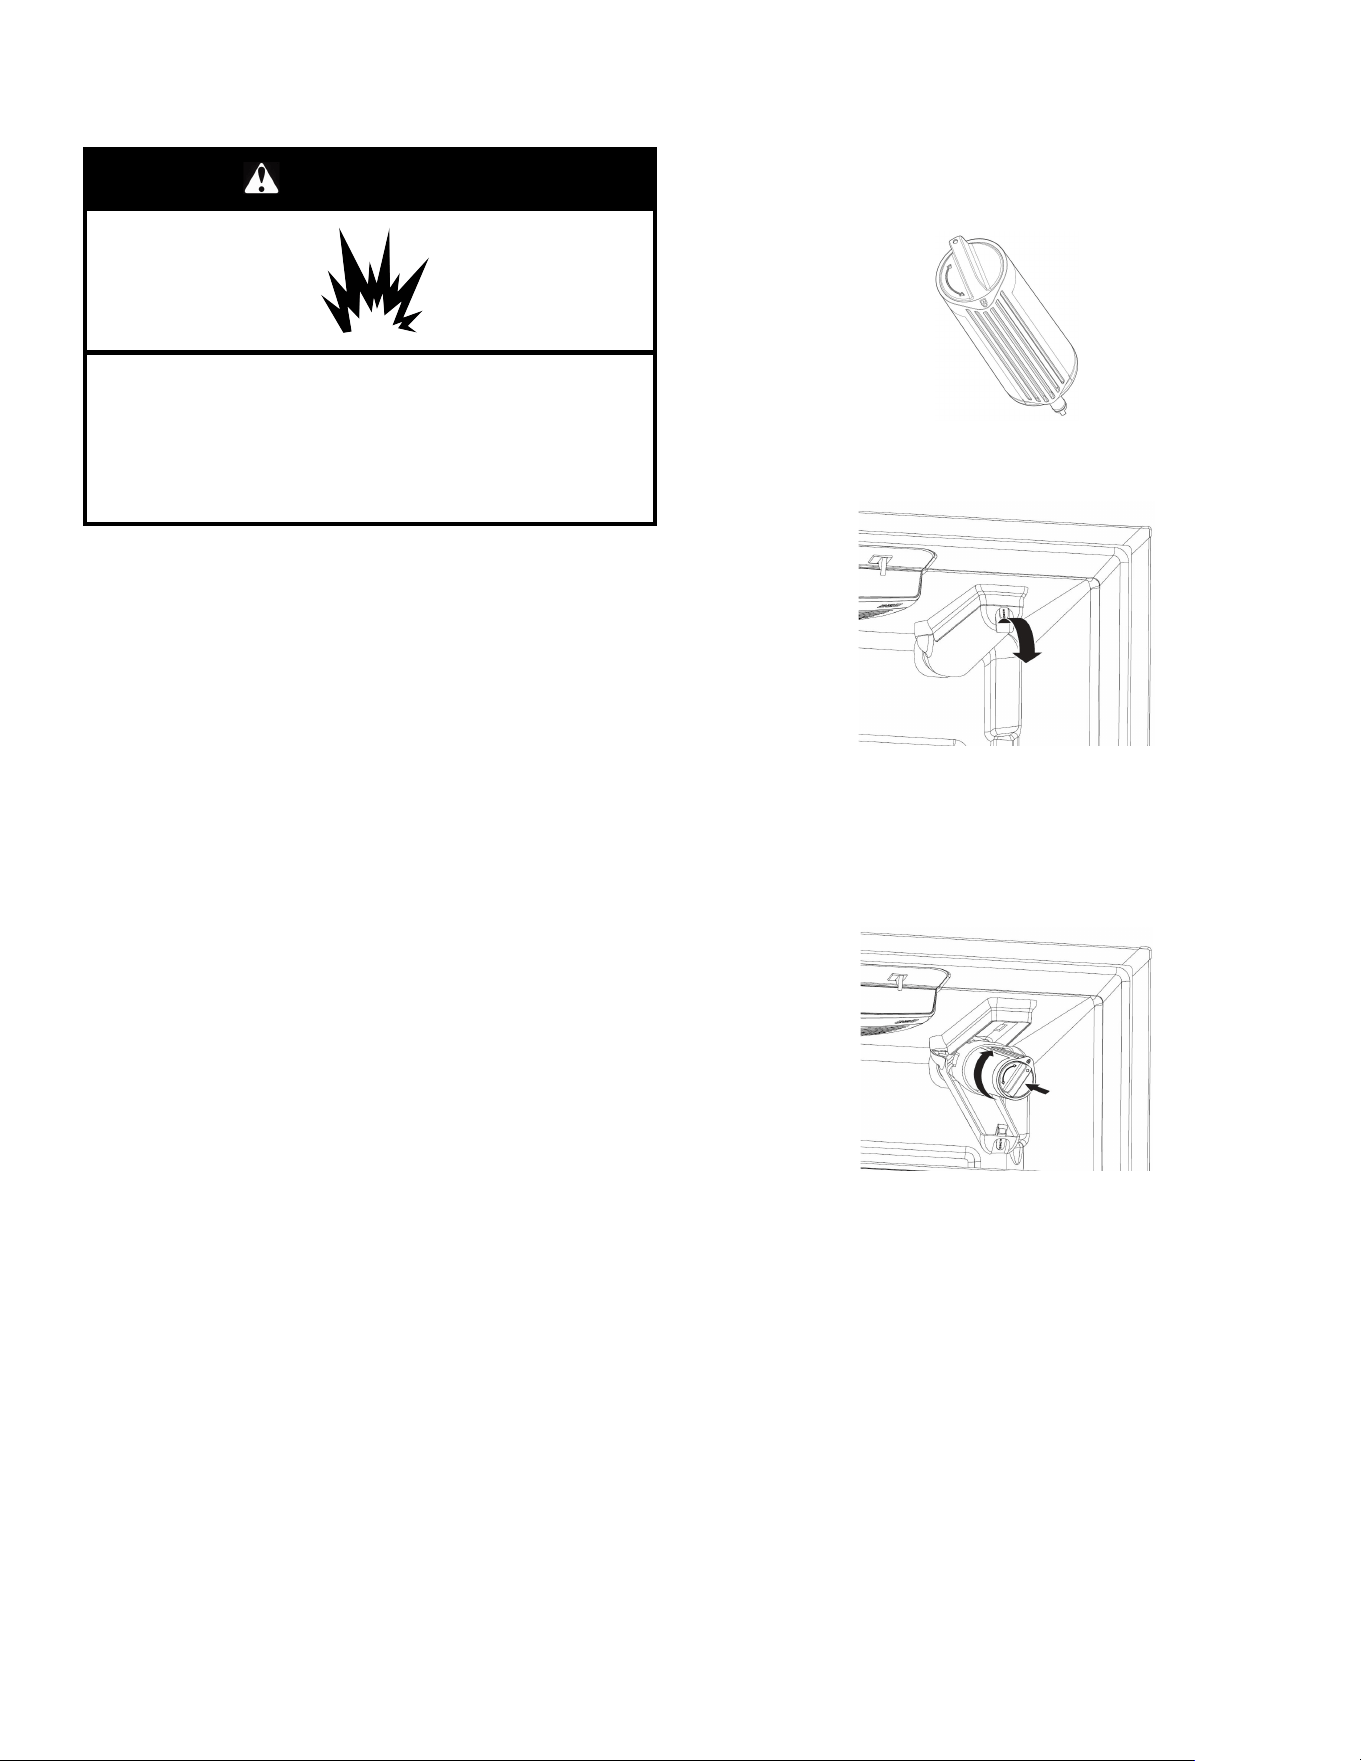
3. The water filter compartment is located in the right-hand side
of the refrigerator ceiling. Push latch on the filter door to
release the catch, then lower the door.
4. Align the arrow on the water filter label with the cutout notch in
the filter housing and insert the filter into the housing.
5. Turn the filter knob clockwise 180 degrees (1/2 turn), until it
locks into the housing.
NOTE: If the filter is not correctly locked into the housing, the
water dispenser will not operate. Water will not flow from the
dispenser.
6. While the compartment door is still open, lift the filter up into
the compartment. Then, close the filter compartment door
completely.
7. Flush the water system. See “Flush the Water System” for
details.
IMPORTANT: If you do not flush the water system, you may
experience dripping and/or decreased flow from the water
dispenser.
Flush the Water System
Air in the water dispensing system can cause the water dispenser
to drip. After connecting the refrigerator to a water source or
replacing the water filter, flush the water system.
Flushing the water dispensing system forces air from the water
line and filter and prepares the water filter for use. Additional
flushing may be required in some households.
NOTE: As air is cleared from the system, water may spurt out of
the dispenser.
Loading ...
Loading ...
Loading ...