Loading ...
Loading ...
Loading ...
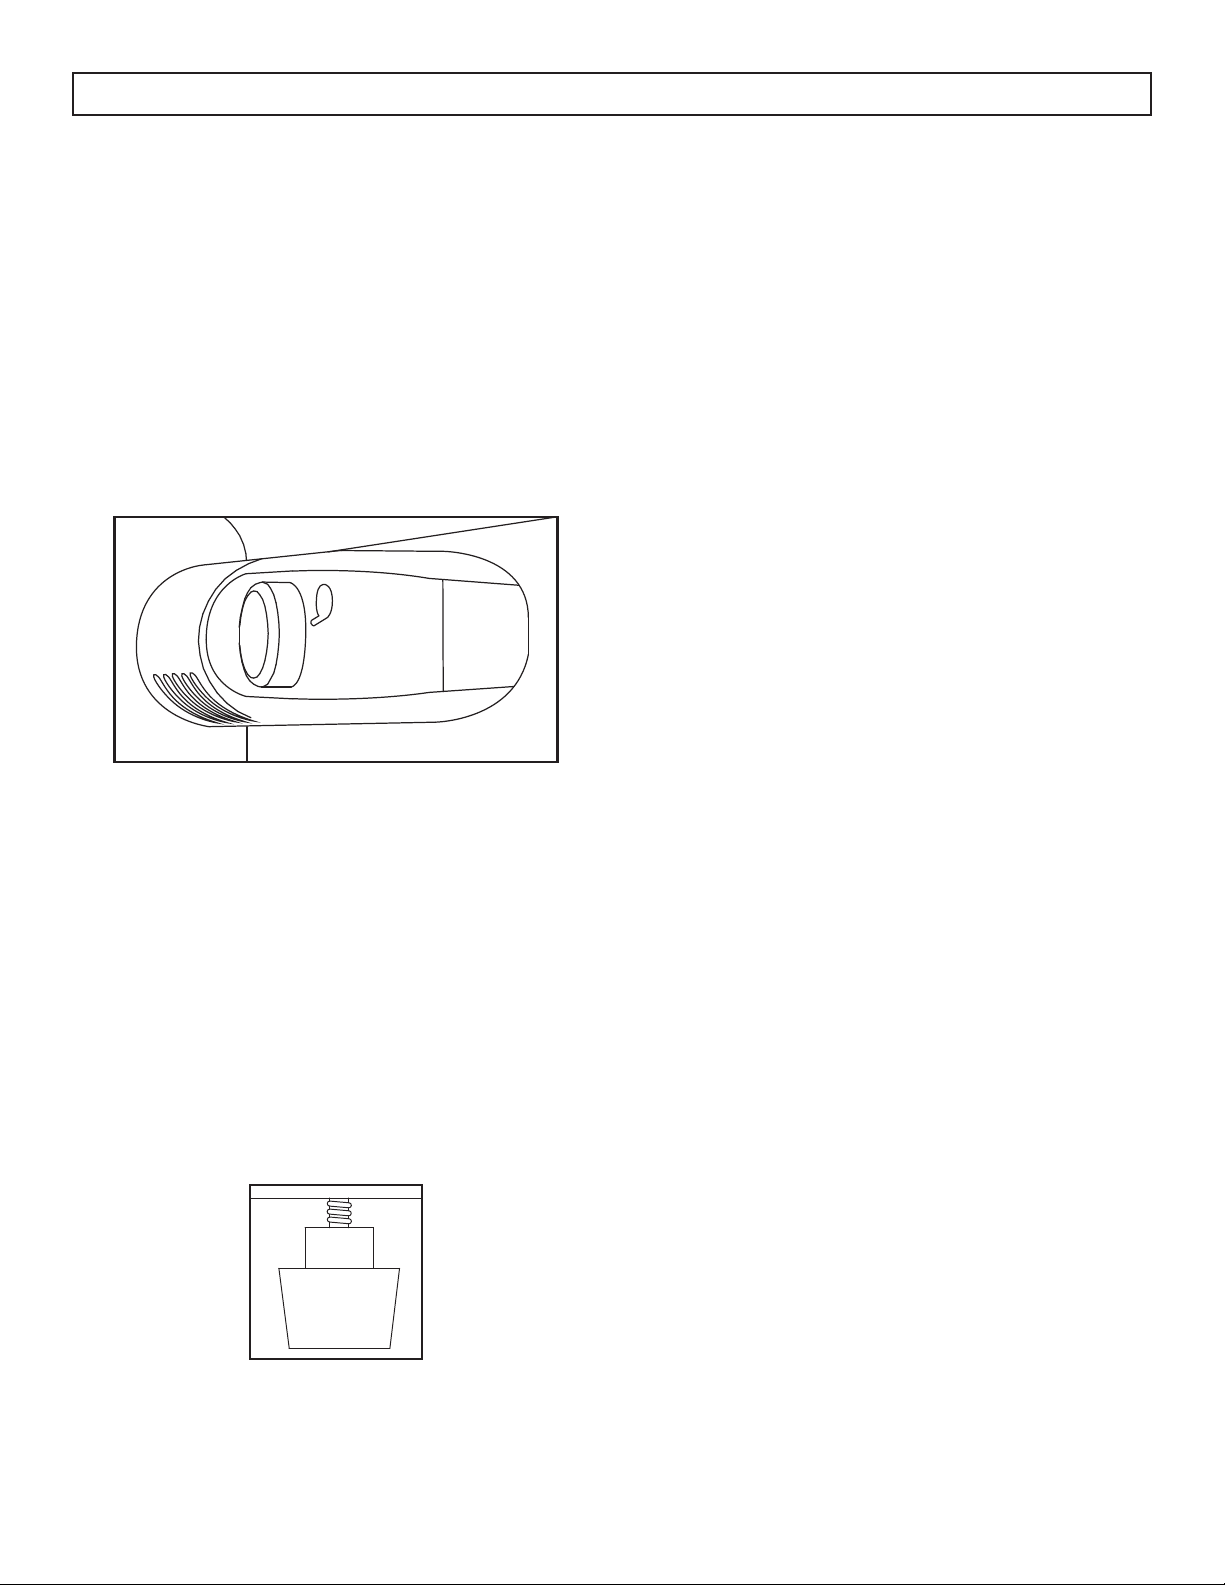
TEMPERATURE SELECTION
The temperature of the appliance can be adjusted
by turning the thermostat dial.
• The thermostat can be set between 1 and 7.
• 1 is the warmest setting.
• 7 is the coldest setting.
• The recommended setting is 4.
• Set the dial to 0 to turn off the cooling function.
Internal temperature of the appliance can vary
based on ambient temperature, the quantity of items
stored and how frequently the door is opened.
4
LEVELING INSTRUCTIONS
There is an adjustable leg on the bottom of the
appliance that can be turned up or down to ensure
that the appliance is level.
1. Turn the leveling leg counter-clockwise as far as
it will go, until the top of the foot is touching the
bottom of the cabinet.
2. Slowly turn the leveling leg clockwise until the
appliance is level.
OPERATING INSTRUCTIONS
DEFROSTING THE APPLIANCE
Ice and frost may build up in the freezer
compartment. Ice build up can increase energy
consumption. If the frost layer reaches 3 - 5 mm
thick, the appliance should be manually defrosted.
1. Remove all contents from the appliance.
2. Unplug the appliance and allow it to stand
undisturbed until the frost has melted. Prop the
doors open if necessary.
3. Place a towel or pan under the appliance during
the defrosting process to catch any excess
melted water.
4. Monitor the appliance during the defrosting
process to ensure water does not damage
fl ooring or surrounding furniture.
Note: Never use sharp or pointed instruments to
remove ice from the freezer compartment. The
freezer compartment contains refrigerated gas lines
and if they are accidentally pierced it will render the
refrigerator inoperable and void the manufacturers
warranty. Do not allow the refrigerator to continue
operation if the freezer compartment is pierced.
LIGHT BULB REPLACEMENT
• Before replacing the light bulb, disconnect the
appliance from the power supply.
• Make sure the light bulb is cool before
attempting to remove.
• Squeeze the tabs at the top and bottom of the
light bulb cover simultaneously and pull outward
to remove the light bulb cover.
• Unscrew the bulb.
• Replace with a 1.1 watt bulb that is the same
shape and size.
• Reassemble the light bulb cover and screw.
Note: To ensure that you purchase the correct
replacement bulb, it is recommend to remove the
old bulb from the appliance and take it with you to
purchase a replacement to aid in matching the size
and shape.
3
5
4
Loading ...
Loading ...
Loading ...