Loading ...
Loading ...
Loading ...
Reverse Door - Standard Door (optional) Replace Door and Hinges
IMPORTANT: If you want to reverse your door so it opens from
the opposite side, follow these steps. If you are not reversing the
door, see "Replace Door and Hinges."
Style 1-Standard Door
NOTE: Graphics may be reversed if door swing is reversed.
Freezer drawer models
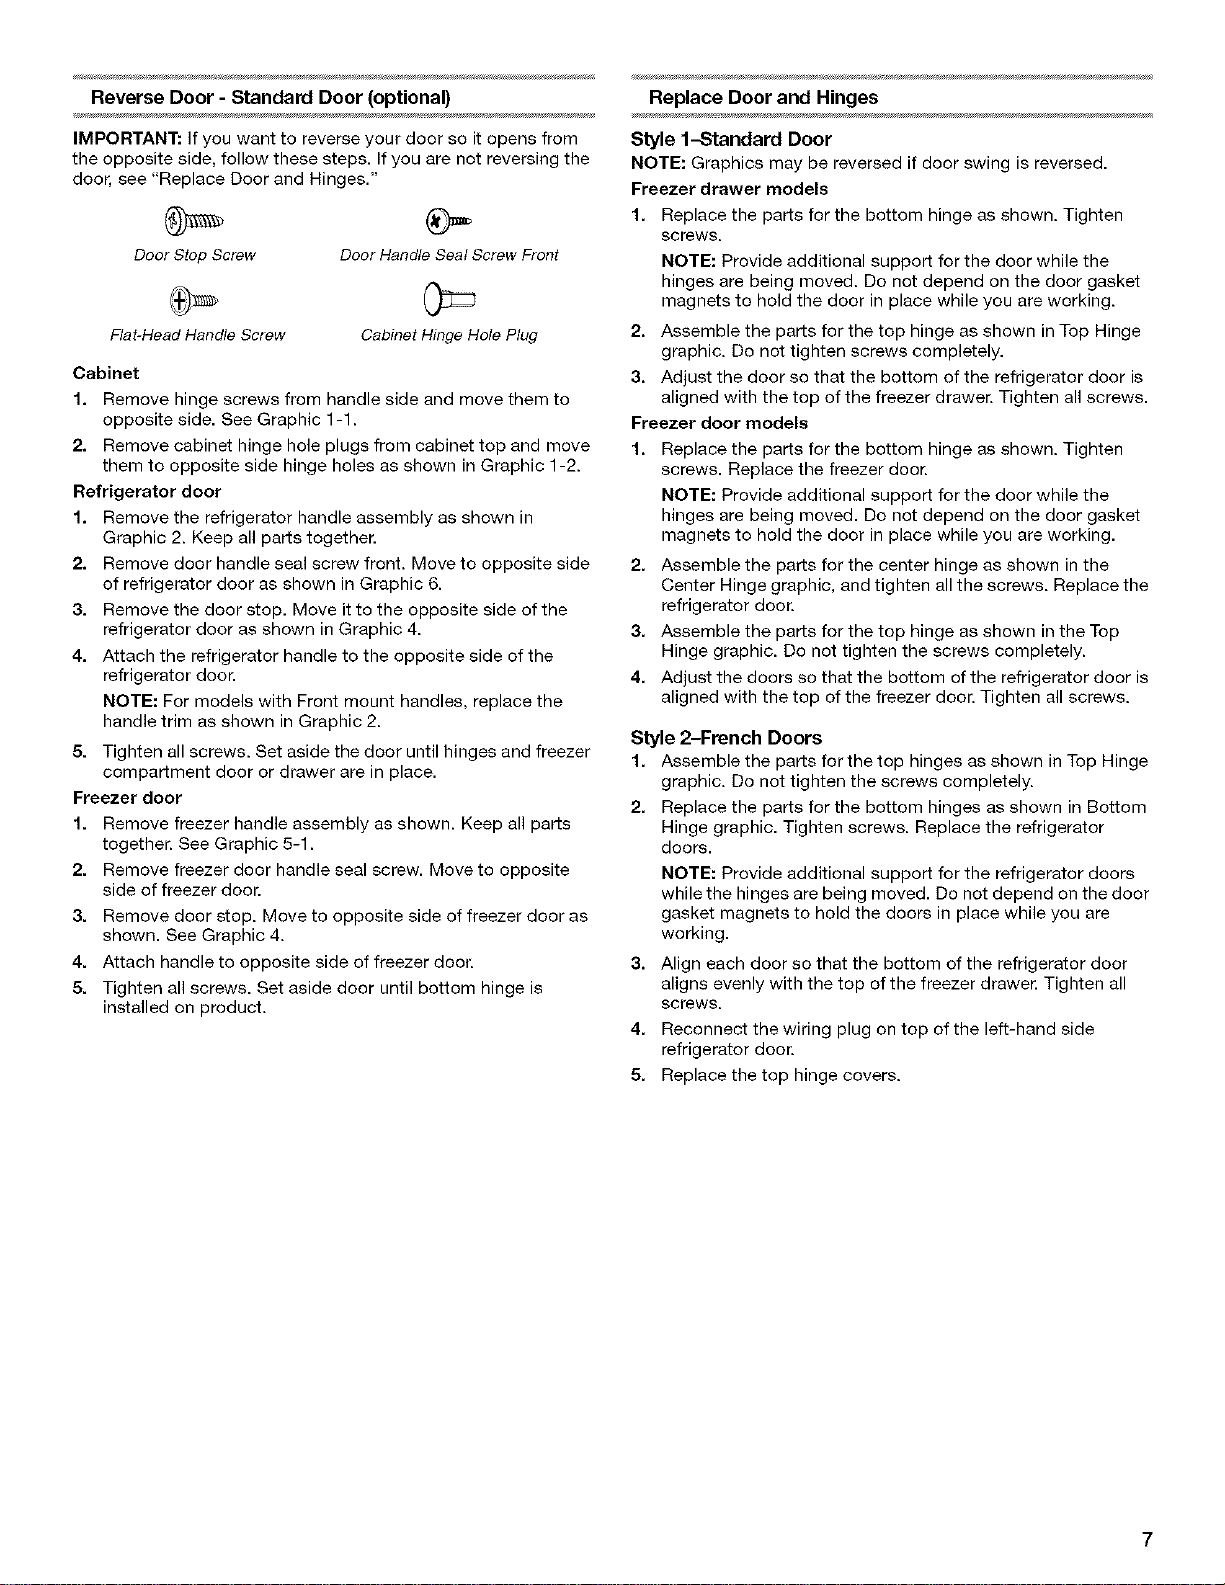
Door Stop Screw Door Handle Seal Screw Front
Flat-Head Handle Screw Cabinet Hinge Hole Plug
Cabinet
1. Remove hinge screws from handle side and move them to
opposite side. See Graphic 1-1.
2. Remove cabinet hinge hole plugs from cabinet top and move
them to opposite side hinge holes as shown in Graphic 1-2.
Refrigerator door
1. Remove the refrigerator handle assembly as shown in
Graphic 2. Keep all parts together.
2. Remove door handle seal screw front. Move to opposite side
of refrigerator door as shown in Graphic 6.
3. Remove the door stop. Move it to the opposite side of the
refrigerator door as shown in Graphic 4.
4. Attach the refrigerator handle to the opposite side of the
refrigerator door.
NOTE: For models with Front mount handles, replace the
handle trim as shown in Graphic 2.
5. Tighten all screws. Set aside the door until hinges and freezer
compartment door or drawer are in place.
Freezer door
1. Remove freezer handle assembly as shown. Keep all parts
together. See Graphic 5-1.
2. Remove freezer door handle seal screw. Move to opposite
side of freezer door.
3. Remove door stop. Move to opposite side of freezer door as
shown. See Graphic 4.
4. Attach handle to opposite side of freezer door.
5. Tighten all screws. Set aside door until bottom hinge is
installed on product.
1. Replace the parts for the bottom hinge as shown. Tighten
screws.
NOTE: Provide additional support for the door while the
hinges are being moved. Do not depend on the door gasket
magnets to hold the door in place while you are working.
2. Assemble the parts for the top hinge as shown in Top Hinge
graphic. Do not tighten screws completely.
3. Adjust the door so that the bottom of the refrigerator door is
aligned with the top of the freezer drawer. Tighten all screws.
Freezer door models
1=
Replace the parts for the bottom hinge as shown. Tighten
screws. Replace the freezer door.
NOTE: Provide additional support for the door while the
hinges are being moved. Do not depend on the door gasket
magnets to hold the door in place while you are working.
2. Assemble the parts for the center hinge as shown in the
Center Hinge graphic, and tighten all the screws. Replace the
refrigerator door.
3. Assemble the parts for the top hinge as shown in the Top
Hinge graphic. Do not tighten the screws completely.
4. Adjust the doors so that the bottom of the refrigerator door is
aligned with the top of the freezer door. Tighten all screws.
Style 2-French Doors
1. Assemble the parts for the top hinges as shown in Top Hinge
graphic. Do not tighten the screws completely.
2. Replace the parts for the bottom hinges as shown in Bottom
Hinge graphic. Tighten screws. Replace the refrigerator
doors.
NOTE: Provide additional support for the refrigerator doors
while the hinges are being moved. Do not depend on the door
gasket magnets to hold the doors in place while you are
working.
3. Align each door so that the bottom of the refrigerator door
aligns evenly with the top of the freezer drawer. Tighten all
screws.
4. Reconnect the wiring plug on top of the left-hand side
refrigerator door.
5. Replace the top hinge covers.
Loading ...
Loading ...
Loading ...