Loading ...
Loading ...
Loading ...
Remove the tripod from the case, extend all the legs and place the tripod into position.
Ensure the locking screw on the side of the tripod is tight. Adjust the height of each leg
individually to align the bubble on the top of the tripod as near as possible to the centre of
the circle.
Remove the rotary base or the self-levelling laser level from the case and screw onto the
tripod taking care not to disturb its position. Using the three adjusters, align the bubble on
the rotary base as near to the centre of the circle as possible or align the bubble on the
self-levelling laser level as near to the centre of both vials.
To fine tune the rotary base place the level into the clamp centrally and tighten. Rotate the
level clockwise until it is directly over one of the three adjusters. Turn the adjuster until the
horizontal vial is level. Rotate the level a further 120° clockwise and adjust it to horizontal.
Rotate the level a further 120° to complete the final adjustment.
NOTE:
If the location or the height of the tripod is changed these adjustments must be repeated.
8. OPERATION AND USE
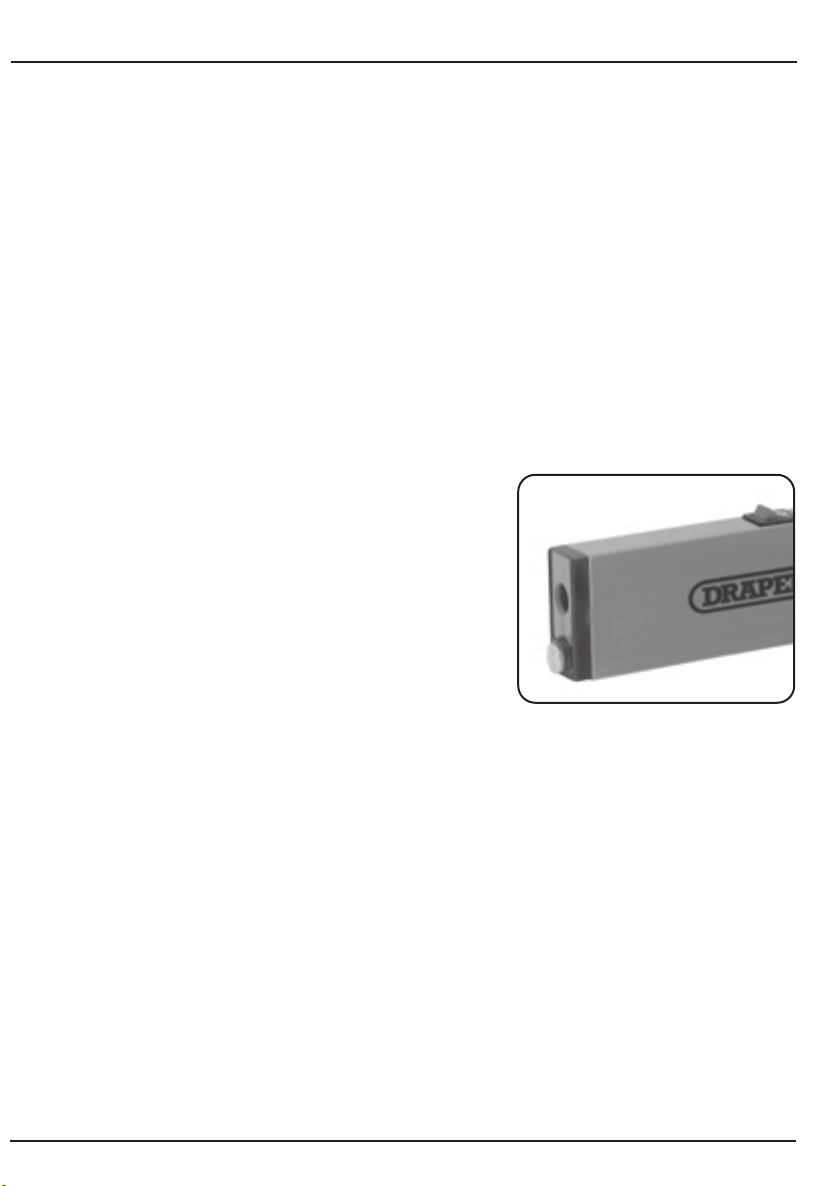
FIG.2
LASER LEVEL (FIG.2):
Press the ON/OFF switch into the position marked 'I'
to turn the laser beam on, and back to the 'O'
position to turn the laser off.
NOTE:
The laser 'spot' level can be used for distance
levelling, spot checking alignment, reference points
etc. The two vials also allow horizontal and angle
levelling.
9
Loading ...
Loading ...
Loading ...