Loading ...
Loading ...
Loading ...
46
• Si el césped está demasiado alto, se debe
segar dos veces para reducir la carga y los
posibles peligros de incendio debido a los
recortes secos. Haga el primer corte re la ti va-
men te alto; el segundo a la altura deseada.
• No siegue el césped cuando está mojado. El
césped mojado taponará la segadora y dejará
montones indeseables. Per mi ta que se seque
el césped antes de segarlo.
• Siempre opere el motor con una aceleración
completa cuan do siegue para asegurarse
de conseguir un mejor ren di mien to y una
descarga apropiada de los materiales. Regule
la velocidad de recorrido seleccionando un
cambio lo su fi cien te men te bajo para obtener
un rendimiento de corte de parte de su sega-
dora y también la calidad del corte deseada.
• Cuando opere con accesorios, seleccione una
velocidad de recorrido que se acomode al ter-
reno y le permita obtener el mejor rendimiento
del accesorio que se está usando.
CONSEJOS PARA SEGAR
• NO use cadenas de llanta cuando la carcasa
de la cortadora de césped esté colocada en
el tractor.
• La segadora debe estar nivelada en forma
adecuada para obtener el mejor rendimiento
al segar. Vea “PARA NIVELAR LA CAJA DE
LA SEGADORA” en la sección de Servicio y
Ajustes de este manual.
• El lado izquierdo de la segadora se debe usar
para recorte.
• Maneje de modo que los recortes se desc-
arguen en el área que ya ha sido cortada.
Mantenga el área de corte a la derecha del
tractor. Esto producirá una distribución más
pareja de los recortes y un corte más uniforme.
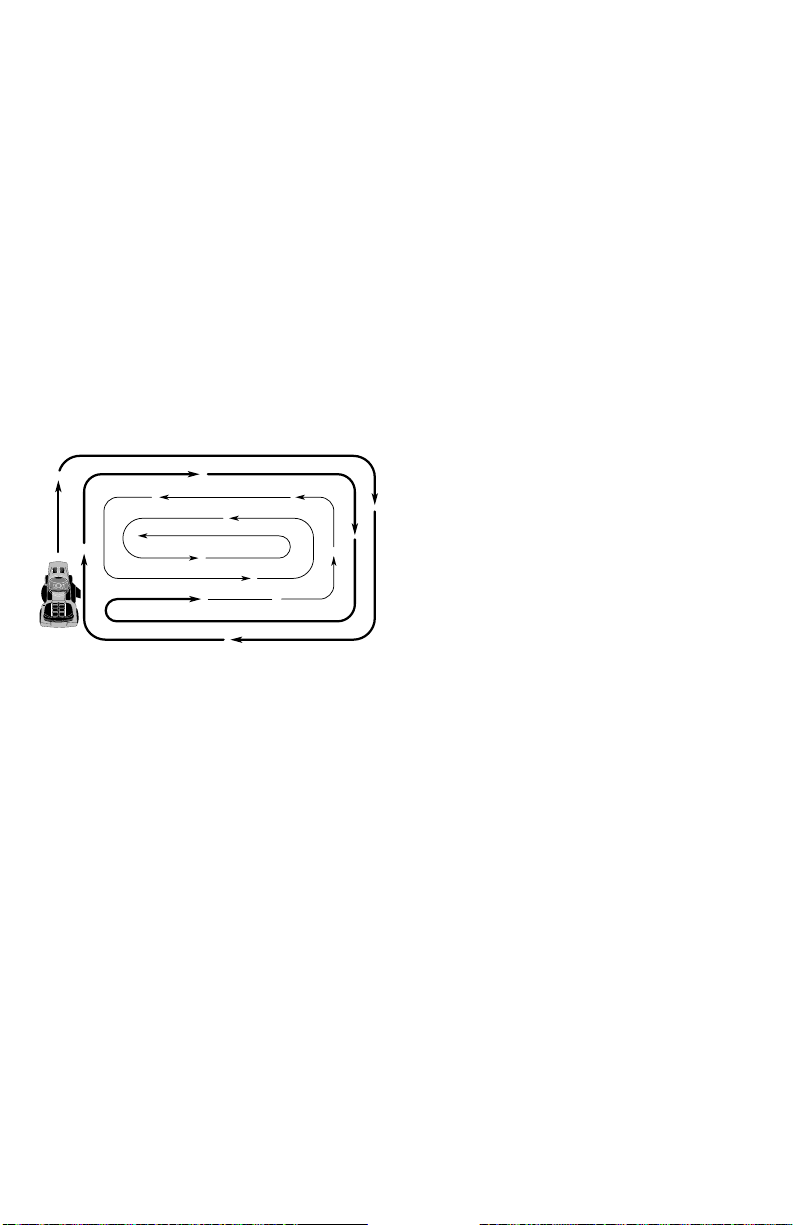
• Al segar las área grandes, empiece girando a
la derecha de modo que los recortes se des-
carguen, alejándose de los arbustos, cercos,
entradas de automóviles, etc. Después de una
o dos vueltas, siegue en la dirección opuesta,
haciendo virajes a la izquierda, hasta que
termine.
19
AIR FILTER
Your engine will not run properly using a
dirty air filter. Service paper cartridge every
100 hours of operation or every season,
whichever occurs first.
Service air cleaner more often under dusty
conditions.
NOTE: If needed, remove lower dash cov-
ers using steps from "Lower Dash Cover
Removal" section of this manual.
1. Remove cover.
2. Carefully remove air filter cartridge and
pre-cleaner from base.
3. Clean base carefully to prevent debris
from falling into carburetor.
Pre-Cleaner
Knobs
Cover
Cartridge
NOTE: If very dirty or damaged, replace
cartridge.
4. Place new pre-cleaner and cartridge
firmly in base.
5. Replace cover.
IMPORTANT: Petroleum solvents, such as
kerosene, are not to be used to clean the
cartridge. They may cause de te ri o ra tion of
the cartridge. Do not oil cartridge. Do not
use pressurized air to clean cartridge.
ENGINE COOLING SYSTEM
Debris may clog the engine’s air cooling
system. Remove blower housing and clean
area shown to prevent overheating and
engine damage.
Clean out chaff
and debris
02744
Air Screen
00667
Fuel Filter
Clamp
Clamp
IN-LINE FUEL FILTER
The fuel filter should be replaced once each
season. If fuel filter becomes clogged, ob-
struct ing fuel flow to car bu re tor, re place ment
is re quired.
1. With engine cool, remove filter and plug
fuel line sec tions.
2. Place new fuel filter in position in fuel line
with arrow pointing towards carburetor.
3. Be sure there are no fuel line leaks and
clamps are properly positioned.
4. Immediately wipe up any spilled gasoline.
CLEAN AIR SCREEN
The air screen is over the air intake blower
located on top of engine. The air screen
must be kept free of dirt and chaff to prevent
engine dam age from overheating. Clean with
a wire brush or compressed air to re move
dirt and stubborn dried gum fibers.
ENGINE OIL FILTER
Replace the engine oil filter every sea son or
every other oil change if the tractor is used
more than 100 hours in one year.
NOTE: If needed, remove lower dash covers
using steps from "Lower dash cover removal"
section of this manual.
11. Use gauge on oil fill cap/dipstick for
checking level. Insert dipstick into the
tube and rest the oil fill cap on the tube.
Do not thread the cap onto the tube when
taking reading. Keep oil at “FULL” line
on dipstick. Tighten cap onto the tube
securely when finished.
MUFFLER
Inspect and replace corroded muffler and
spark arrester (if equipped) as it could create
a fire hazard and/or dam age.
SPARK PLUG(S)
Replace spark plug(s) at the beginning of each
mowing season or after every 100 hours of
operation, whichever occurs first. Spark plug
type and gap setting are shown in “PROD UCT
SPEC I FI CA TIONS” section of this manual.
Loading ...
Loading ...
Loading ...