Loading ...
Loading ...
Loading ...
TOSTOPENGINE
• Move engine shut-off switch to OFF position See
figure 6
• Disconnect spark plug wire and move away from
spark plug to prevent accidental starting while
equipment is unattended.
e Close fuel shut-off valve when equipment is not in
use to prevent fuel leakage.
Hopper
Assembly
No Larger Than
1/2" Diameter
Recommended)
(Maximum)
\
HOWTOUSEYOURCHIPPER-SHREDDER
Do not attempt to shred or chip any material other
than vegetation found in a normal yard (i..e, branches,
leaves, twigs, etc.)
WARNING: THE CHIPPER-SHREDDER
DISCHARGES MATERIALS WITH CON-
SIDERABLE VELOCITY, KEEP AWAY
FROM THE AREA AROUND THE CHUTE
DEFLECTOR, ALWAYS STOP THE
ENGINE AND DISCONNECT THE SPARK
PLUG WIRE WHEN REMOVING OR
A'I-rACHING THE BAG WHEN CHANGING
CONTAINERS OR WHEN REMOVING THE
SHREDDED MATERIAL. WEAR SAFETY
GLASSES AND GLOVES WHENEVER
USING YOUR CHIPPER-SHREDDER.
The chipper-shredder is designed for three different
methods of operation.
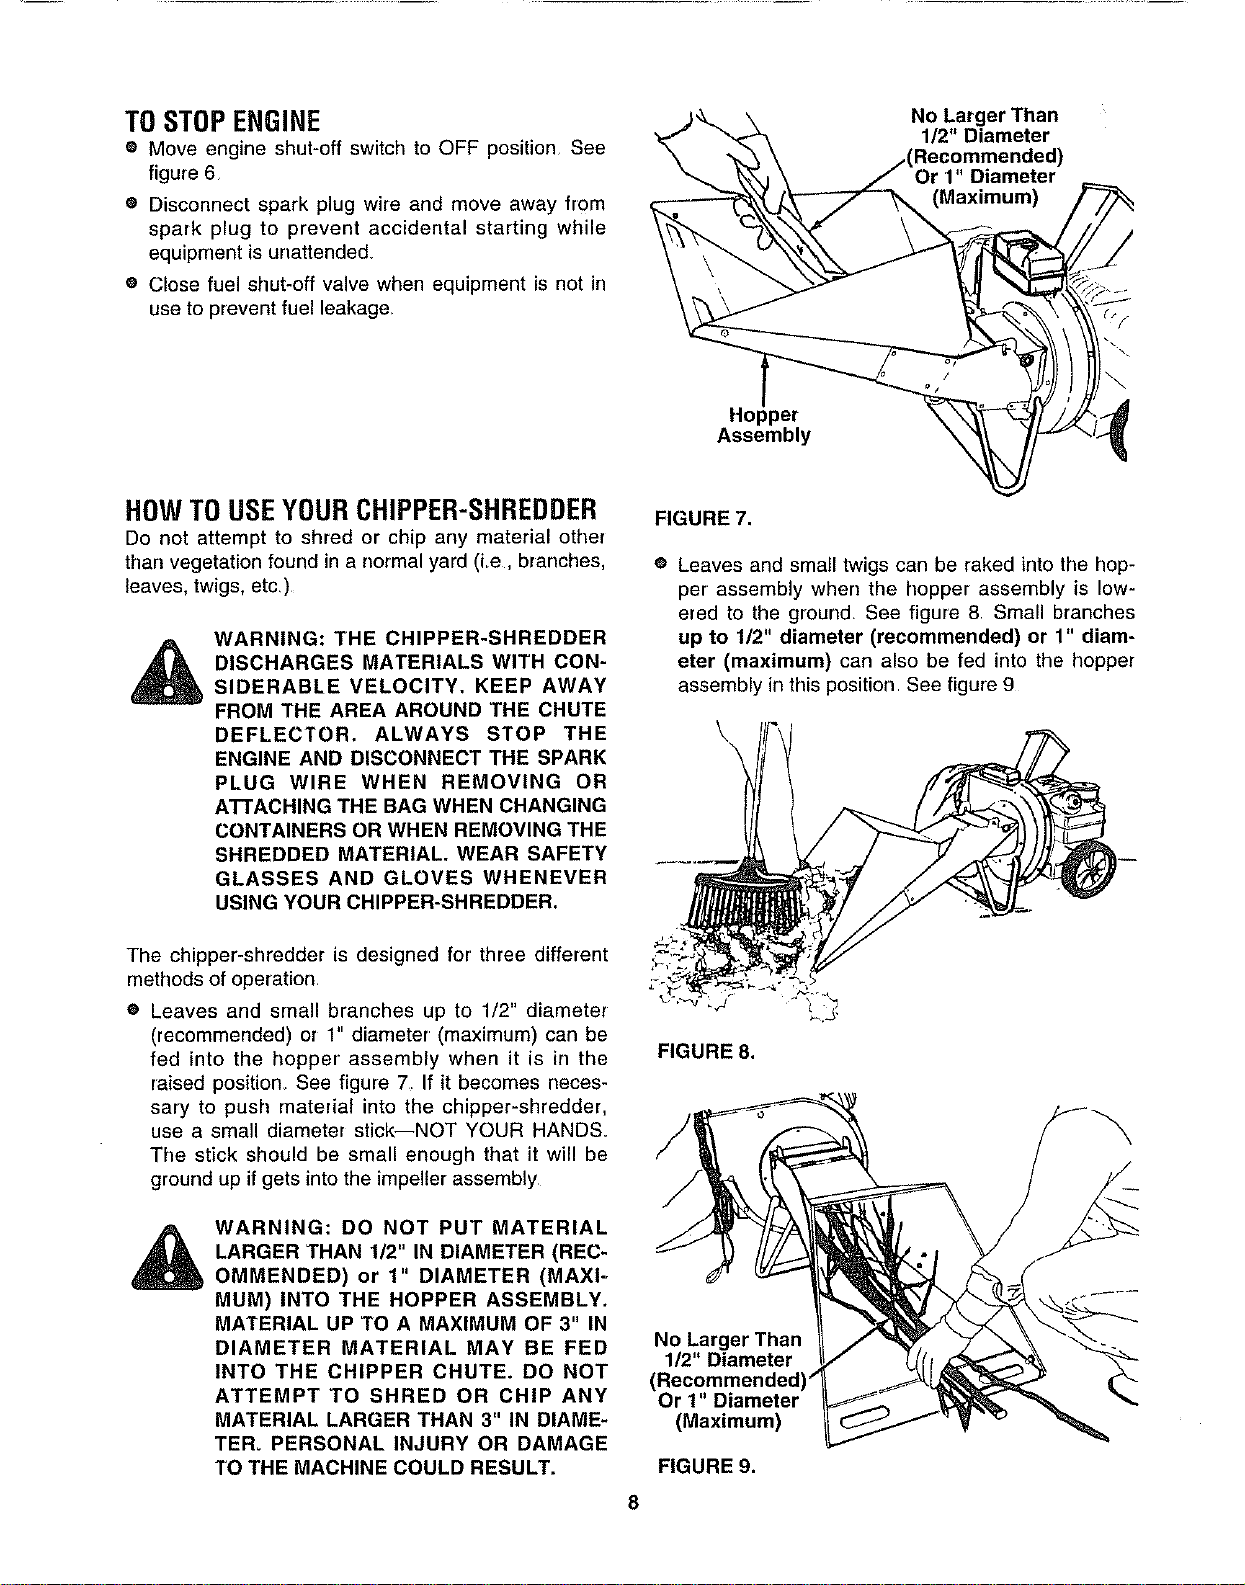
e Leaves and small branches up to 1/2" diameter
(recommended) or 1" diameter (maximum) can be
fed into the hopper' assembly when it is in the
raised position. See figure 7 If it becomes neces-
sary to push material into the chipper-shredder,
use a small diameter stick--NOT YOUR HANDS.
The stick should be small enough that it will be
ground up if gets into the impeller assembly
WARNING: DO NOT PUT MATERIAL
LARGER THAN 1/2" IN DIAMETER (REC-
OMMENDED) or 1" DIAMETER (MAXI-
MUM) INTO THE HOPPER ASSEMBLY.
MATERIAL UP TO A MAXIMUM OF 3" IN
DIAMETER MATERIAL MAY BE FED
INTO THE CHIPPER CHUTE. DO NOT
ATTEMPT TO SHRED OR CHIP ANY
MATERIAL LARGER THAN 3" IN DIAME-
TERo PERSONAL INJURY OR DAMAGE
1"OTHE MACHINE COULD RESULT.
FIGURE 7.
® Leaves and small twigs can be raked into the hop-
per assembly when the hopper assembly is low-
ered to the ground. See figure 8 Small branches
up to 1/2" diameter (recommended) or 1" diam-
eter (maximum) can also be fed into the hopper
assembly in this position See figure 9
\
FIGURE 8.
No Larger Than
1/2" Diameter
(Recommended)
Or 1" Diameter
(Maximum)
FIGURE 9.
Loading ...
Loading ...
Loading ...