Loading ...
Loading ...
Loading ...
11
INSTALLATION
ENGLISH
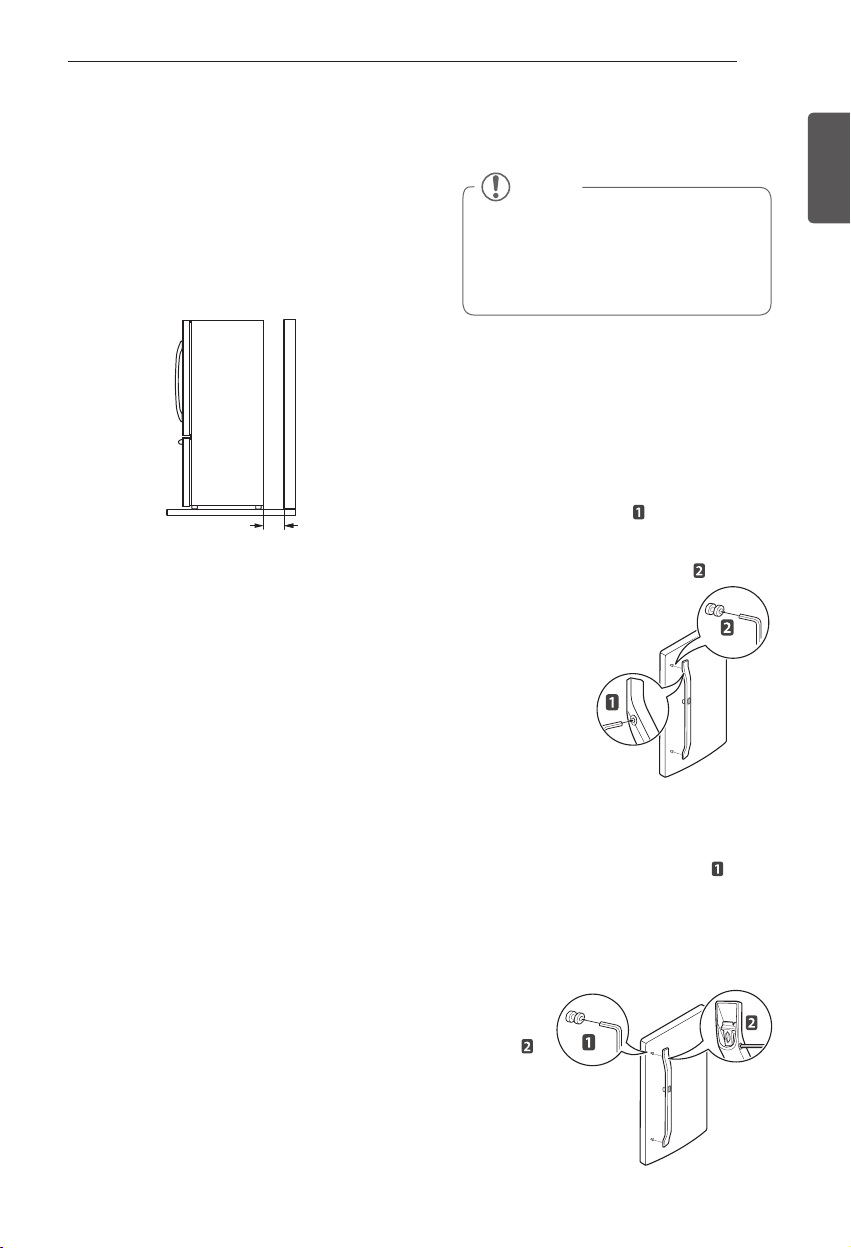
Removing the Handles
1
Loosen the set screws with a
3
/
32
in.
Allen wrench and remove the handle.
2
Loosen the mounting fasteners that
connect to the refrigerator
door and handle using
a
1
/
4
in. Allen wrench, and
remove the mounting
fasteners.
Measuring the Clearances
Too small of a distance from adjacent items
may result in lowered freezing capability and
increased electricity consumption charges.
Allow at least 24 inches (61 cm) in front of the
refrigerator to open the doors, and at least
2 inches (5.08 cm) between the back of the
refrigerator and the wall.
2” (5.08 cm)
24” (61 cm)
Removing/Assembling the
Refrigerator Door Handles
Tools Needed
3/32 in. Allen wrench
¼ in. Allen wrench
Assembling the Handles
1
Assemble the mounting fasteners at
both ends of the handle using a
1
/
4
in.
Allen wrench.
2
Place the handle on the door by fitting
the handle footprints over the mounting
fasteners and
tightening
the set
screws
with a
3
/
32
in.
Allen wrench.
NOTE
When it is necessary to move the
refrigerator through a narrow opening,
removing the doors is the recommended
procedure. If it is necessary to remove
the handles, follow the directions below.
Loading ...
Loading ...
Loading ...