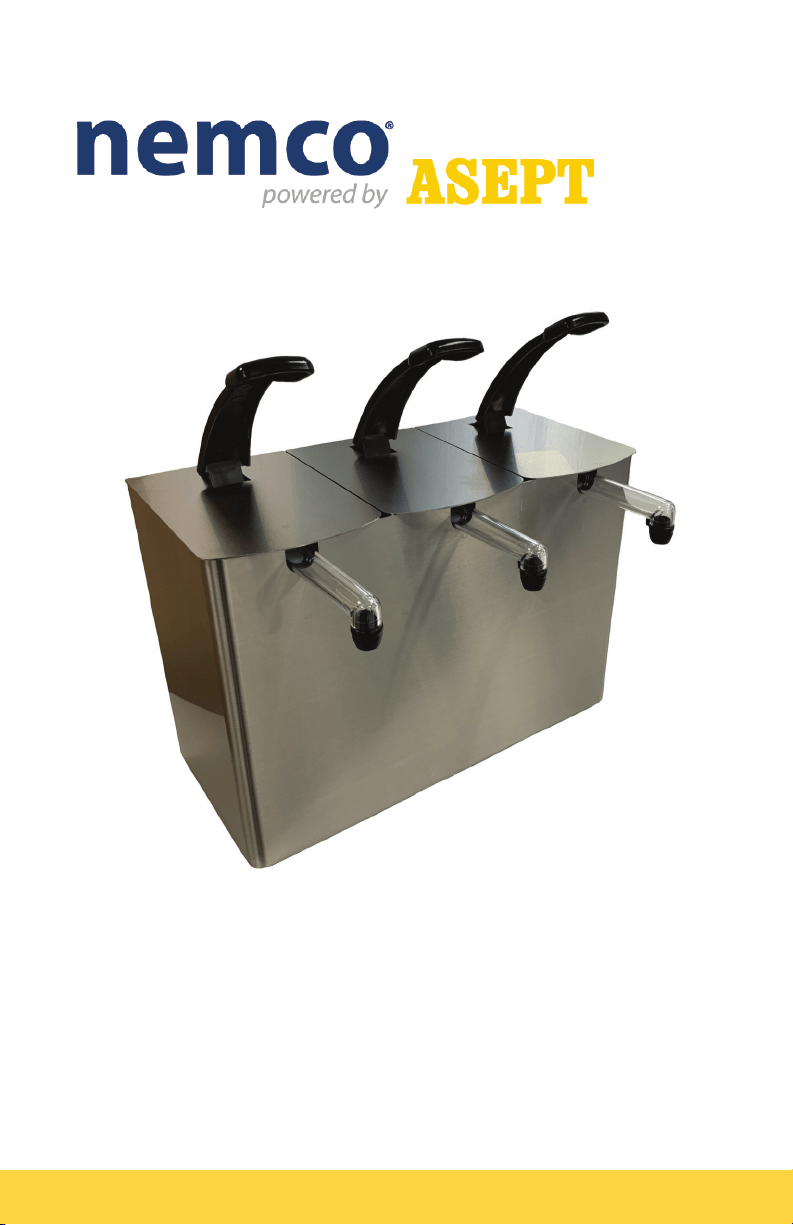
STAINLESS STEEL
DISPENSERS
User Manual
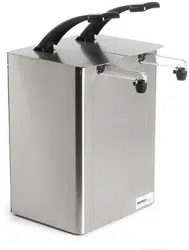
Stainless Steel Dispensers
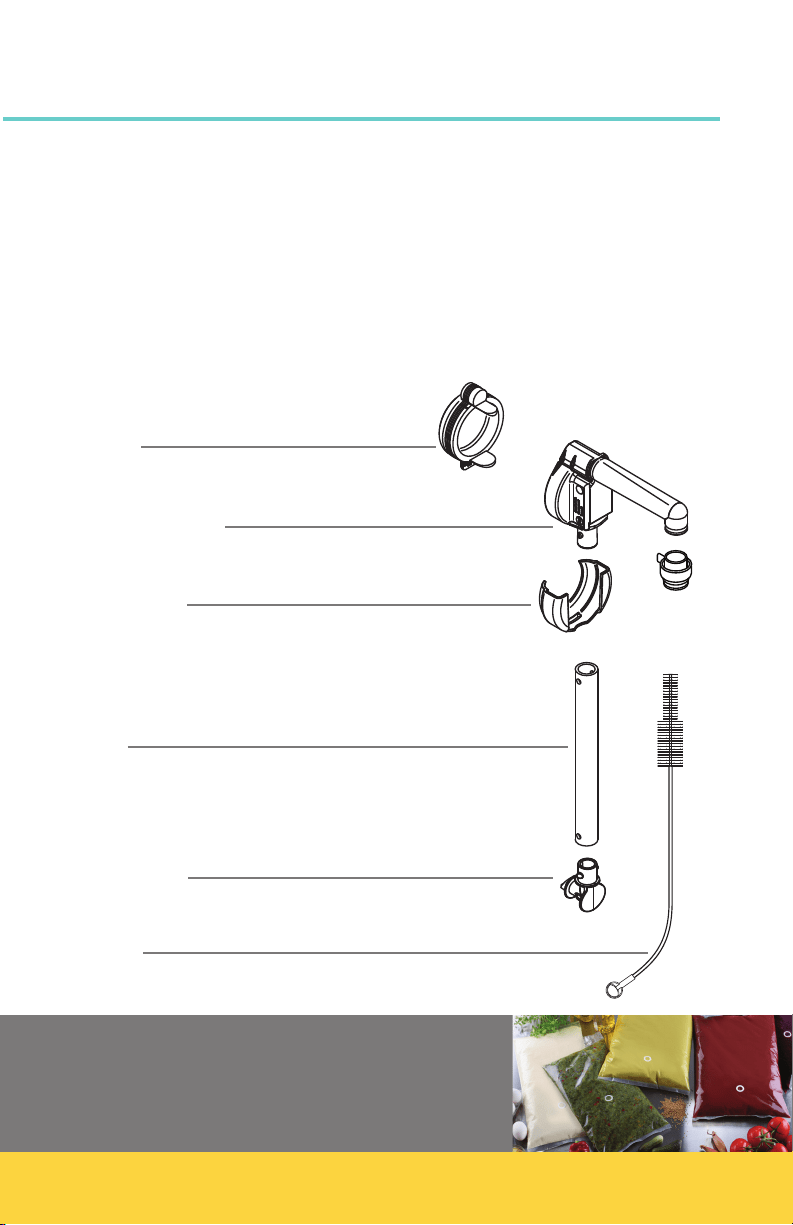
Complete Pump
10185
2
Model Part # Model Part #
Single SS6L-1 10961 Single Drop In SS6L-1DI 10966
Double SS6L-2 10962 Double Drop In SS6L-2DI 10967
Triple SS6L-3 10963 Triple Drop In SS6L-3DI 10968
Quadruple SS6L-4 10964 Quadruple Drop In SS6L-4DI 10969
Quintuple SS6L-5 10965 Quintuple Drop In SS6L-5DI 10970
Dome
7299
Brush
7615
Designed for use with standard 1½ gallon
pouched condiments and toppings.
Pumps attach to 16mm tments in pouches.
Connector
9472
Hose
7368
Dome Clip
7868
Pump Housing
10196
Nozzle
8651
3
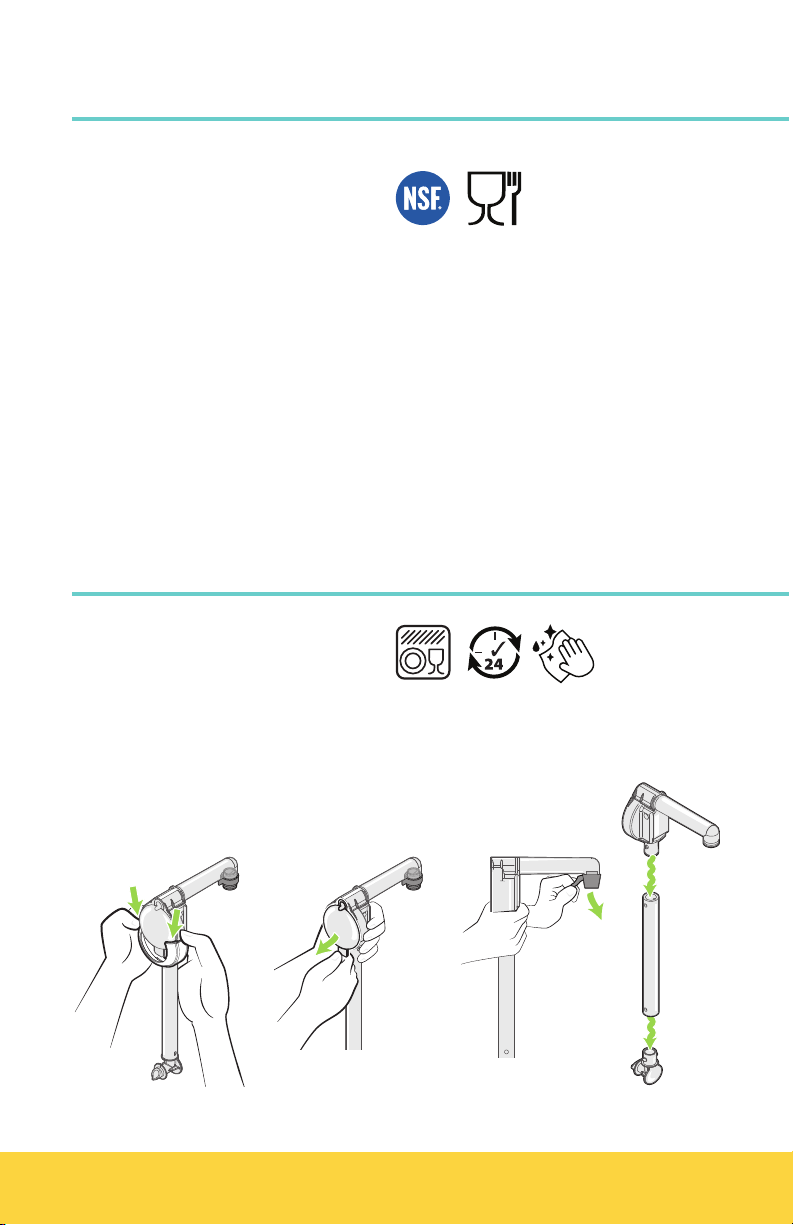
Safety
All components must be cleaned
before rst use.
According to food and safety
regulations, most foods must be
stored and/or served at certain
temperatures or they could
become hazardous. Check with
local food and safety regulators
for specic guidelines. Be aware
of the product you are serving
and the temperature the product
is required to maintain.
Cleaning
All components are
dishwasher safe.
Disassemble all six (6) parts.
Clean with soap and hot water,
rinse, sanitize and dry parts
according to local sanitization
requirements.
Use supplied brush to scrub
inside parts.
IMPORTANT Clean, rinse, sanitize,
and dry parts at a minimum
of every 24 hours. Always
comply with local sanitization
requirements.

4
Assembly
onto the end of the pump housing.
Bend the outer portion of the nozzle
inside out.
Insert into opening. Tab of nozzle faces
towards housing. Flip the outer portion of
the nozzle over the end of tube.
Mount the nozzle
into the pump housing.
Ensure the aps slide into place.
Press the entire dome rmly, including the
top portion.
Insert dome
2
over the dome and pump housing.
Ensure that the tab on bottom of the dome
slides into the opening in the dome clip.
Insert the dome clip
3
Fit the holes in the hose over the pegs on
the pump housing.
Attach hose to pump housing
4
1
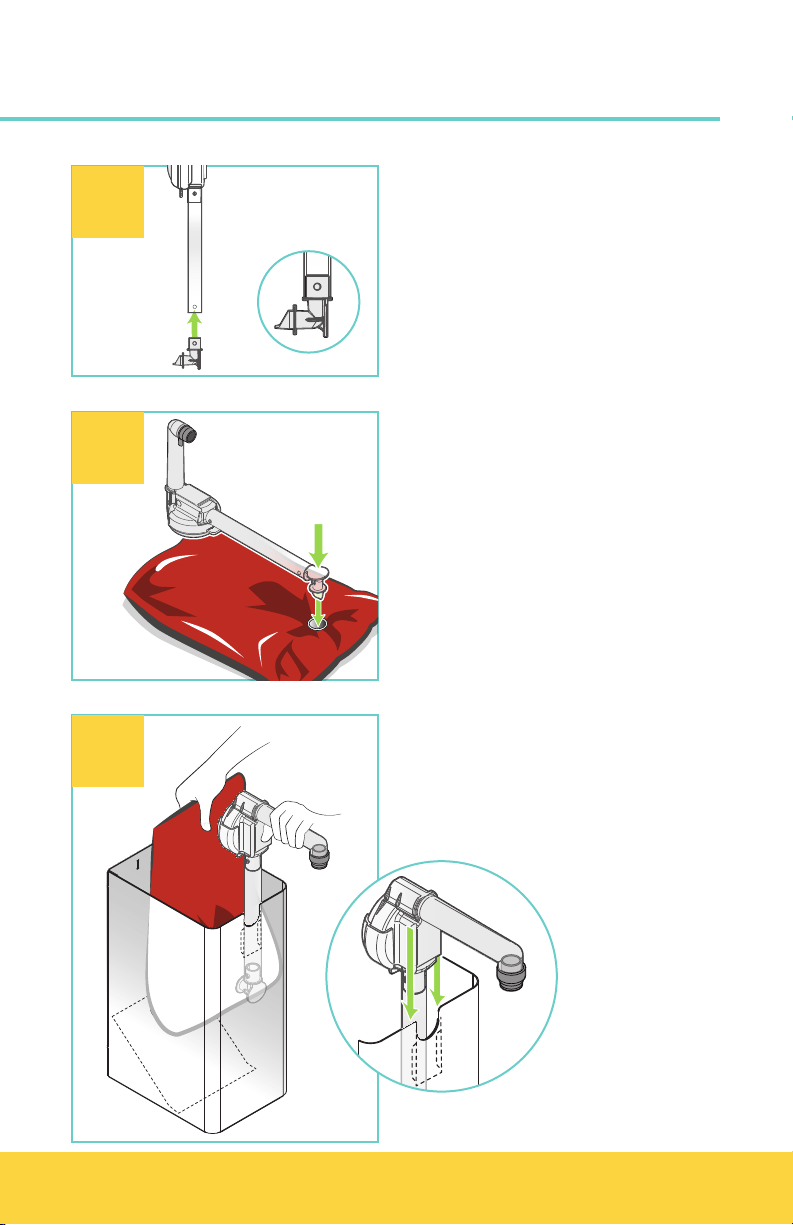
5
Fit the bottom holes on hose over the pegs
on the connector.
Piercing end of the connector must face
away from pump housing.
Attach connector to hose
5
Put new pouch on countertop with tment
facing up. Place piercing end of connector
in center of the tment. Push rmly until
pump snaps into place.
Connect pump to pouch
6
into the dispenser shroud. Hold end of
pouch up while guiding the pump into the
slots inside the front of dispenser.
Insert pouch and pump
7
Width Depth
(inches) (inches)
Single 6
3
/
8
8 ½
Double 11 8 ½
Triple 16
3
/
8
8 ½
Quadruple 21
13
/
16
8 ½
Quintuple 27
3
/
16
8 ½
Dimensions
for
Cutout
6
Drop-In Dispensers
Hold the lever up while
inserting lid tabs into
slots in back of
dispenser shroud.
Insert the lid
8
Press lever several times until food is visible
in discharge tube.
Prime pump
9
Add Corner Guards:
Hook
rst tab into slot.
Push rmly on second tab to
Snap into place.

1
7
Setting the Portion
Use a athead screwdriver to pry
o the locking washer from the
pin at the end of the link arms.
Keep locking washer for step 4.
Remove locking washer
2
Slide the pin out from the pair of
link arms and portion holes.
Remove pin
3
4
Not applicable
on this dispenser.
Select portion setting
with hole for desired portion
setting. Slide pin through all.
Secure pin with locking washer.
Align holes on link arms
1 oz
1/2 oz
2 mL
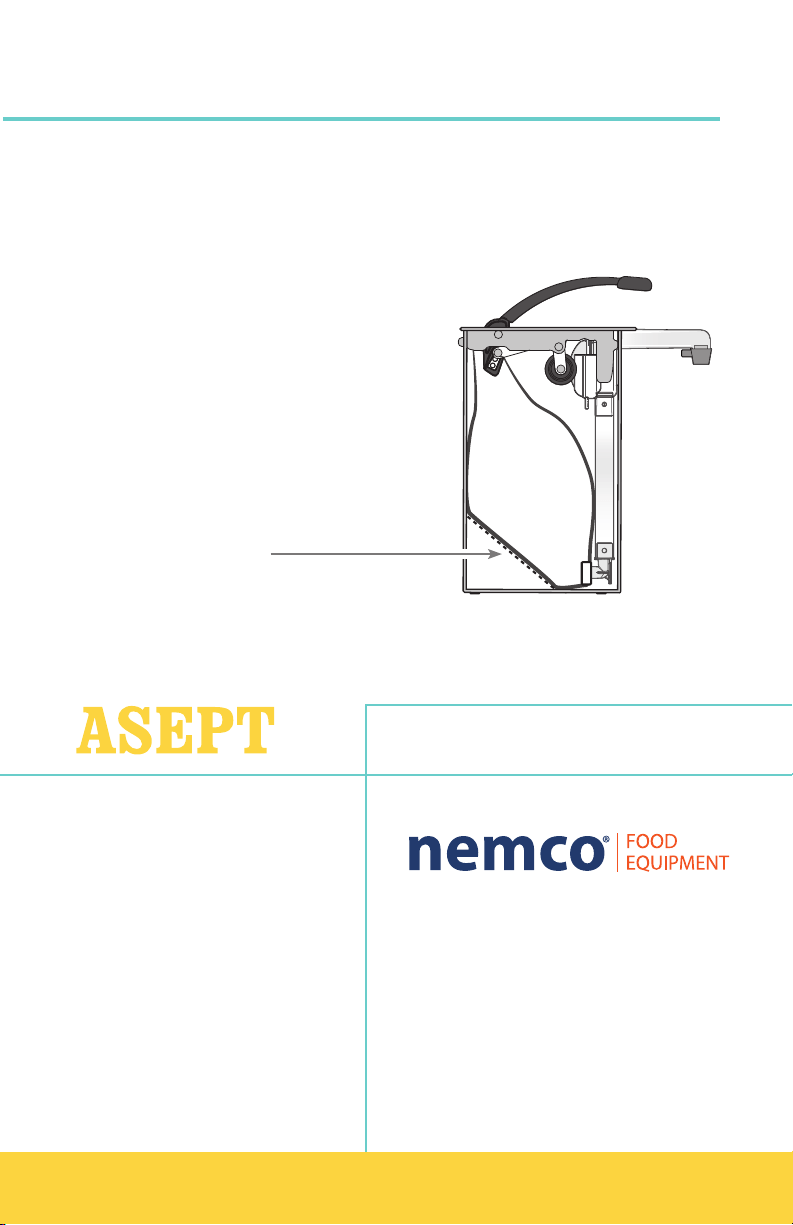
Optimize pouch evacuation:
Ensure ramp is in place.
Asept International AB
Traktorvägen 17, SE-226 60
Lund, Sweden
+46 46 329 700
Asept International Inc.
900 Oakmont Ln, Suite 207,
Westmont IL 60559, USA
+1 (630) 441-5656
www.asept.com
8
10258 Rev 2 08/20
Tips & Troubleshooting
Ensure that you hear a CLICK when attaching pump to pouch.
Prevent leaks:
Ensure that dome is pushed fully into pump housing.
Pro Tip: Clean water may be used as lubrication
when tting hose onto pegs.
Nemco Food Equipment
P.O. Box 305
301 Meuse Argonne
Hicksville, OH 43526
800.782.6761
www.nemcofoodequip.com
Available In the USA through: