Loading ...
Loading ...
Loading ...
16
www.zephyronline.com
Installation – Mounting the Range Hood
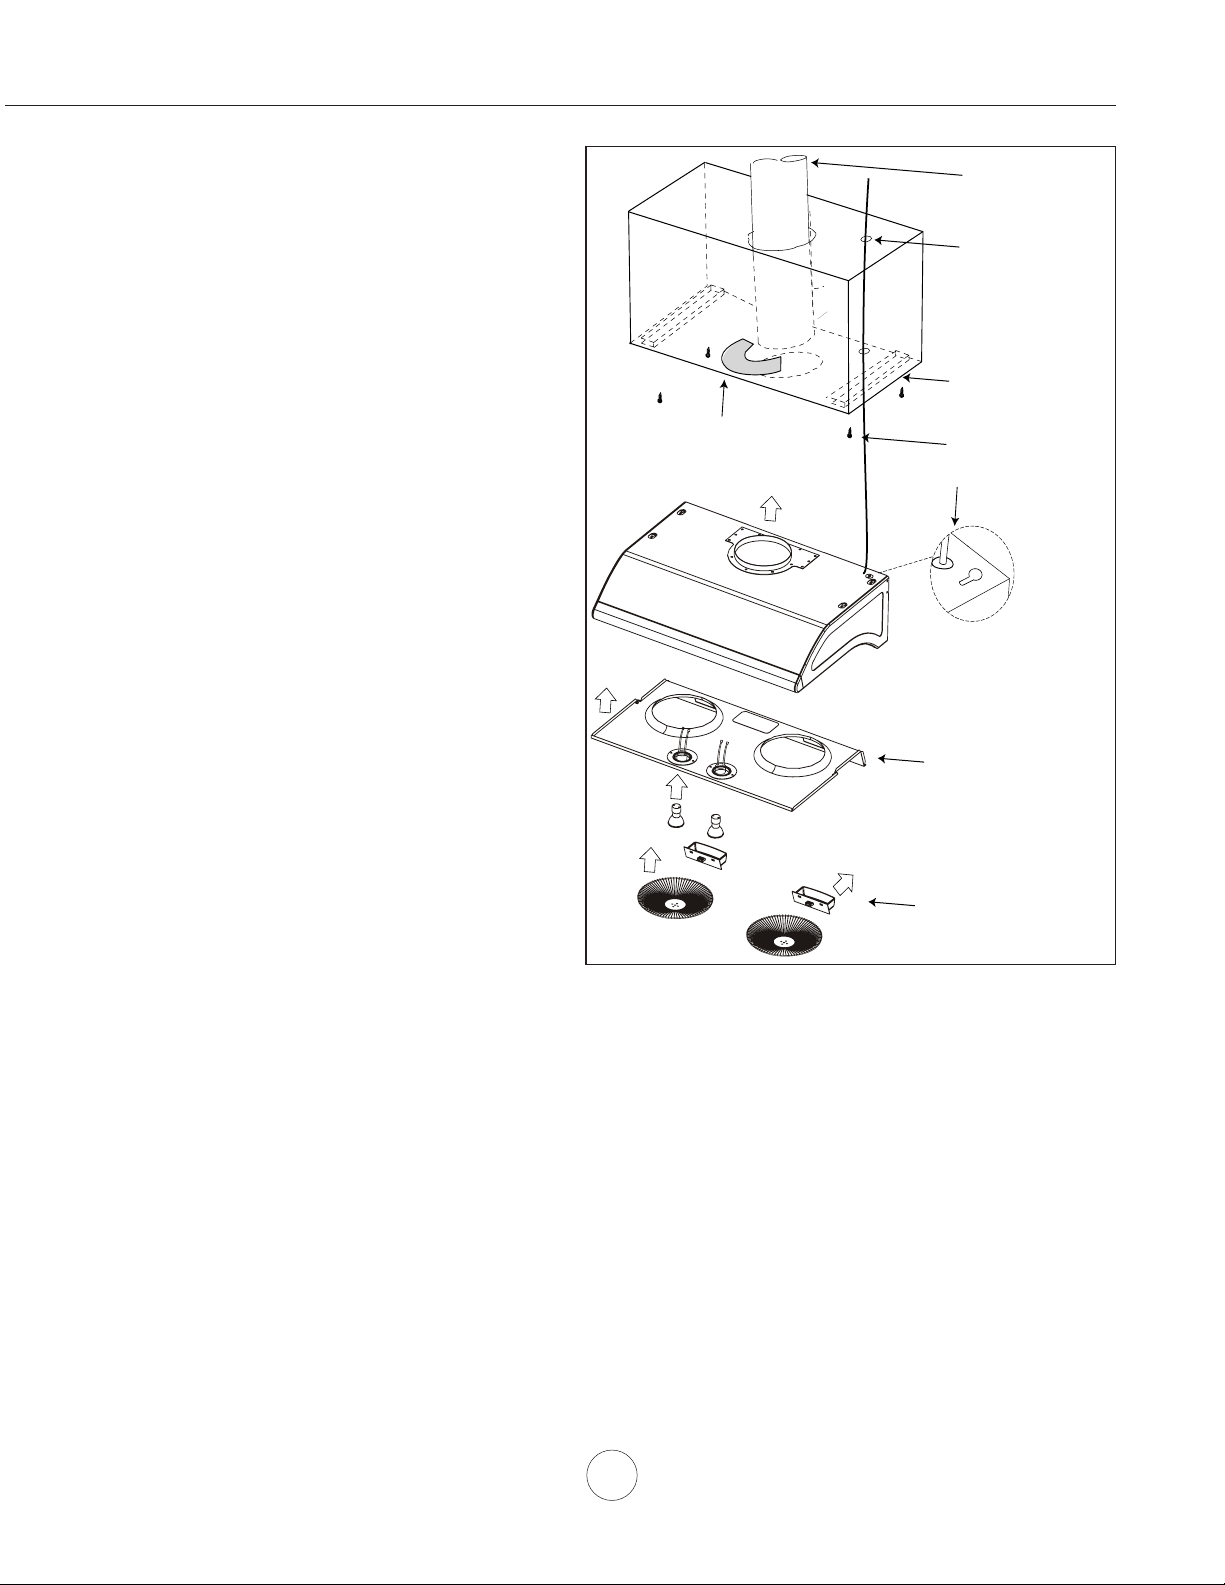
3UHSDUHGXFWORFDWLRQRQKRRGYHUWLFDORU
KRUL]RQWDO5HIHUWR3DJHVIRUGXFWLQJ
options.
2. Measure and cut out duct and electrical
openings in cabinet or wall to match up with
the hood. Ducting and electrical dimensions
can be found on Pages 10-12. Note: Make
sure duct opening is large enough to apply
aluminum duct tape.
3. Reinforce cabinet bottom with wood strips
if additional strengthening is required or if
cabinets are framed.
4. Remove bottom panel from hood using a
Philips head screwdriver to remove each of
the screws. Also disconnect lighting harness
by pressing in on the clip to release the lights
from the internal wiring. Use caution when
removing bottom panel. Take care not to
scratch side panels during removal.
,QVWDOOZRRGVFUHZVWRFDELQHWERWWRP
by following the installation screw hole
dimensions on Page 10. These screws will be
used to secure the hood to the cabinet.
6. Lift hood onto screws located on cabinet
bottom and lock into place. Make sure all
NH\KROHVFRYHUWKHVFUHZV7LJKWHQHDFK
screw to secure hood to cabinet. Note: For
30” Typhoon models you will need an 8” - 10”
long shaft for your screwdriver/drill to reach the
front screws.
7. Install electrical.
8. Install duct work and seal with aluminum duct
tape.
9. Power up hood and check for leaks around
duct tape and test all functions.
10. Reinstall bottom panel and re-connect lighting
harness. Use caution when installing bottom
panel. Take care not to scratch side panels
during installation.
11. Slide residue cups into their openings on the
bottom of the hood. Install safety grilles over
each blower opening and secure with the two
safety grille screws.
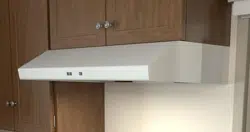
Hood is designed for installation under a
kitchen cabinet. See Fig. 1 for details.
bottom panel &
lighting harness
wood blocking
installation screws
and key-holes
duct work
residue cups &
safety grilles
electrical
duct tape
Fig 1
Loading ...
Loading ...
Loading ...