Loading ...
Loading ...
Loading ...
24
REFRIGERATOR USE
To Dispense Ice:
1. Select the desired type of ice. To switch between cubed ice
and crushed ice, press ICE/WATER.
2. Press a sturdy glass against the dispenser paddle. Hold the
glass close to the dispenser opening so ice does not fall
outside of the glass.
IMPORTANT: You do not need to apply a lot of pressure to the
paddle to activate the ice dispenser. Pressing hard will not
make the ice dispense faster or in greater quantities.
3. Remove the glass to stop dispensing.
NOTE: Ice may continue to dispense for several seconds after
removing the glass from the dispenser paddle. The dispenser may
continue to make noise for a few seconds after dispensing.
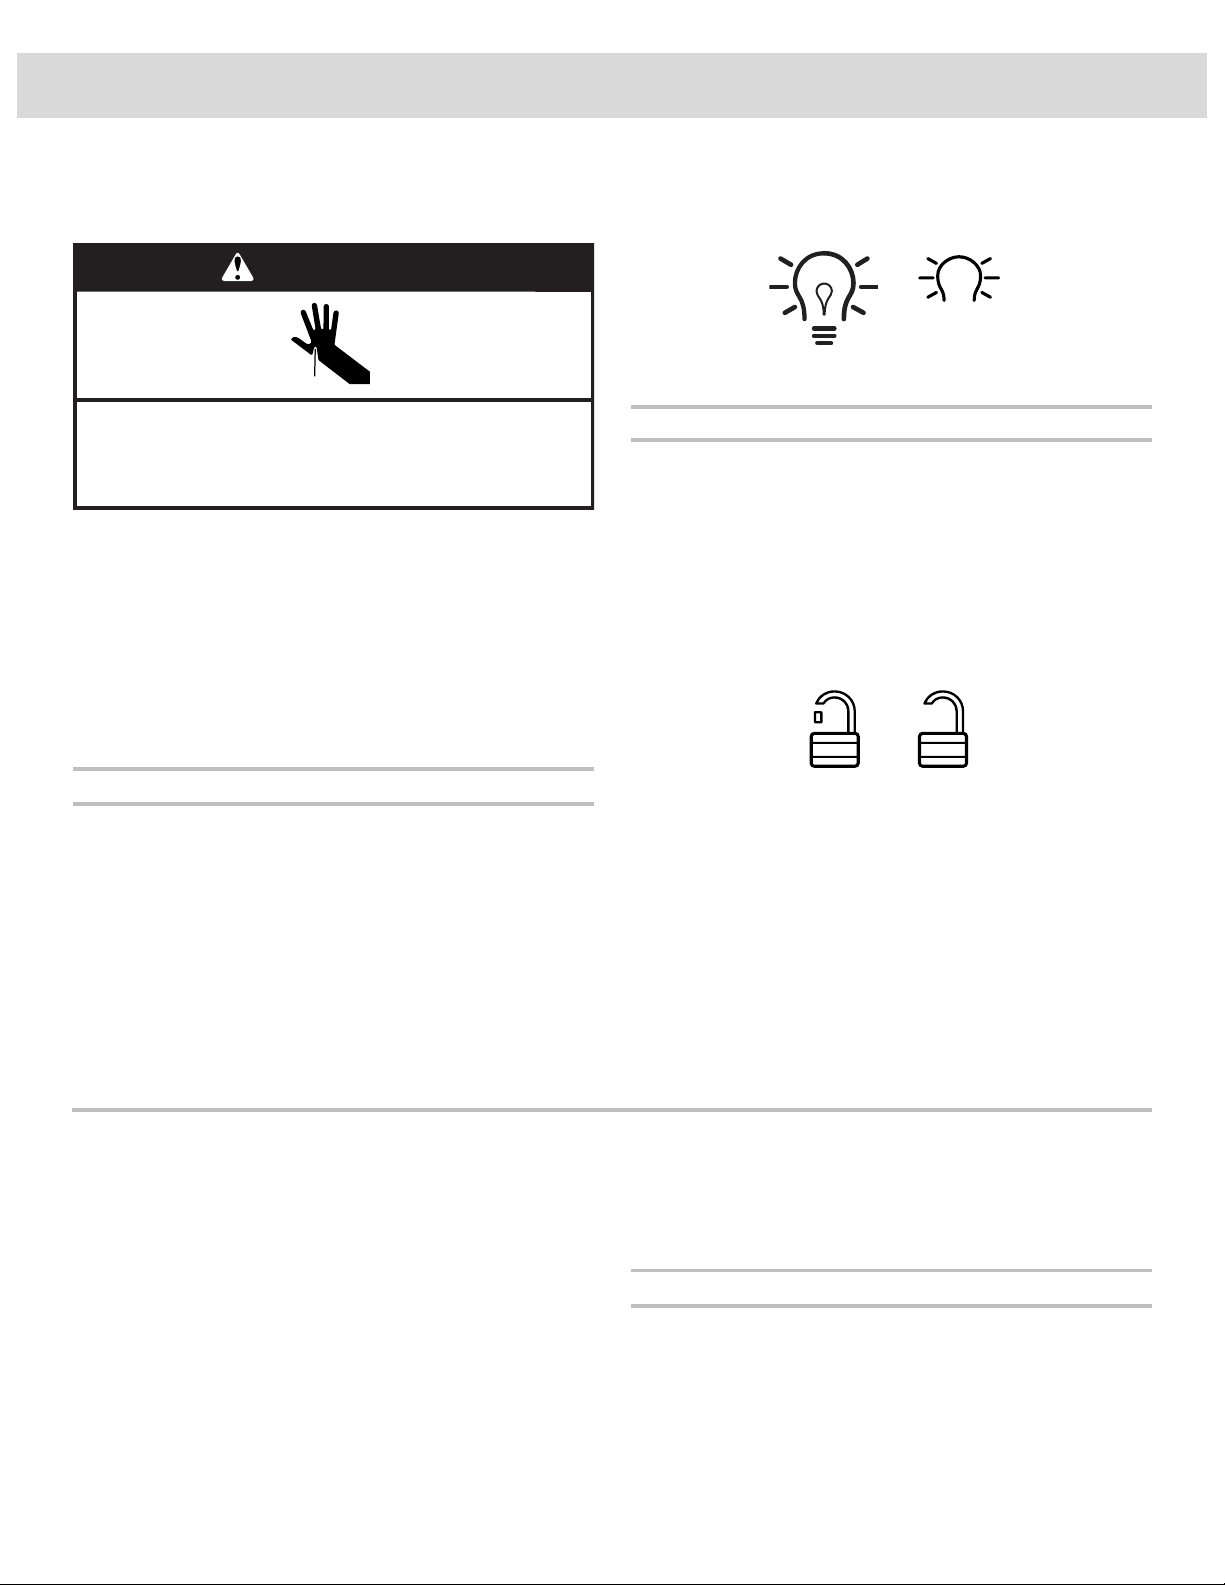
The Dispenser Light
When you use the dispenser, the light will automatically turn on.
To turn on the light when you are not dispensing:
Press LIGHT to toggle through the following choices in a
continuous loop:
■ OFF (default) - The dispenser light is off
■ ON - The dispenser light remains on at 100% brightness
■ DIM - The dispenser light remains on at 50% brightness
The dispenser lights are LEDs that cannot be changed. If it
appears that your dispenser lights are not working, see
“Troubleshooting” for more information.
The Dispenser Lock
The dispenser can be turned off for easy cleaning or to avoid
unintentional dispensing by small children and pets.
NOTE: The lock feature does not shut off power to the
refrigerator, to the ice maker, or to the dispenser light. It simply
deactivates the controls and dispenser paddles. To turn off the
ice maker, see “Ice Maker and Storage Bin.”
■ Press and hold LOCK for 3 seconds to lock the dispenser.
■ Press and hold LOCK a second time to unlock the dispenser.
The display screen indicates when the dispenser is locked.
Ice Maker and Ice Storage Bin
(on some models)
IMPORTANT: To avoid low ice production and poor quality ice,
flush the water system before turning on the ice maker. See
“Water Dispenser.”
■ Allow 24 hours to produce the first batch of ice. Discard the
first three batches of ice produced. Allow 2 to 3 days for the
storage bin to fill completely following installation.
■ The quality of your ice will be only as good as the quality of
the water supplied to your ice maker. Avoid connecting the
ice maker to a softened water supply. Water softener
chemicals (such as salt) can damage parts of the ice maker
and lead to poor quality ice. If a softened water supply cannot
be avoided, make sure the water softener is operating
properly and is well maintained.
■ If the ice in the storage bin clumps together, break up ice
using a plastic utensil and discard. Do not use anything sharp
to break up the ice. This can cause damage to the ice bin and
the dispenser mechanism.
■ Do not store anything in the ice storage bin.
Ice Production Rate
■ The ice maker should produce approximately 3 lbs (1.4 kg) of
ice per day under normal operation.
■ To increase ice production, select the increased ice
production feature from the Options menu on the control
panel. See “Using the Control(s).”
Cut Hazard
Use a sturdy glass when dispensing ice.
Failure to do so can result in cuts.
WARNING
ON DIM
LOCKED UNLOCKED
Loading ...
Loading ...
Loading ...