Loading ...
Loading ...
Loading ...
24 INSTALLATION
1 Lift up both the inner and outer door sections
of the right door to raise them at the middle
hinge. (It may be easier to lift them with the
doors open.)
2 While the door is lifted, have an assistant
insert the C-Clip (snap ring) on the middle
hinge. The C-Clip may differ depending on the
model.
• C-Clip type A
Use pliers to insert the C-Clip on the middle
hinge of the inner door section as shown.
Insert additional C-Clips until the right door
is aligned.
• C-Clip type B
Insert only one C-Clip on the middle hinge
of the inner door section as shown. Three C-
Clips of different thicknesses will be
provided.
- If a C-Clip is already inserted on the
middle hinge, remove the C-Clip before
inserting a new C-Clip.
CAUTION
• The door is heavy. To avoid injury, use two or
more people to lift and align the fridge door.
• Small parts are a swallowing hazard for small
children. Keep C-Clips out of the reach of
children.
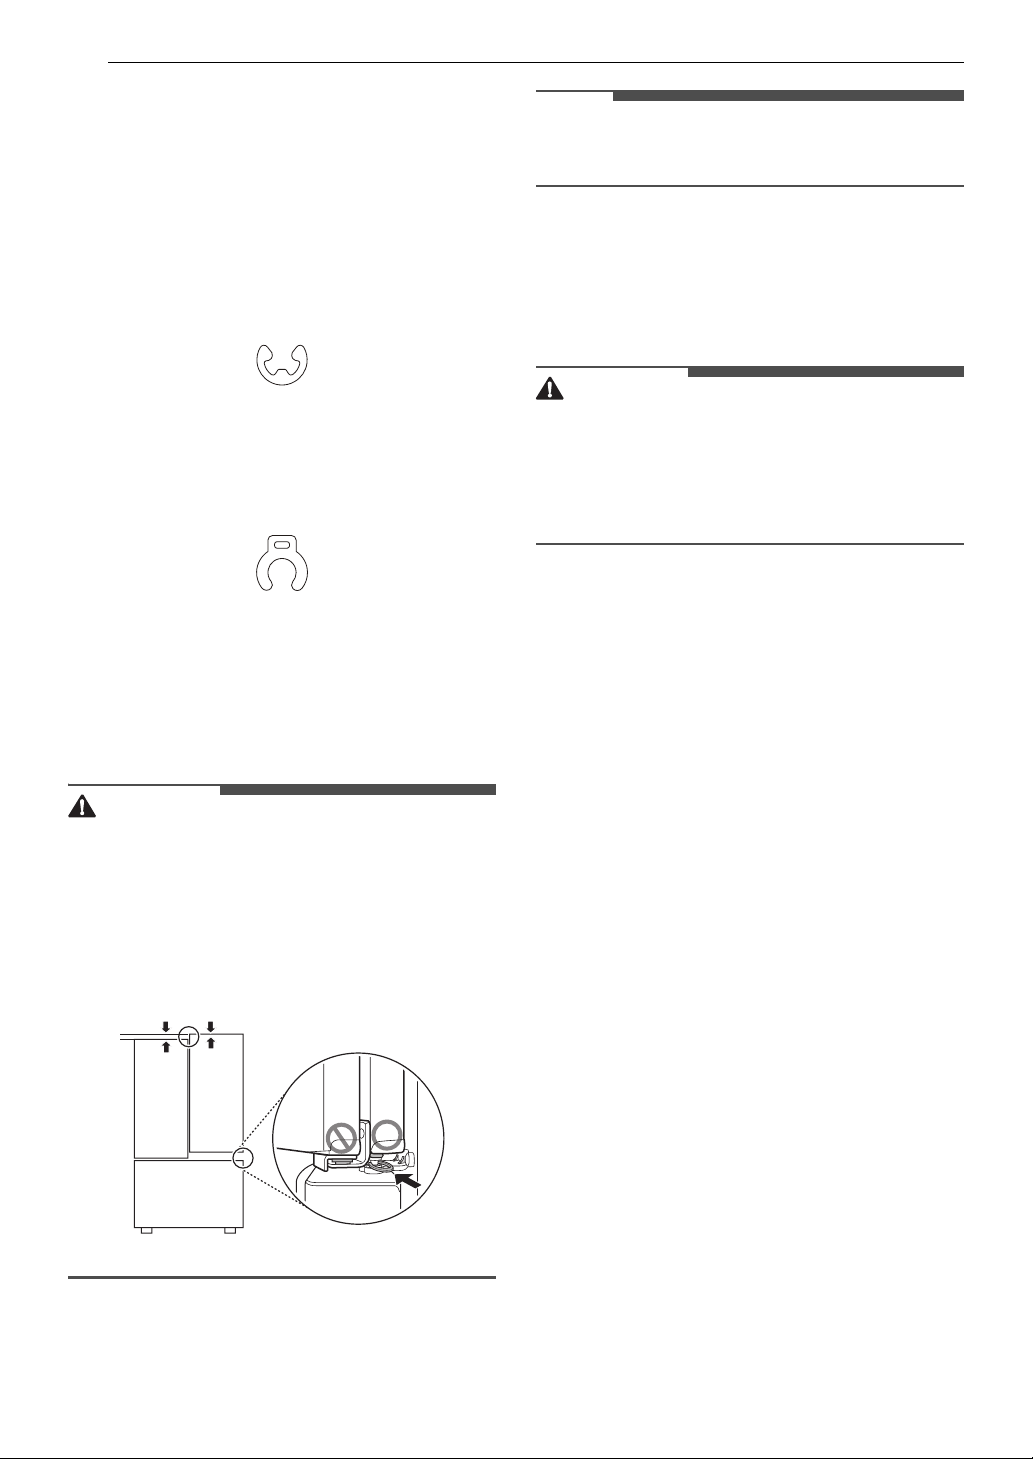
• Do not insert the C-Clip on the hinge of the outer
door section.
NOTE
• The number of freezer drawers may vary
depending on the model.
Turning on the Power
• After installing, plug the refrigerator’s power
cord into a 3-prong grounded outlet and push
the refrigerator into the final position.
CAUTION
• Connect to a rated power outlet.
• Have a certified electrician check the wall outlet
and wiring for proper grounding.
• Do not damage or cut off the ground terminal of
the power plug.
Position the Refrigerator
• Arrange the coil of tubing so that it does not
vibrate against the back of the refrigerator or
against the wall. Push the refrigerator back to
the wall.
Start the Icemaker
• If the water line is connected, turn icemakers on.
- To turn icemakers on, refer to Control Panel in
the Operation section.
• The icemaker will not begin to operate until it
reaches its operating temperature of 15 °F (–9
°C) or below. It will then begin operation
automatically if the icemaker has been turned
ON.
Loading ...
Loading ...
Loading ...