Loading ...
Loading ...
Loading ...
STARTING THE APPLIANCE
The appliance is ready to operate as received, when connected to the power supply. After connecting
to the power supply, close the door and allow the appliance to operate. The appliance will run for
1 to 2 hours, possibly longer depending on conditions, before operating temperature is reached. It
will then start and stop (cycle) at regular intervals. It is recommended that food not be placed in the
appliance until it is cycling regularly and no fi nal adjustments are necessary, generally after running
for approximately 24 hours.
Once the appliance is cycling regularly, it is ready to store foods. Do not operate the appliance at
temperatures below -19°C (-3°F), as this does not improve food preservation and only results in
longer running time and higher energy consumption. It is not advisable to freeze more than 1-1.4 kg
(2-3 pounds) of food, per litre (cubic foot) squared in any 24 hour period. It will take 15 or more hours
of running to freeze this amount of food.
When adding fresh, unfrozen food packages, store them against the walls. The sensing bulb of the
thermostat is fastened to the liner wall on the “insulation side” of the appliance. In view of the value of
the contents of the appliance, it is advisable to inspect contents and check operation regularly.
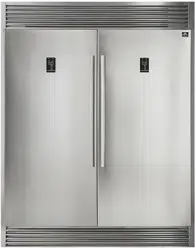
Note: This appliance is not designed for outside installation, including installation anywhere that is
not temperature controlled, such as garages, porches, carports, etc. Before connecting the appliance
to an electrical power supply, let it stand undisturbed for 6 hours. This will reduce the possibility of
malfunctions in the cooling system due to transport handling.
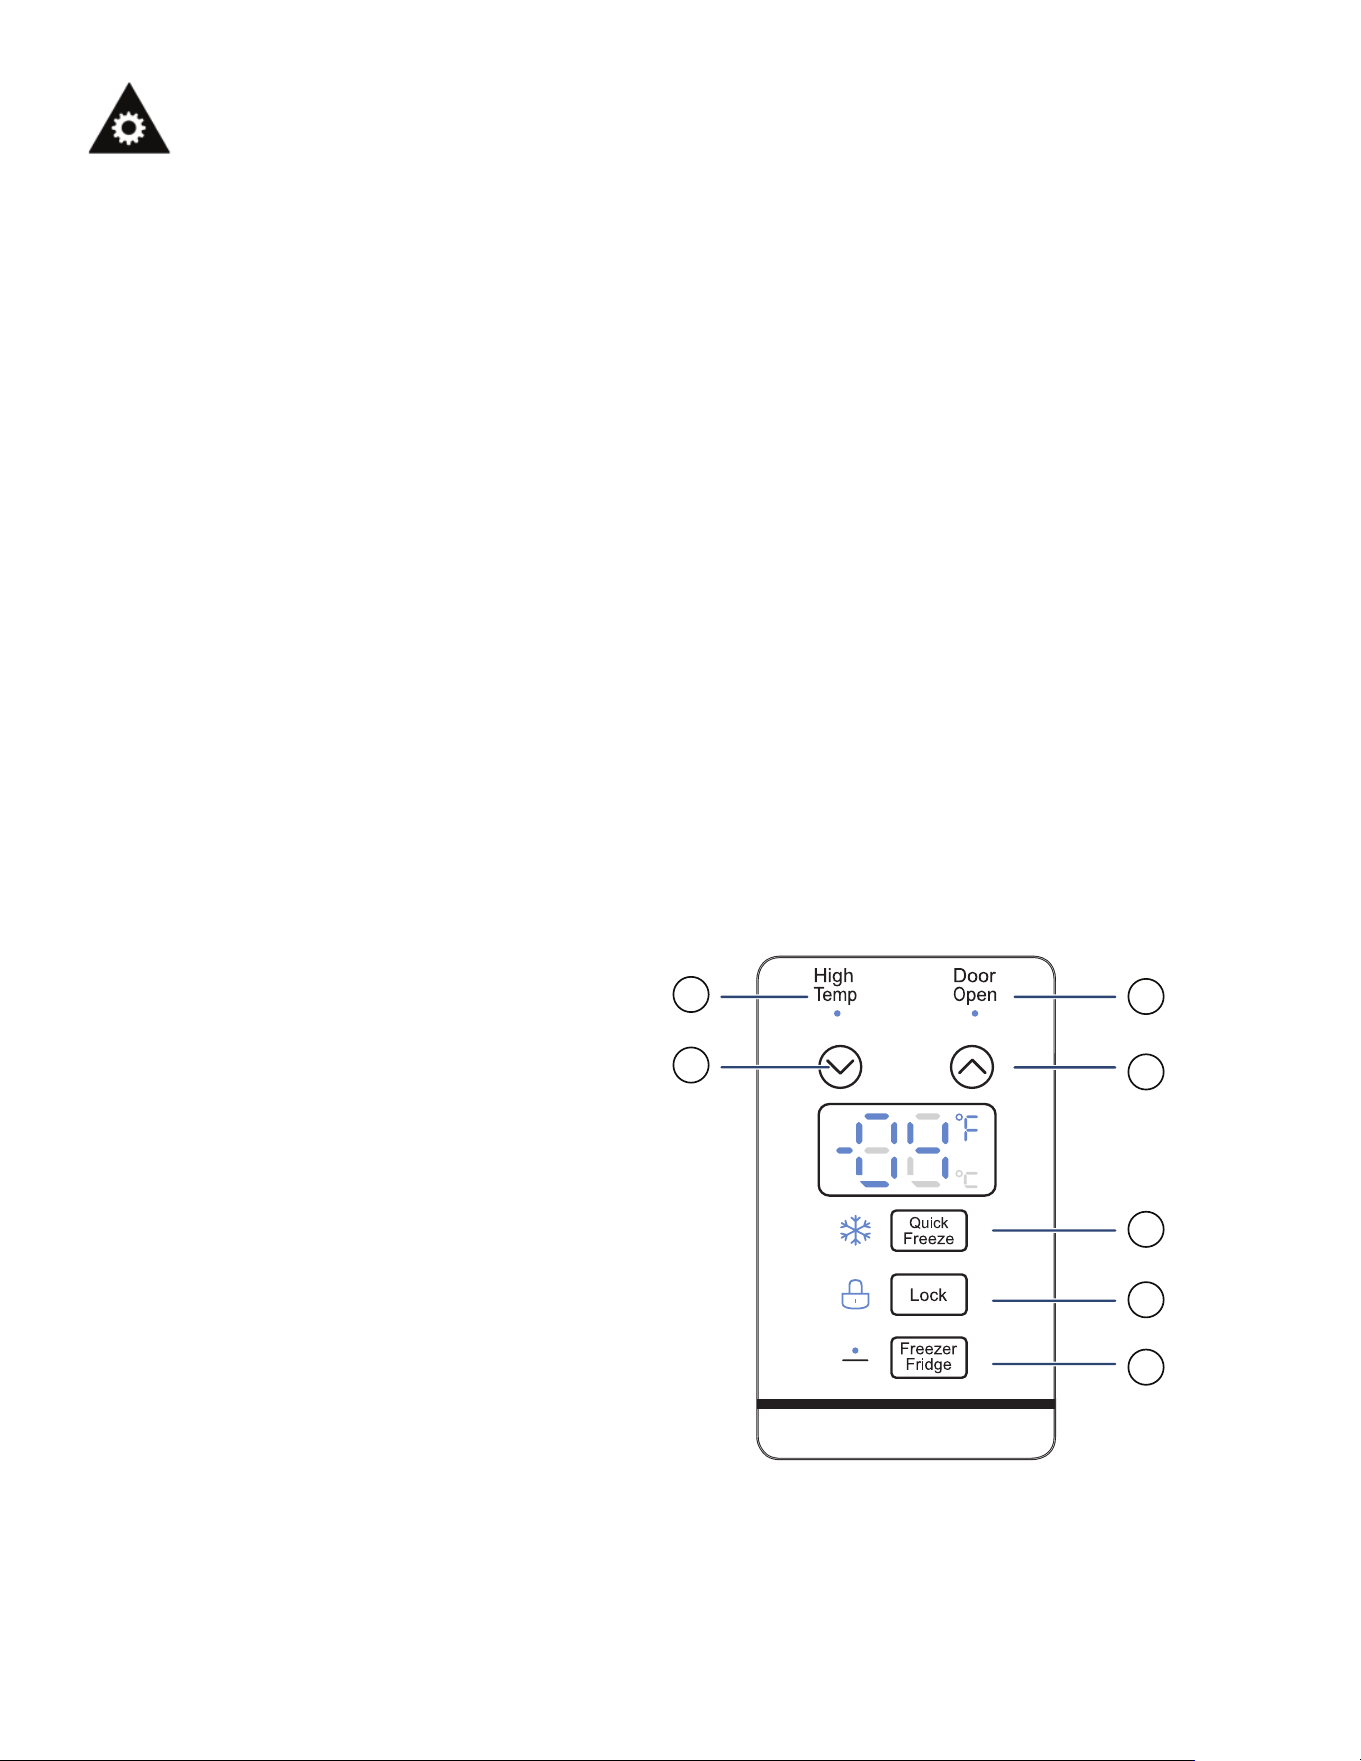
TEMPERATURE CONTROL
• Indicator
1. High Temp (High Temperature Alarm)
2. Door Open (Door open alarm)
• Button
A. Quick Freeze Button
B. Lock Button
C. Freezer / Fridge Switch Button
D. Temperature Setting Down
E. Temperature Setting Up
Operating Instructions
1
2
A
B
C
D
E
6
Loading ...
Loading ...
Loading ...