Loading ...
Loading ...
Loading ...
Setting Warmer Drawer Controls
• Warmer Drawer Humidity Controller
• Removing & Replacing Warmer Drawer
Warmer Drawer Humidity Controller Feature
This feature may be used to control humidity levels in the Warmer Drawer. The
control knob is located on the inner front panel of the Warmer Drawer.
To help keep foods moist, move the handle to the right. This closes the vents and
helps keep the moisture inside the Warmer Drawer. For crisp foods, move the
handle to the left. This opens the vents and allows more of the moisture to
escape.
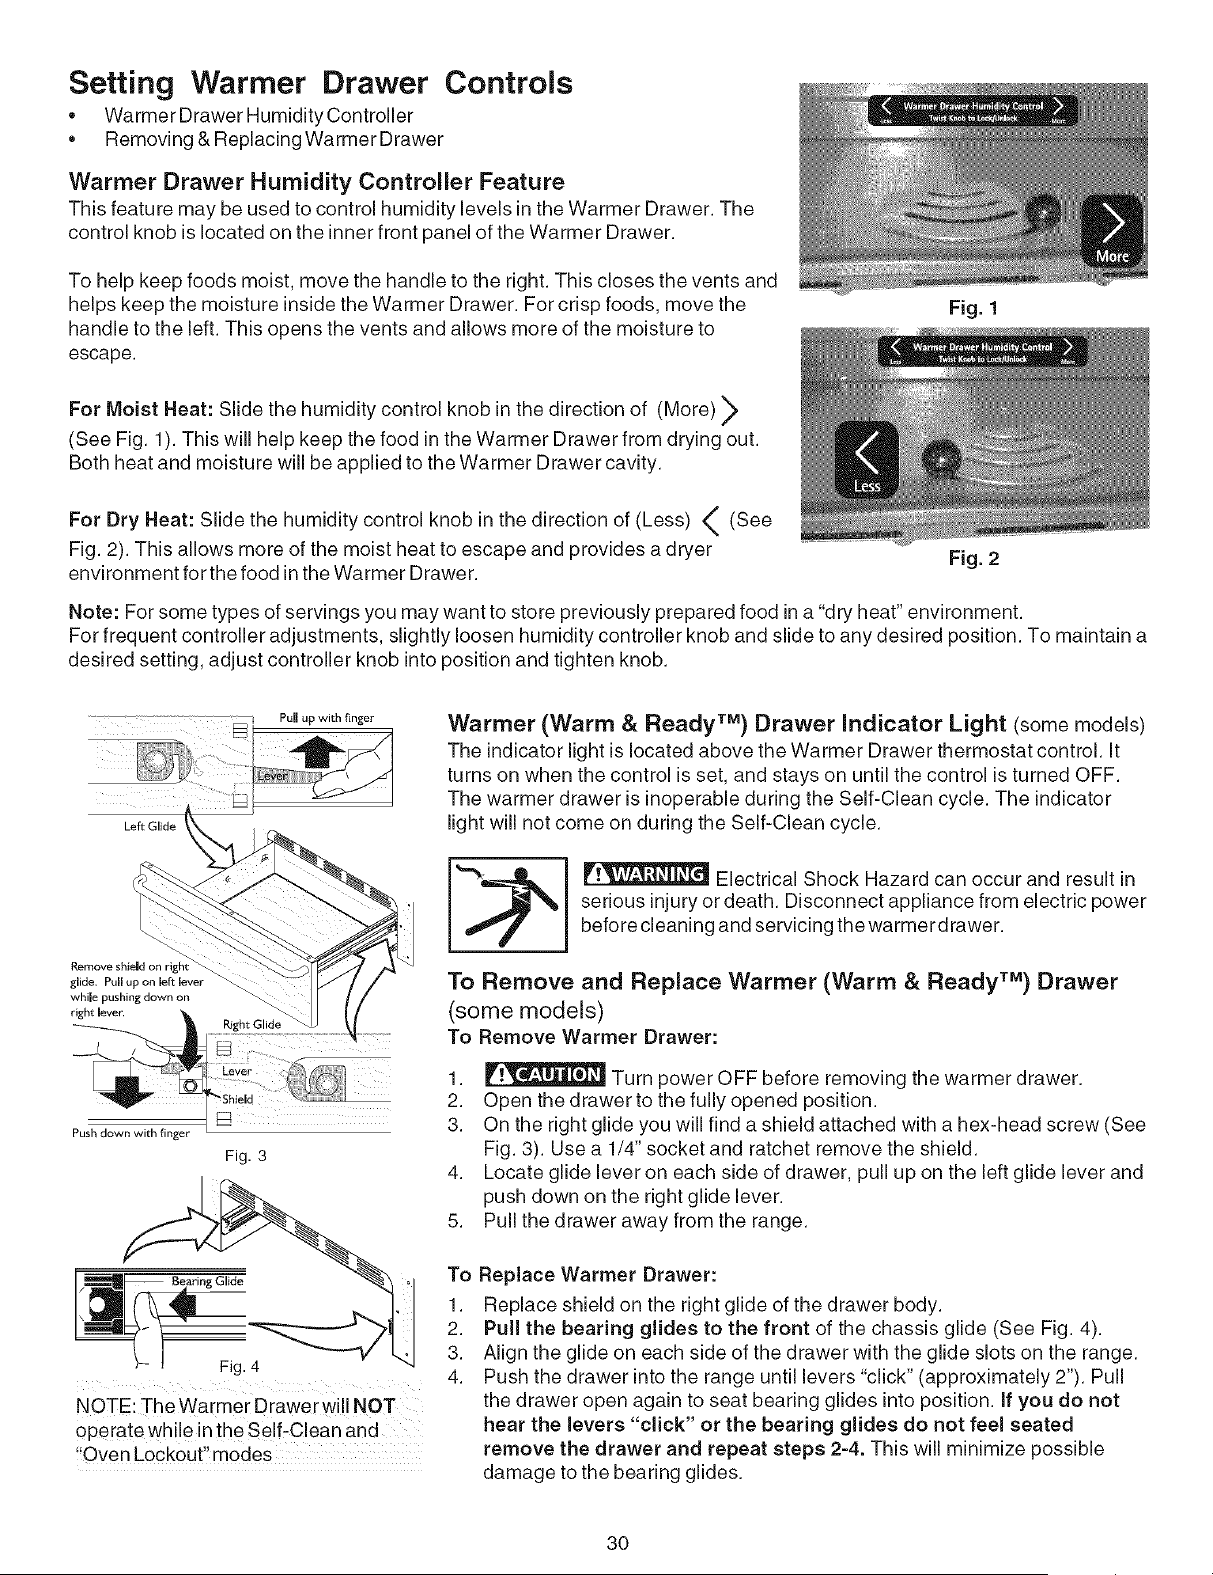
For Moist Heat: Slide the humidity control knob in the direction of (More) _>
(See Fig. 1). This will help keep the food in the Warmer Drawer from drying out.
Both heat and moisture will be applied to the Warmer Drawer cavity.
For Dry Heat: Slide the humidity control knob in the direction of (Less) (See
Fig. 2). This allows more of the moist heat to escape and provides a dryer
environment for the food in the Warmer Drawer.
Fig. 1
Fig. 2
Note: For some types of servings you may want to store previously prepared food in a "dry heat" environment.
For frequent controller adjustments, slightly loosen humidity controller knob and slide to any desired position. To maintain a
desired setting, adjust controller knob into position and tighten knob.
Left Glide
q Pull up with finger
Remove shield on righ
glide, Pull up on left lever
while pushing down on
right lever.
Push down with finger
Fig. 3
NOTE: The Warmer Drawer will NOT
operate while inthe Self-Clean and
f!Oven Lockout" modes
Warmer (Warm & Ready TM) Drawer Indicator Light (some models)
The indicator light is located above the Warmer Drawer thermostat control. It
turns on when the control is set, and stays on until the control is turned OFF.
The warmer drawer is inoperable during the Self-Clean cycle. The indicator
light will not come on during the Self-Clean cycle.
'=__i _ Electrical Shock Hazard can occur and result in
serious injury or death. Disconnect appliance from electric power
before cleaning and servicing the warmer d rawer.
To Remove and Replace Warmer (Warm & Ready TM) Drawer
(some models)
To Remove Warmer Drawer:
1. _ Turn power OFF before removing the warmer drawer.
2. Open the drawer to the fully opened position.
3. On the right glide you will find a shield attached with a hex-head screw (See
Fig. 3). Use a 1/4" socket and ratchet remove the shield.
4. Locate glide lever on each side of drawer, pull up on the left glide lever and
push down on the right glide lever.
5. Pull the drawer away from the range.
To Replace Warmer Drawer:
1. Replace shield on the right glide of the drawer body.
2. Pull the bearing glides to the front of the chassis glide (See Fig. 4).
3. Align the glide on each side of the drawer with the glide slots on the range.
4. Push the drawer into the range until levers "click" (approximately 2"). Pull
the drawer open again to seat bearing glides into position. If you do not
hear the levers "click" or the bearing glides do not feel seated
remove the drawer and repeat steps 2=4. This will minimize possible
damage to the bearing glides.
3O
Loading ...
Loading ...
Loading ...