Loading ...
Loading ...
Loading ...
I
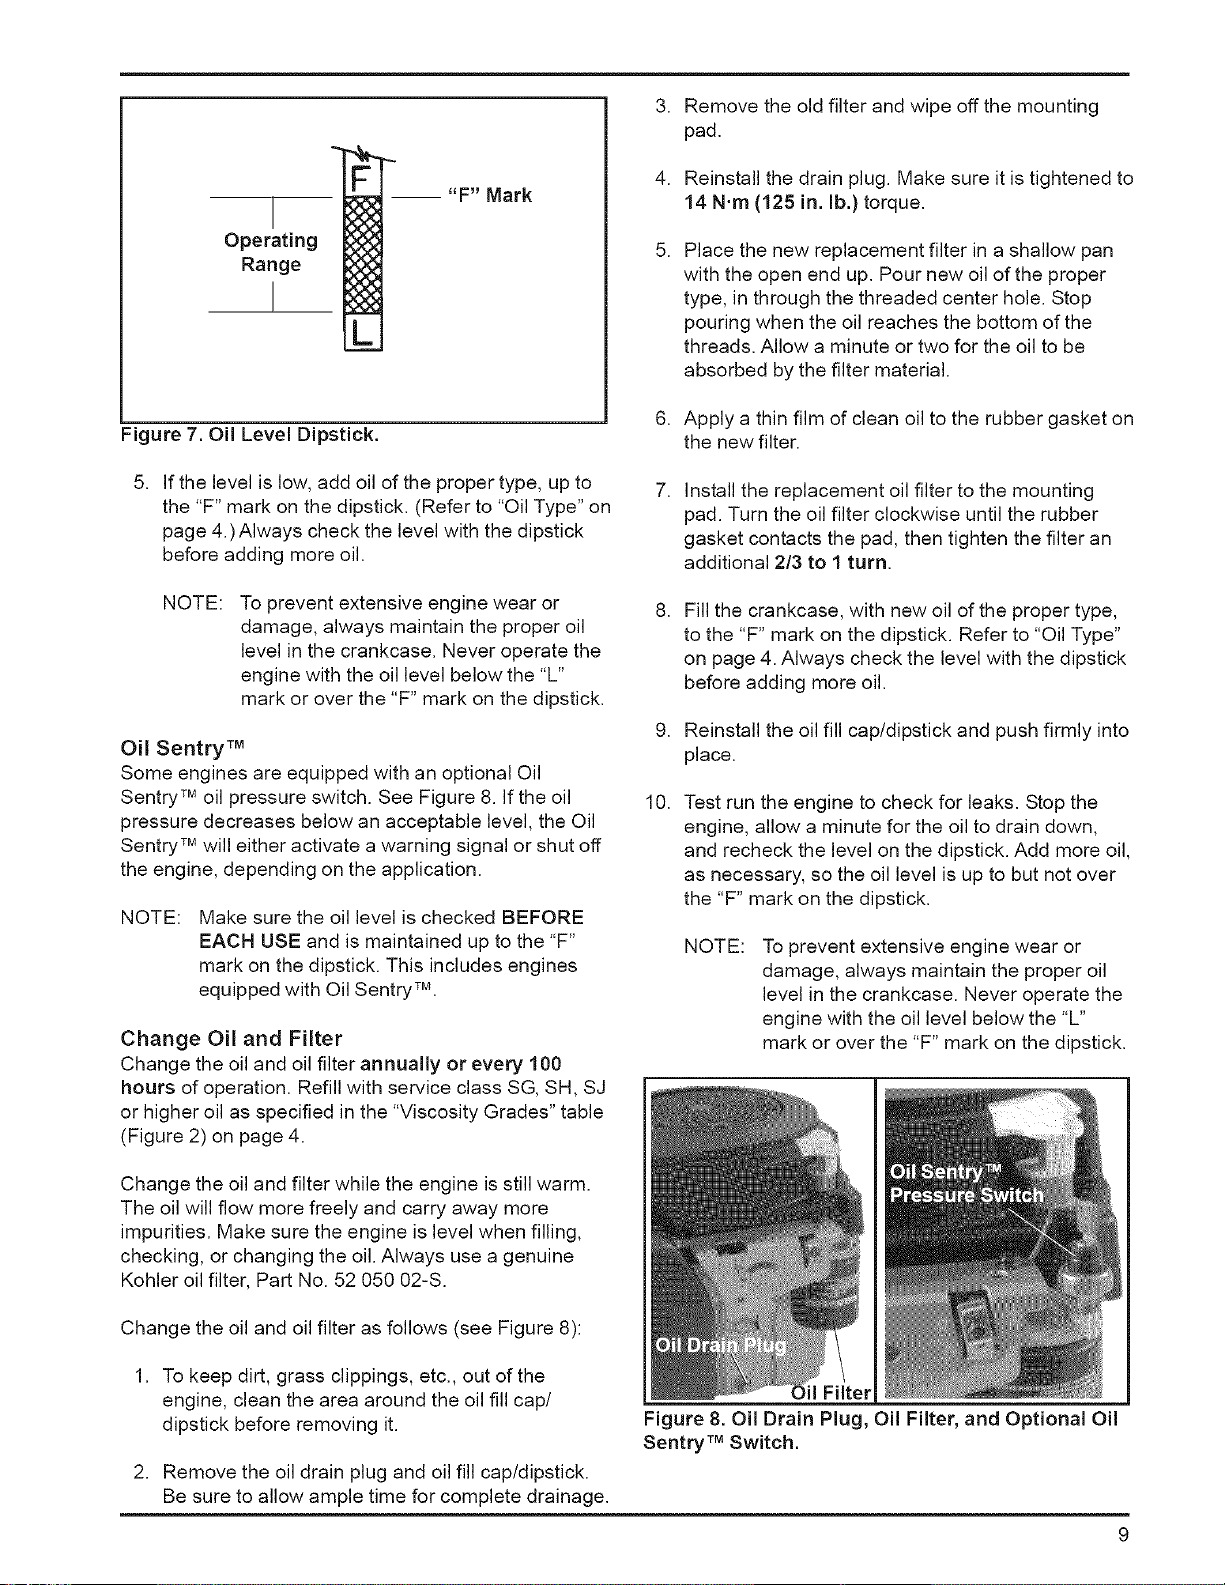
Operating
Range
!
F
_ m
x_
L
"F" Mark
Figure 7. Oil Level Dipstick.
3. Remove the old filter and wipe off the mounting
pad.
4. Reinstall the drain plug. Make sure it is tightened to
14 N.m (125 in. lb.) torque.
,
Place the new replacement filter in a shallow pan
with the open end up. Pour new oil of the proper
type, in through the threaded center hole. Stop
pouring when the oil reaches the bottom of the
threads. Allow a minute or two for the oil to be
absorbed by the filter material.
6. Apply a thin film of clean oil to the rubber gasket on
the new filter.
If the level is low, add oil of the proper type, up to
the "F" mark on the dipstick. (Refer to "Oil Type" on
page 4.)Always check the level with the dipstick
before adding more oil.
,
Install the replacement oil filter to the mounting
pad. Turn the oil filter clockwise until the rubber
gasket contacts the pad, then tighten the filter an
additional 2/3 to 1 turn,
NOTE:
To prevent extensive engine wear or
damage, always maintain the proper oil
level in the crankcase. Never operate the
engine with the oil level below the "L"
mark or over the "F" mark on the dipstick.
Oil Sentry TM
Some engines are equipped with an optional Oil
Sentry TM oil pressure switch. See Figure 8. If the oil
pressure decreases below an acceptable level, the Oil
Sentry TM will either activate a warning signal or shut off
the engine, depending on the application.
NOTE: Make sure the oil level is checked BEFORE
EACH USE and is maintained up to the "F"
mark on the dipstick. This includes engines
equipped with Oil Sentry TM,
Change Oil and Filter
Change the oil and oil filter annually or every 100
hours of operation. Refill with service class SG, SH, SJ
or higher oil as specified in the "Viscosity Grades" table
(Figure 2) on page 4.
,
Fill the crankcase, with new oil of the proper type,
to the "F" mark on the dipstick. Refer to "Oil Type"
on page 4. Always check the level with the dipstick
before adding more oil.
9. Reinstall the oil fill cap/dipstick and push firmly into
place.
10.
Test run the engine to check for leaks. Stop the
engine, allow a minute for the oil to drain down,
and recheck the level on the dipstick. Add more oil,
as necessary, so the oil level is up to but not over
the "F" mark on the dipstick.
NOTE:
To prevent extensive engine wear or
damage, always maintain the proper oil
level in the crankcase. Never operate the
engine with the oil level below the "L"
mark or over the "F" mark on the dipstick.
Change the oil and filter while the engine is still warm.
The oil will flow more freely and carry away more
impurities. Make sure the engine is level when filling,
checking, or changing the oil. Always use a genuine
Kohler oil filter, Part No. 52 050 02-S.
Change the oil and oil filter as follows (see Figure 8):
To keep dirt, grass clippings, etc., out of the
engine, clean the area around the oil fill cap/
dipstick before removing it.
Remove the oil drain plug and oil fill cap/dipstick.
Be sure to allow ample time for complete drainage.
Figure 8. Oil Drain Plug, Oil Filter, and Optional Oil
Sentry TMSwitch.
Loading ...
Loading ...
Loading ...