Loading ...
Loading ...
Loading ...
Usingthesudaceunits.
Throughout this manual, features and appearance may vary from your model.
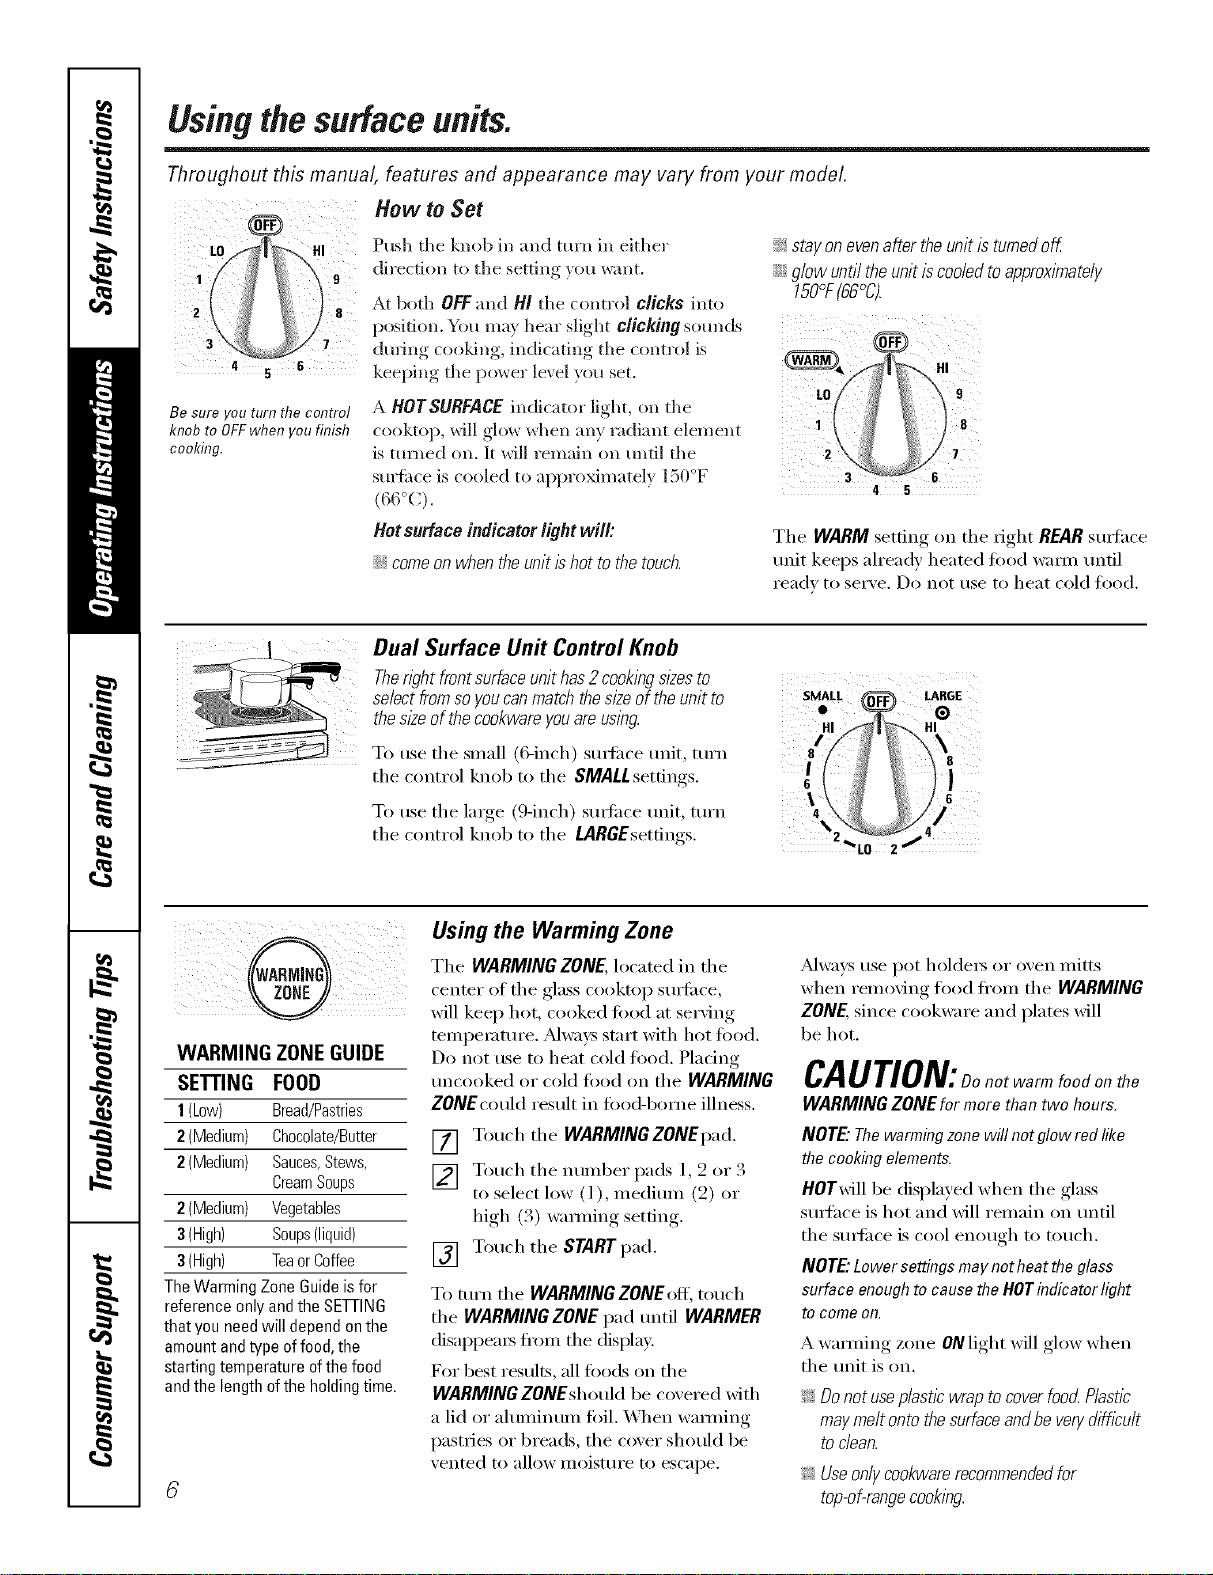
LO HI
8
3 7
4 s 6
Be sure you turn tlTe contro!
knobtoOFFwhenyoufinish
cooking.
How to Set
Push the knob in and turn in either _; stay on evenafter the unit is turnedoff
direction to d_e setting }on want. iJi::glow until the unit is cooledto approximately
150°F(66°C).
At both OFFand HI the contiol clicks into ....
position. You max hear slight clickingsotmds
during cooking, indicating the control is I
keeping the power level you set. *
i
tO
A HOTSURFACE indicator light, on the
cookto ) will glox_ when am' radiant element i
ist.me lo.. wi,,era..,....t,
sm'fiice is cooled to appro_matel} 150 F
(66oc). 5
Hot surface indicator light will'.
iJi::comeon when the unit ishot to the touch.
The WARM setting on the right REARstmfhce
trait keeps ah'eady heated fi)od wam_ tmtil
rea(h to serxe. Do not rise t(:, heat cold food.
Dual Surface Un# Control Knob
Thewht front surfaceunit has 2 cookIw sl_esto
select fromso youcanmatch the sizeof the unit to SMALL (_ lARGE
0
the s/?eof the cookwareyouare us/)_g.
HI /F'_|_. HI
To use the small (6-inch) surliwe trait, mrn I _ s
the control knob to the SMALLsettings. 6 ]
To use the large (9-inch) surlilce unit, turn 4
the control knob to the L4RGEsettings.
_'tO ZJ
WARMING ZONE GUIDE
SETTING FOOD
1(Low) Bread/Pastries
2(Medium) Ch0c01ate/Butter
2(Medium) Sauces,Stews,
CreamSoups
2(Medium) Vegetables
3(High) Soups(liquid)
3(High) Teaor Coffee
The Warming Zone Guide is for
reference only and the SEFrlNG
that you need will depend on the
amount and type of food, the
starting temperature of the food
and the length of the holding time.
Using the Warming Zone
The WARMING ZONE, located in the
center of the glass cooktop SUll'il('e,
will kee I) hot, cooked food at serving
temperature. _Mways start with hot food.
Do not use to heat cold fi)od. Plating
tmcooked or cold fi)od on the WARMING
ZONEcould result in fbod-borne illness.
[] Touch the WARMINGZONEpad.
[] Touch the number pads 1, 2 or 3
to select low (l), medimn (9) or
high (3) wamfing setting.
[] Touch the START pad.
To mrn the WARMING ZONEoff, touch
the WARMING ZONE pad tmtil WARMER
disappea_ ti'om the (lisplay.
For best results, all foods on the
WARMINGZONEshouM be covered with
a lid or ahmfinum ti)il. _._]_en wamfing
pastries or breads, the cover should be
vented to allow moisture to escape.
_Mwa):s use pot holders or oven mitts
when removing food fl'om the WARMING
ZONE,since cookware and plates will
be hot.
CAUTION:oonotwarmfoodonthe
WARMING ZONEfor more than two hours.
NOTE" Thewarmingzone will not glow redlike
the cookingelements.
HOTwill be displayed when the glass
stm'ace is hot and will remain on tmtil
the stm'i_ce is cool enough to touch.
NOTE"Lowersettingsmay not heatthe glass
surface enoughto cause the HOTindicator light
to comeon.
A wamfing zone ONlight will glow when
the unit is on.
_ Donot useplastic wrap to coverfoocLPlastic
may melt ontothe surfaceand be very difficult
to dean.
_; Useonly cookwarerecommendedfor
top-of-rangecook/w.
Loading ...
Loading ...
Loading ...