Loading ...
Loading ...
Loading ...
4 INSTALLATION AND OPERATING INSTRUCTIONS
Before Use of your Ice Maker
1. Remove all packing material and carefully check your ice maker
to ensure it is in good condition and that there is no damage to
the ice maker or power cord and plug.
2. The Ice maker should be placed on a level surface. To ensure
proper ventilation for your ice maker allow 20cm of space
at the top, the back and on each side. Do not install the Ice
maker near an oven, radiator, in direct sunlight or any other
heat source.
Important:
3. Before using the Ice maker for the first time, please open the
lid and wait 2 hours after positioning it to allow compressor
liquid to settle.
OPERATING INSTRUCTIONS:
1. Plug unit into appropriate electrical outlet. Ensure that the unit
is placed on a properly leveled surface.
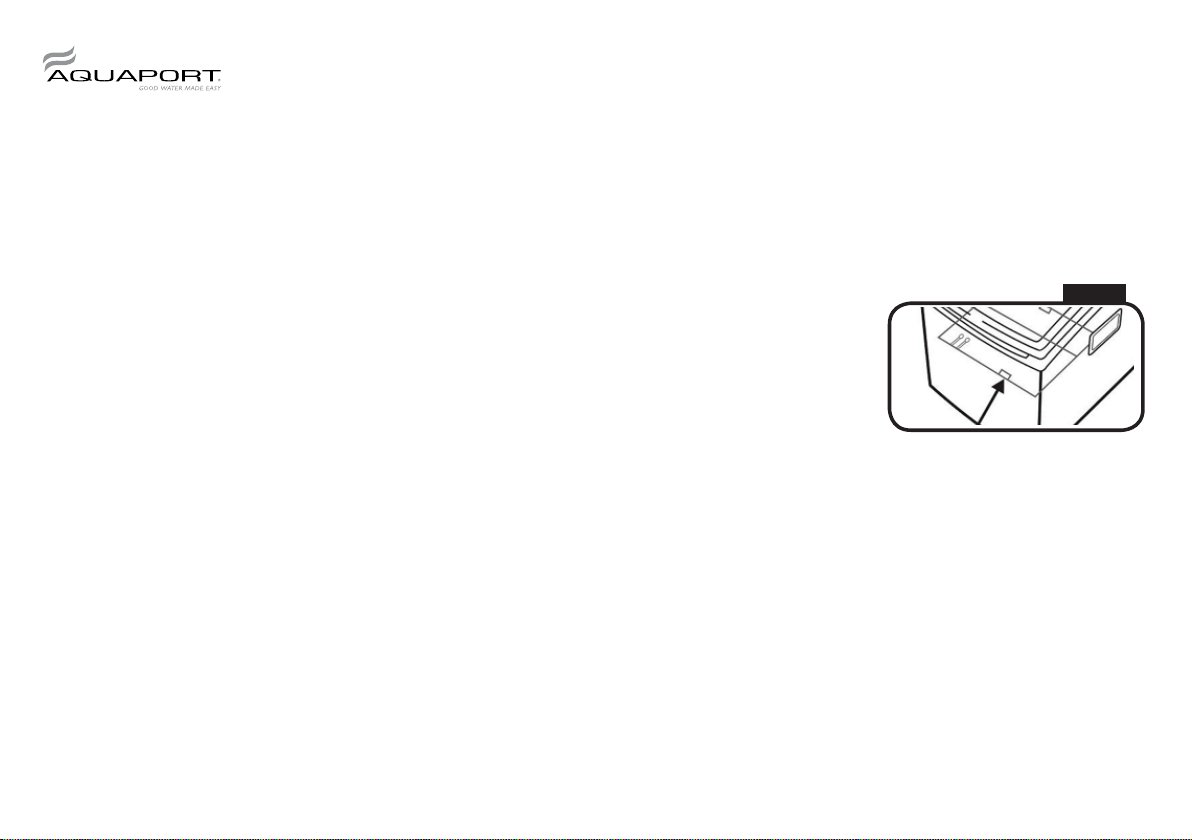
2. Open the lid and pour water into the water reservoir, ensuring
that the water level in the water reservoir is not over the ice
collecting basket.
(Refer to fig. 1).
Note: Fill with potable, municipal water only. Only use drinking water.
3. Close the lid and select desired ice cube
size by pressing ‘SELECT’
Note: Please select the ‘S’ Small if ambient
temperature is below 15°C.
4. Press START button to start the ice making cycle.
Note: For the first three cycles, the ice may be small
and irregular in size.
5. Periodically check water tank level to ensure there is sufficient
water. Water pump will automatically stop if water tank is
empty and the ‘REFILL WATER’ indicator light will switch on.
When this occurs, remove the ice basket and add water as per
step 2. Press STOP then START to restart the ice maker.
Fig 1
Loading ...
Loading ...
Loading ...