
Loading ...
Loading ...
Loading ...
27
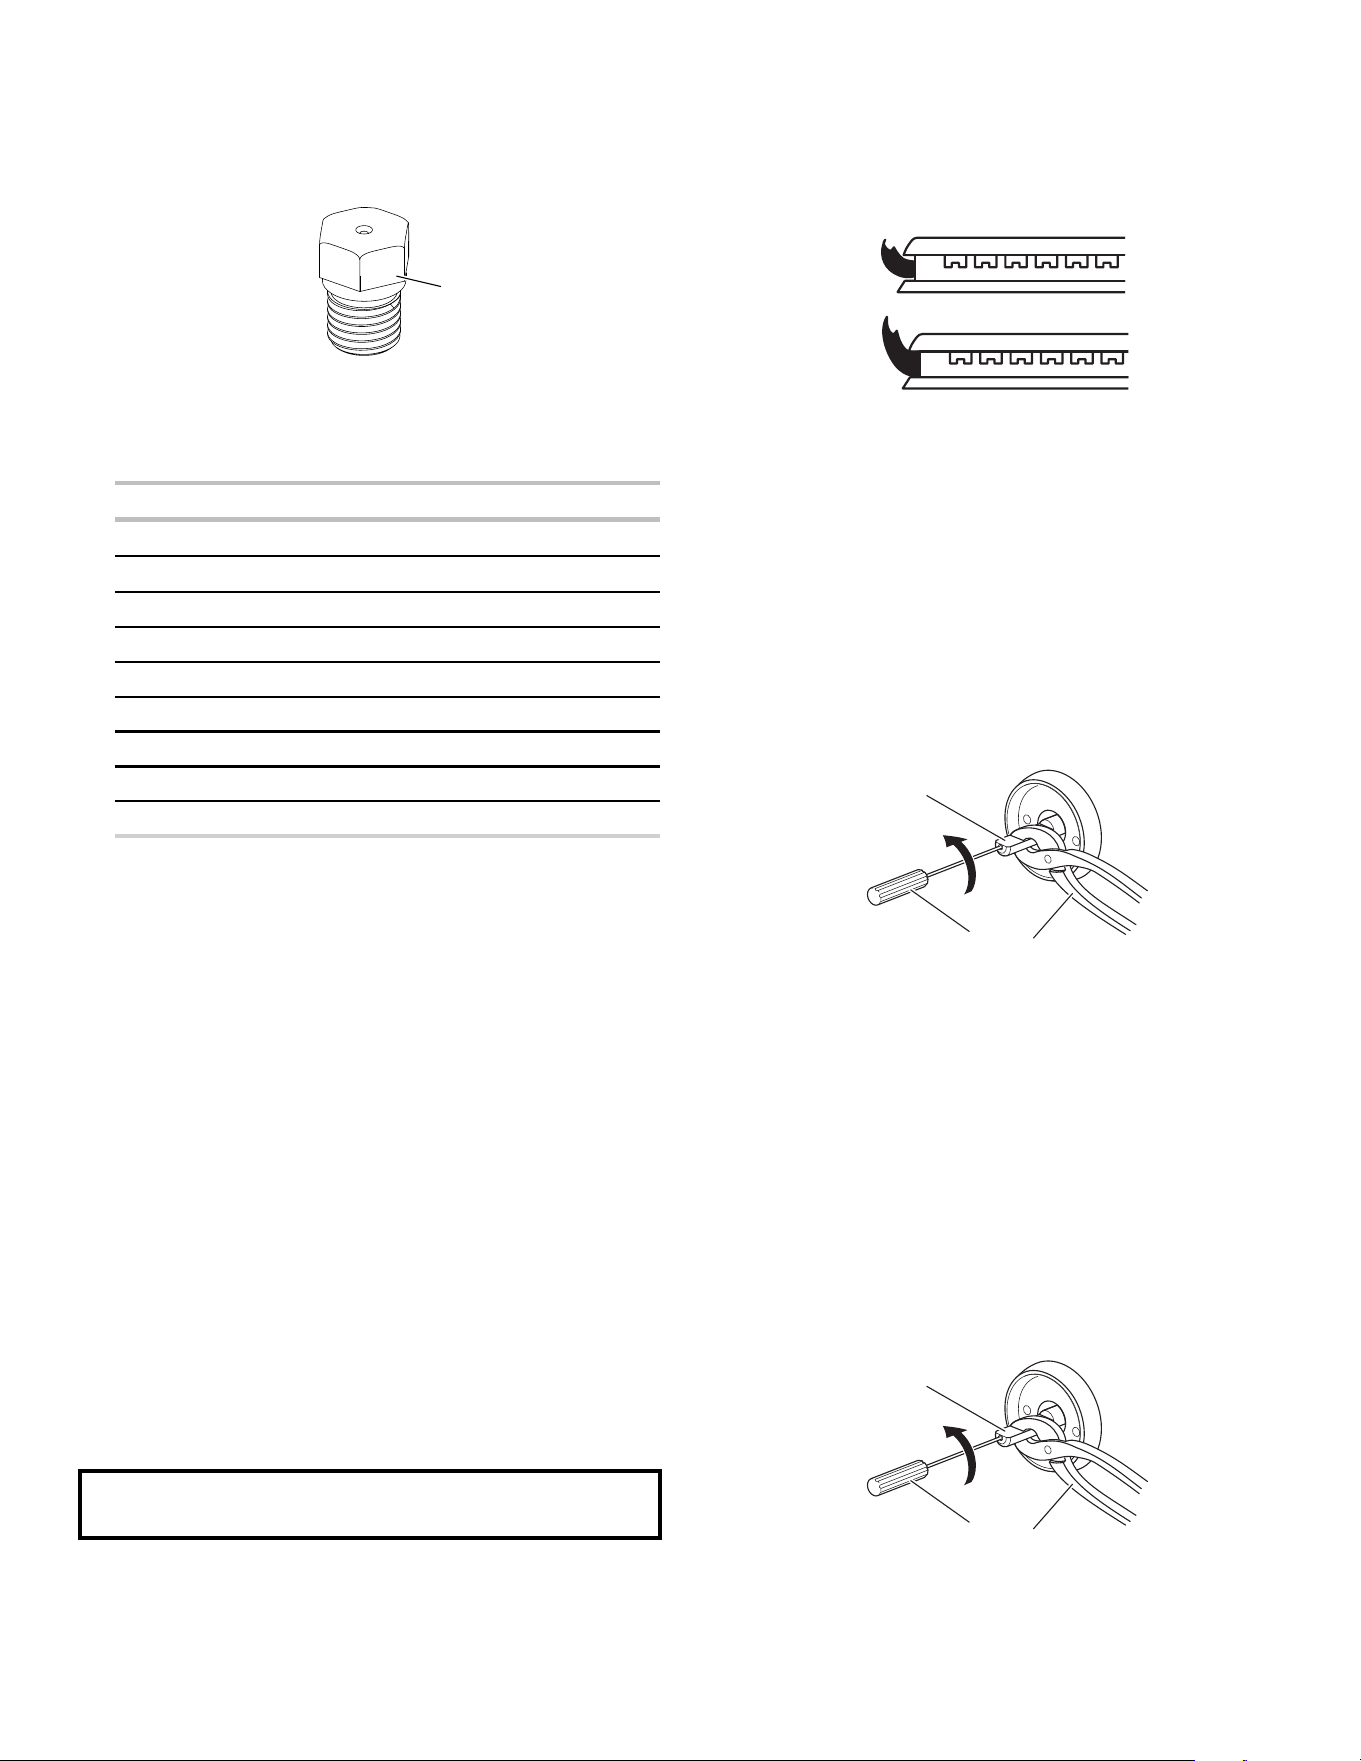
5. Remove the orifice spuds shipped in the literature package in
the oven. Gas orifice spuds are stamped with a number,
marked with 1 or 2 color dots, and have a groove in the hex
area. Replace the Natural gas orifice spud with the correct
Propane gas orifice spud.
XXX
A
A. Stamped number
Refer to the following chart for the correct Natural gas orifice
spud placement. Remove choke from large burner base.
Natural Gas Orifice Spud Chart
Burner Rating Size (mm) ID Number
19,000 BTU (ST) 1.96 196AM
17,000 BTU (ST) 1.84 184AM
18,000 BTU 1.98 198AM
17,000 BTU 1.96 196AM
15,000 BTU 1.75 175AM
9,200 BTU 1.35 135AM
8,000 BTU 1.25 125AM
5,000 BTU 1.00 100AM
1,450 BTU 0.53 053AM
NOTE: Refer to the Tech Sheet located on the rear cover for
the applicable individual burner BTU rating per fuel type.
6. Place Propane gas orifice spuds in the orifice spud bag.
IMPORTANT: Keep the Propane gas orifice spuds in case of
reinstallation with Propane gas.
7. Replace the burner base.
8. Replace burner cap.
9. Repeat steps 1 to 7 for the remaining burners.
10. Replace the baking drawer. See the “Remove/Replace
Drawer” section.
Complete Installation (Propane Gas to Natural
Gas)
1. Refer to the “Make Gas Connection” section for proper
connection of the range to the gas supply.
2. Refer to the “Electronic Ignition System” section for proper
burner ignition and operation.
3. Refer to the “Adjust Flame Height” section for burner flame
adjustments.
IMPORTANT: You may have to adjust the low setting for each
cooktop burner.
Checking for proper cooktop burner flame is very important.
Natural gas flames do not have yellow tips.
4. Refer to “Complete Installation” in the “Installation
Instructions” section of this manual to complete this
procedure.
IMPORTANT: Make sure to save the orifices that have just been
replaced in the conversion.
Adjust Flame Height
Adjust Surface Burner Flame
Adjust the height of top burner flames. The cooktop “low” burner
flame should be a steady blue flame approximately 1/4" (6 mm)
high. Propane gas flames have a slightly yellow tip.
A
B
A. Low flame
B. High flame
To Adjust Standard Burner:
The flame can be adjusted using the adjustment screw in the
center of the valve stem. The valve stem is located directly
underneath the control knob.
If the “Low” Flame Needs to be Adjusted:
1. Light 1 burner and turn to lowest setting.
2. Remove the control knob.
Hold the knob stem with a pair of pliers. Use a small flat- blade
screwdriver to turn the screw located in the center of the
control knob stem until the flame is the proper size. Turning
the screw clockwise will increase the flame size, and turning
the screw counterclockwise will decrease the flame size.
A
B
C
A. Control knob stem
B. Screwdriver
C. Pliers
3. Replace the control knob.
4. Test the flame by turning the control from the low position to
the high position, checking the flame at each setting.
5. Repeat the previous steps for each burner.
To Adjust Double Burner (On Some Models):
1. Light burner and turn to lowest setting where both inner and
outer burners are lit.
2. Remove the control knob.
Hold the knob stem with a pair of pliers. Use a small flat- blade
screwdriver to turn the screw located in the center of the
control knob stem until the flame is the proper size. Turning
the screw clockwise will increase the flame size, and turning
the screw counterclockwise will decrease the flame size.
A
B
C
A. Control knob stem
B. Screwdriver
C. Pliers
Loading ...
Loading ...
Loading ...