Loading ...
Loading ...
3
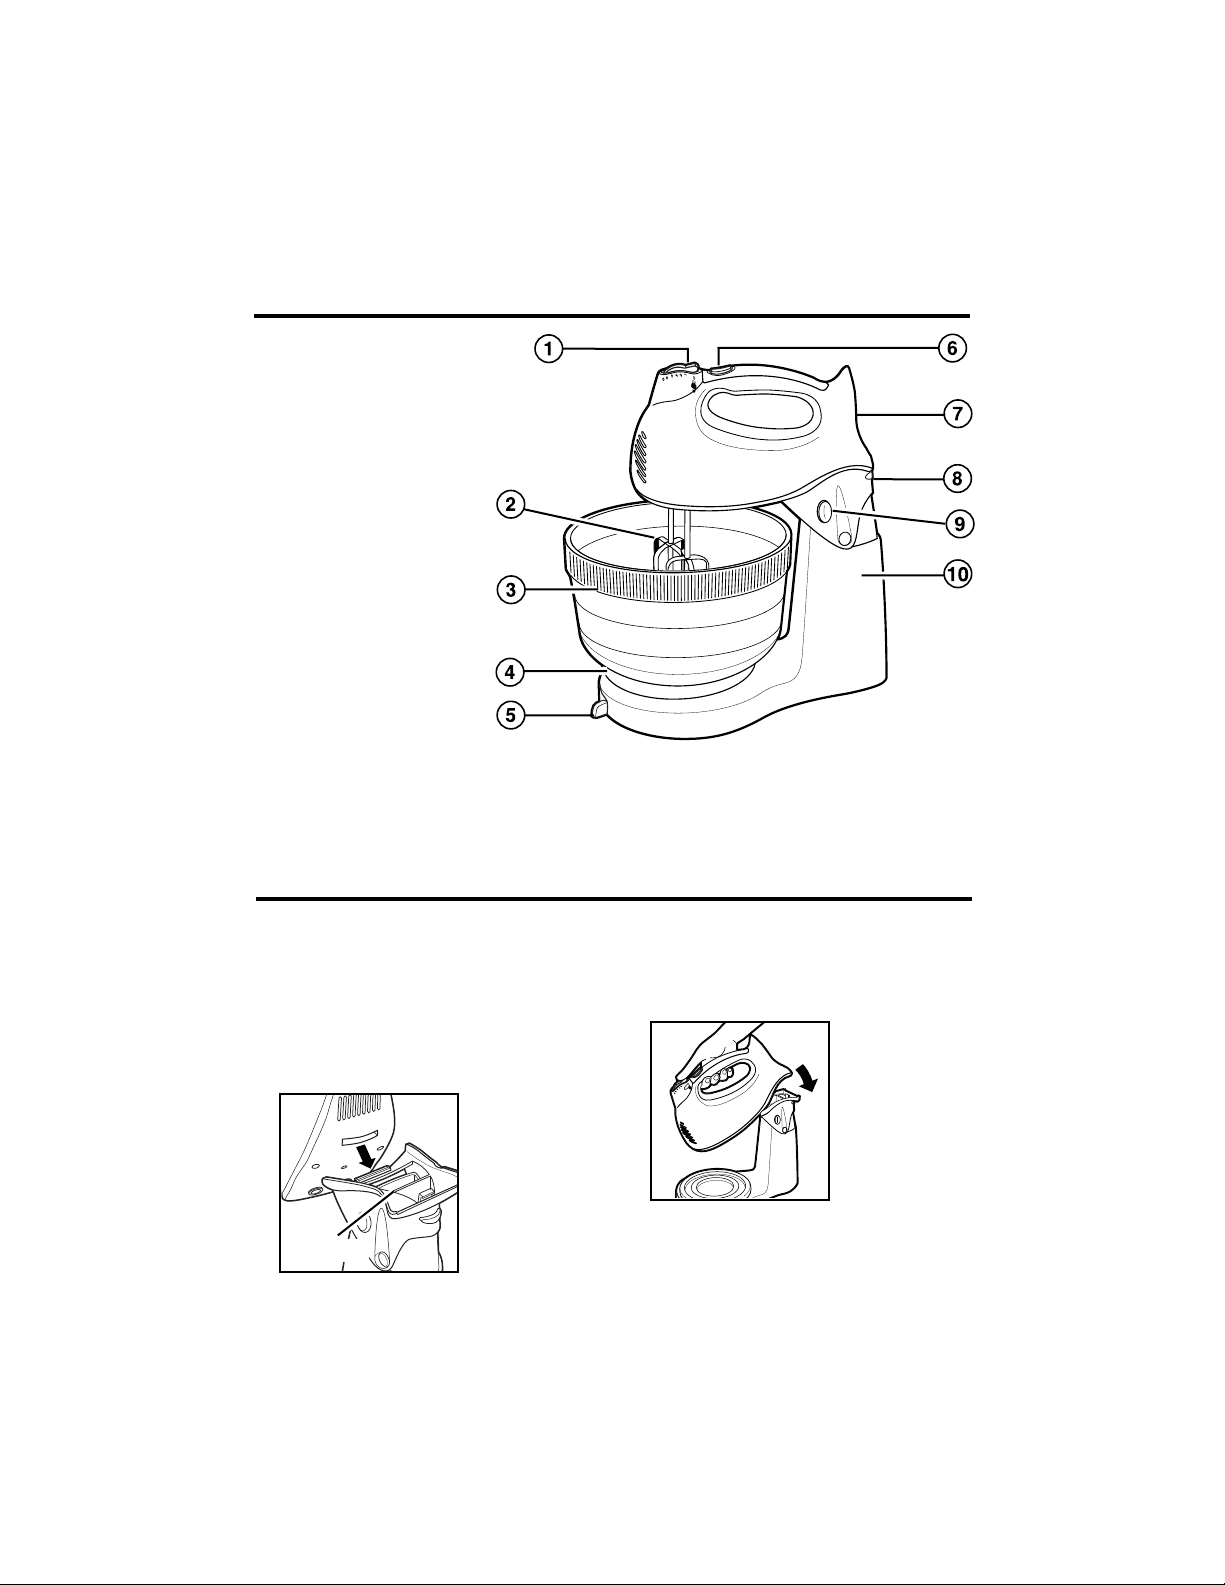
Know Your Mixer
Parts and Features
1. Speed Control (On/Off)
and Eject
2. Beaters
3. Bowl
4. Turntable
5. Shift and Stir™
Bowl Lever
6. Power Burst
7. Mixer
8. Hand Mixer
Release Button
9. Mixer Lockdown Button
10. Stand
How to Assemble Stand
2. As the mixer is lowered, gently press
the back of
the mixer onto
the platform
until it locks in
position.
3. The mixer can now be used as a
stand mixer.
NOTE: Attach mixer to stand before
attaching mixing shield, beaters, or
other attachments.
1. Set stand on counter and put
turntable onto
stand. With
platform level
and while hold-
ing mixer as
shown, place
L-shaped tab
on platform
into slot on
bottom of mixer, as illustrated.
The stand mixer is very convenient for most recipes. However, small amounts–like
one cup of cream–may not contact the beaters in the stand mixer mode. In these
cases we recommend using as a hand mixer.
Platform
Loading ...
Loading ...
Loading ...