Loading ...
Loading ...
Loading ...
Careand cleaningofthe freezer.
Cleaning YourFreezer
iJi::Outside.Protect tile paint finish. Tile
finish on tile outside ot tile fl'eezer is a
high quality, baked-on paint finish.
X4]tl/proper care, it Mll stay nm_qooking
and rust-flee fin" veai_. Apply a coat ot
appliance polish wax when the freezer
is new and then at least twice a veax:
Appliance polish wax also works well
to I'elllOVe [ape residue t1"oi/1 freezer
S/lI'J[ilces.
Keep the finish clean. '_,_]peMth a clean
cloth lightly dampened Mth appliance
polish wax or mild liquid dishwashing
detergent. Dry and polish with a clean,
soft cloth. Do not wipe tile fl'eezer with
a soiled dishwashing cloth or wet towel.
Do not use scom-ing pads, powdered
cleaners, bleach, or cleaners containing
bleach.
CAUTION: Careshou/dbe takenin mow))gthe
freezeraway from the wall.Aft typesof floor
coven))gscanbe damaged,particularlycushioned
coven))gsandthosewith embossedsurfaces.
iJi::Inside. Clean tile inside {ff wmr fl'eezer at
least once a veax; We recommend that the
fl'eezer be m_plugged befln'e cleaning. If
this is not practical, wring excess moisture
out of sponge or cloth when cleaning in
the vicinity of switches, lights or controls.
Use w;mn water and baking soda
solution-about a tablespoon of baking
soda to a quart of water: Rinse thoroughly
with water and wipe d_w: Do not use
cleaning i)owde_ or other abrasive
cleaners.
An open box of baking soda in tile
fl'eezer will absorb stale fl'eezer odm_.
Change the box eve_T three months.
No Defrosting (onNo-Frostmodels)
Y()/I never have to defl'ost VO/li" new
No-Frost ti'eezer It has been pre-set at
tile ti_ctorv to deti'ost itself automatically.
Package labels always remain clearly legible,
and packages will remain easy to separate
_lll(1 I'elIlOVe.
Dining defl'osfing, a slight noise may be
noticed if the door is opened while the
fl'eezer is in tile automatic defl'osfing cycle.
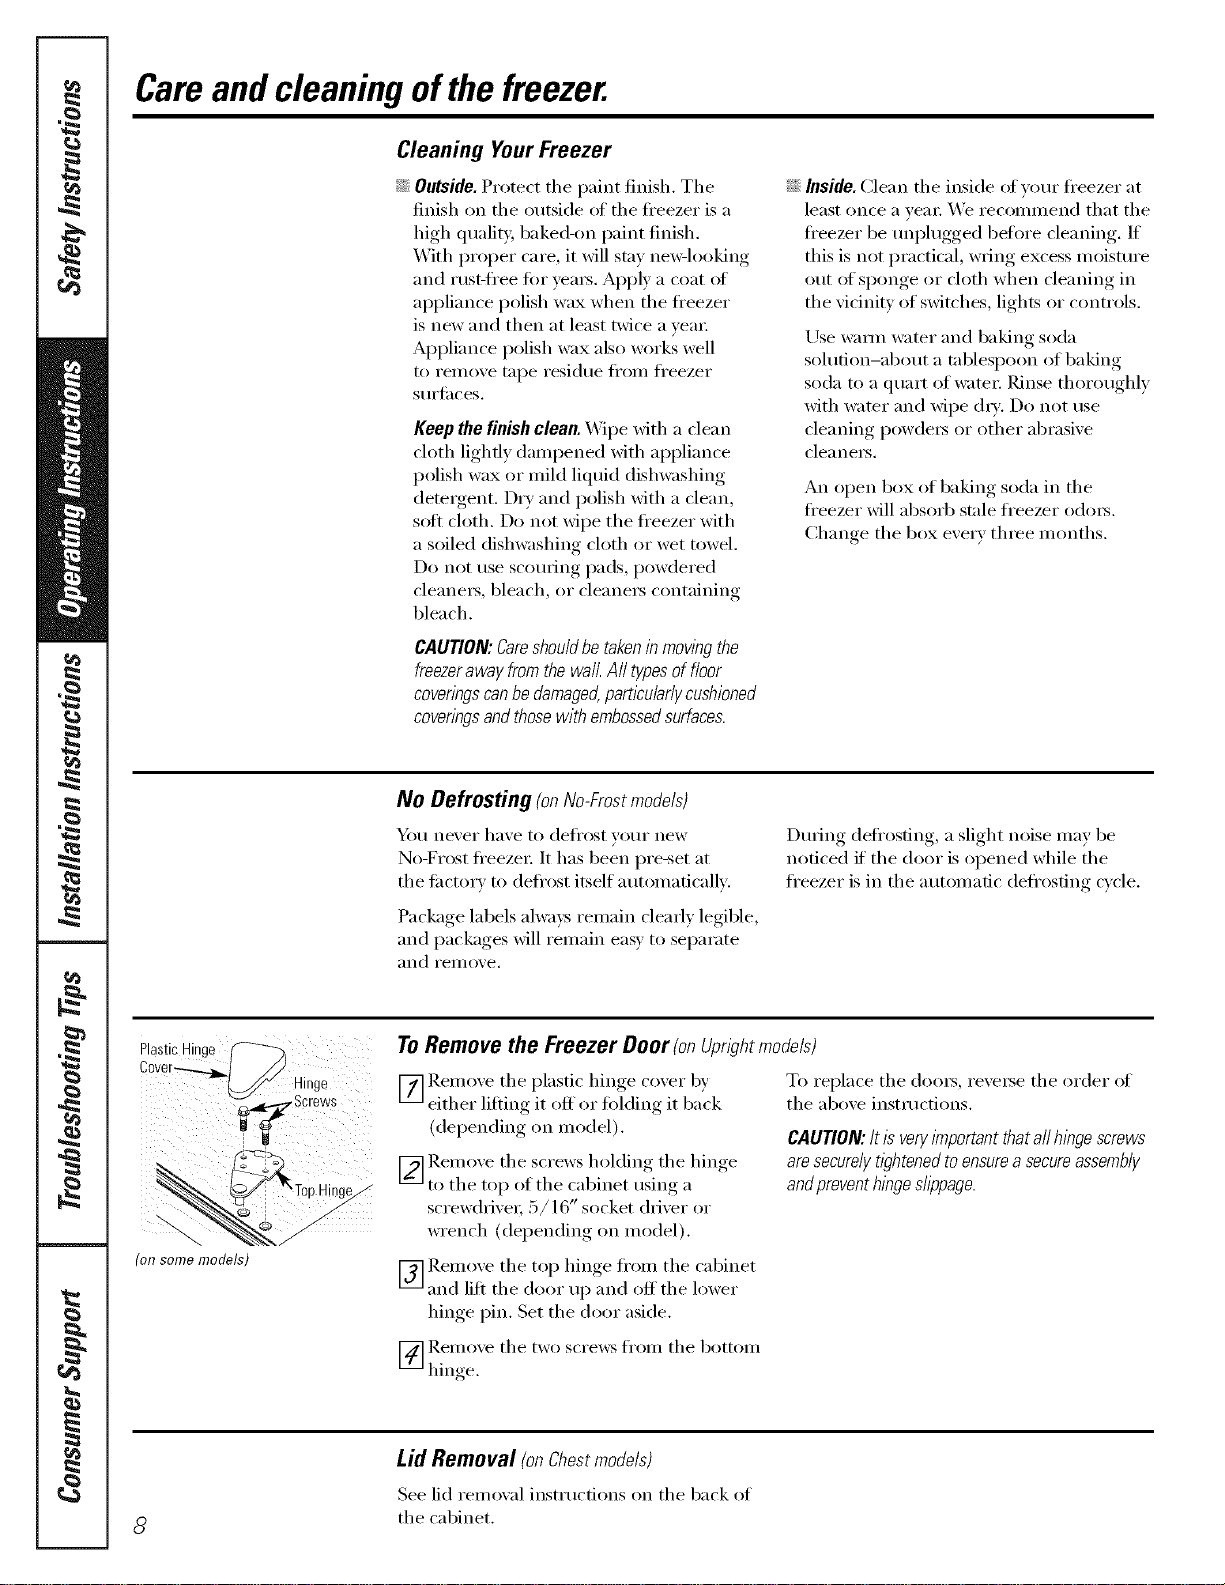
PlasticNinge (---'_
Hinge
(onsomemodels)
ToRemove the Freezer Door(onUpwhtmodels)
_] Remove tile plastic hinge cover by To replace tile doors, reverse tile order of
either lifting it off or fi)lding it back tile aboxe instructions.
(depending on model). CAUTION: /t lSveiy l}nportant thata/ihlbgescrews
r_ ]_elnoxe tile screws holding tile hinge aresecureiytightened toensurea secureassembiy
to tile top of the cabinet using a andprevent hlbgesiippage.
screwdrixe_; :5/16" socket driver or
wrench (dei)ending on inodel).
[_] Remoxe tile top hinge fl'om tile cabinet
and lift tile door up and off tile lower
hinge pin. Set tile door aside.
[_ Remove tile two screws fl'om tile bottom
hinge.
8
Lid Removal (onChestmodels)
See lid removal instructions on tile back of
tile cabinet.
Loading ...
Loading ...
Loading ...