Loading ...
Loading ...
Loading ...
7
Your Golden Pancake Perfection
Using Your Pancake Maker
NOTE: Do not overfill the cooking
wells. ¼ cup is the maximum
amount of pancake batter per
cooking well.
NOTE: Do not use metal utensils
as they will scratch the non-stick
cooking surface.
Open the lid when cooking time is
complete and remove the pancakes
with a heat proof silicone spatula.
You can repeat the steps above
until you have the desired number of
golden brown pancakes.
NOTE: The lid must be locked
closed at all times when
cooking. When using the
pancake maker for the first time
you may notice a fine smoke
haze. This is caused by the
initial heating of some of the
components. There is no need
for concern.
WARNING:
The temperature of
accessible surfaces
may be high when
the pancake maker is
operating.
Before First Use
Remove any promotional labels and
wipe the wells and plates with a
damp cloth, then dry thoroughly.
Operating your Pancake
Maker
Lightly brush the cooking wells and
plates with cooking oil and close the
pancake maker.
Plug the pancake maker into a 230V
or 240V power outlet and switch the
power on. The ‘POWER’ Light will
illuminate. The ‘READY’ indicator light
will illuminate when the pancake
maker is at the correct temperature
and is ready to use.
NOTE: The ‘READY’ indicator
light will continue to cycle
on and off to indicate the
pancake maker is maintaining
the correct temperature.
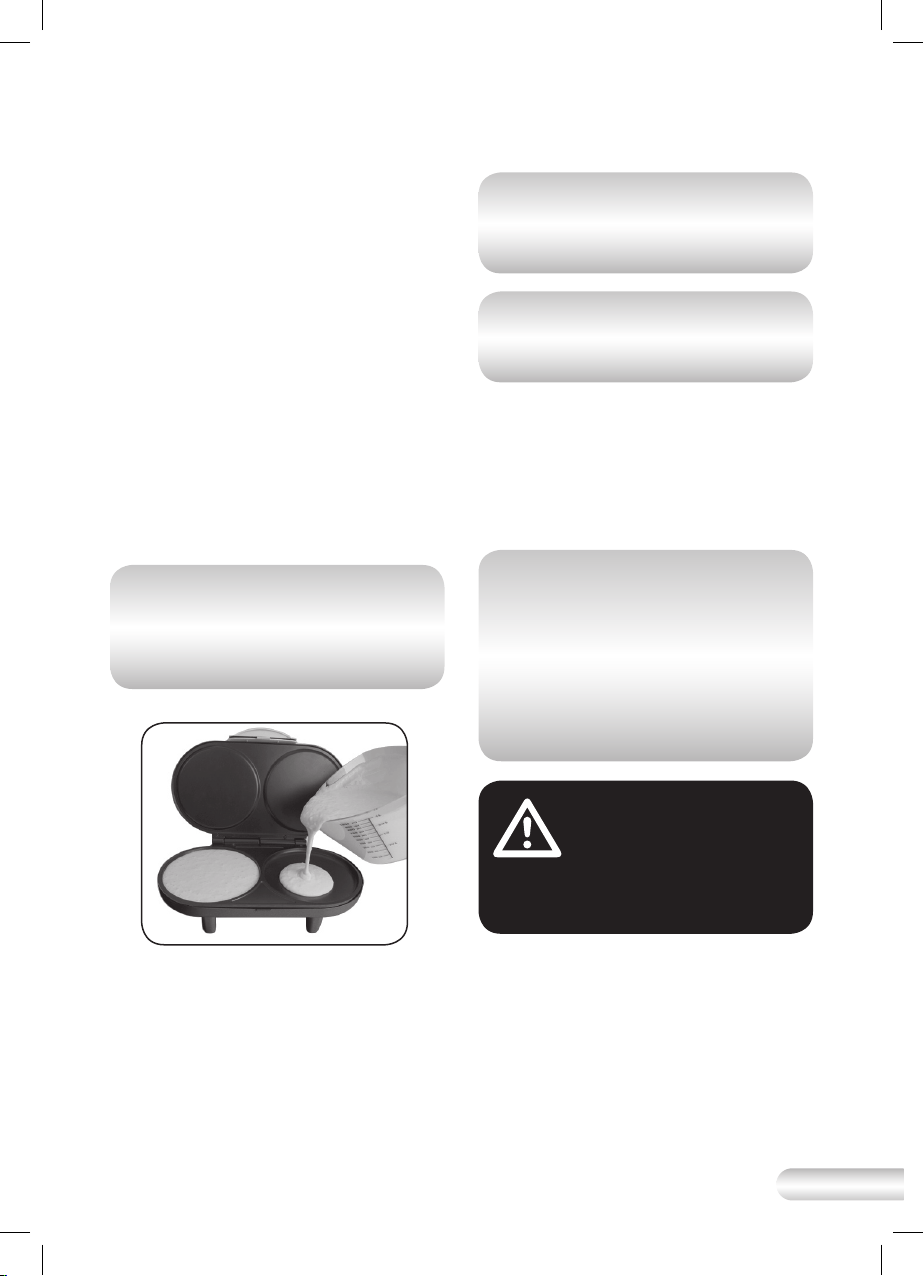
Fig. 1
When the ‘READY’ indicator Light
illuminates, open the pancake
maker and pour ¼ cup of pancake
mixture into each cooking well (Fig.1)
and close lid for 3-4 minutes or until
cooked to a golden brown colour.
Not Shown
• ‘POWER’ and ‘READY’
indicator lights
• Stores away conveniently on
its side
• Cord wrap for convenient storage
Loading ...
Loading ...
Loading ...