• 4 LEDs cycle back and forth from right to
left: Charging
• All 4 LEDs constant on: Charging is completed
• The 1st one from the left hand side is constantly on:
no solar panel connection detected, battery
connection is good
• All 4 LEDs ash: Good solar panel connection,
no battery connection detected
5.5mm x 2.1mm female to bare wires
(solar panel output) adapter (included)
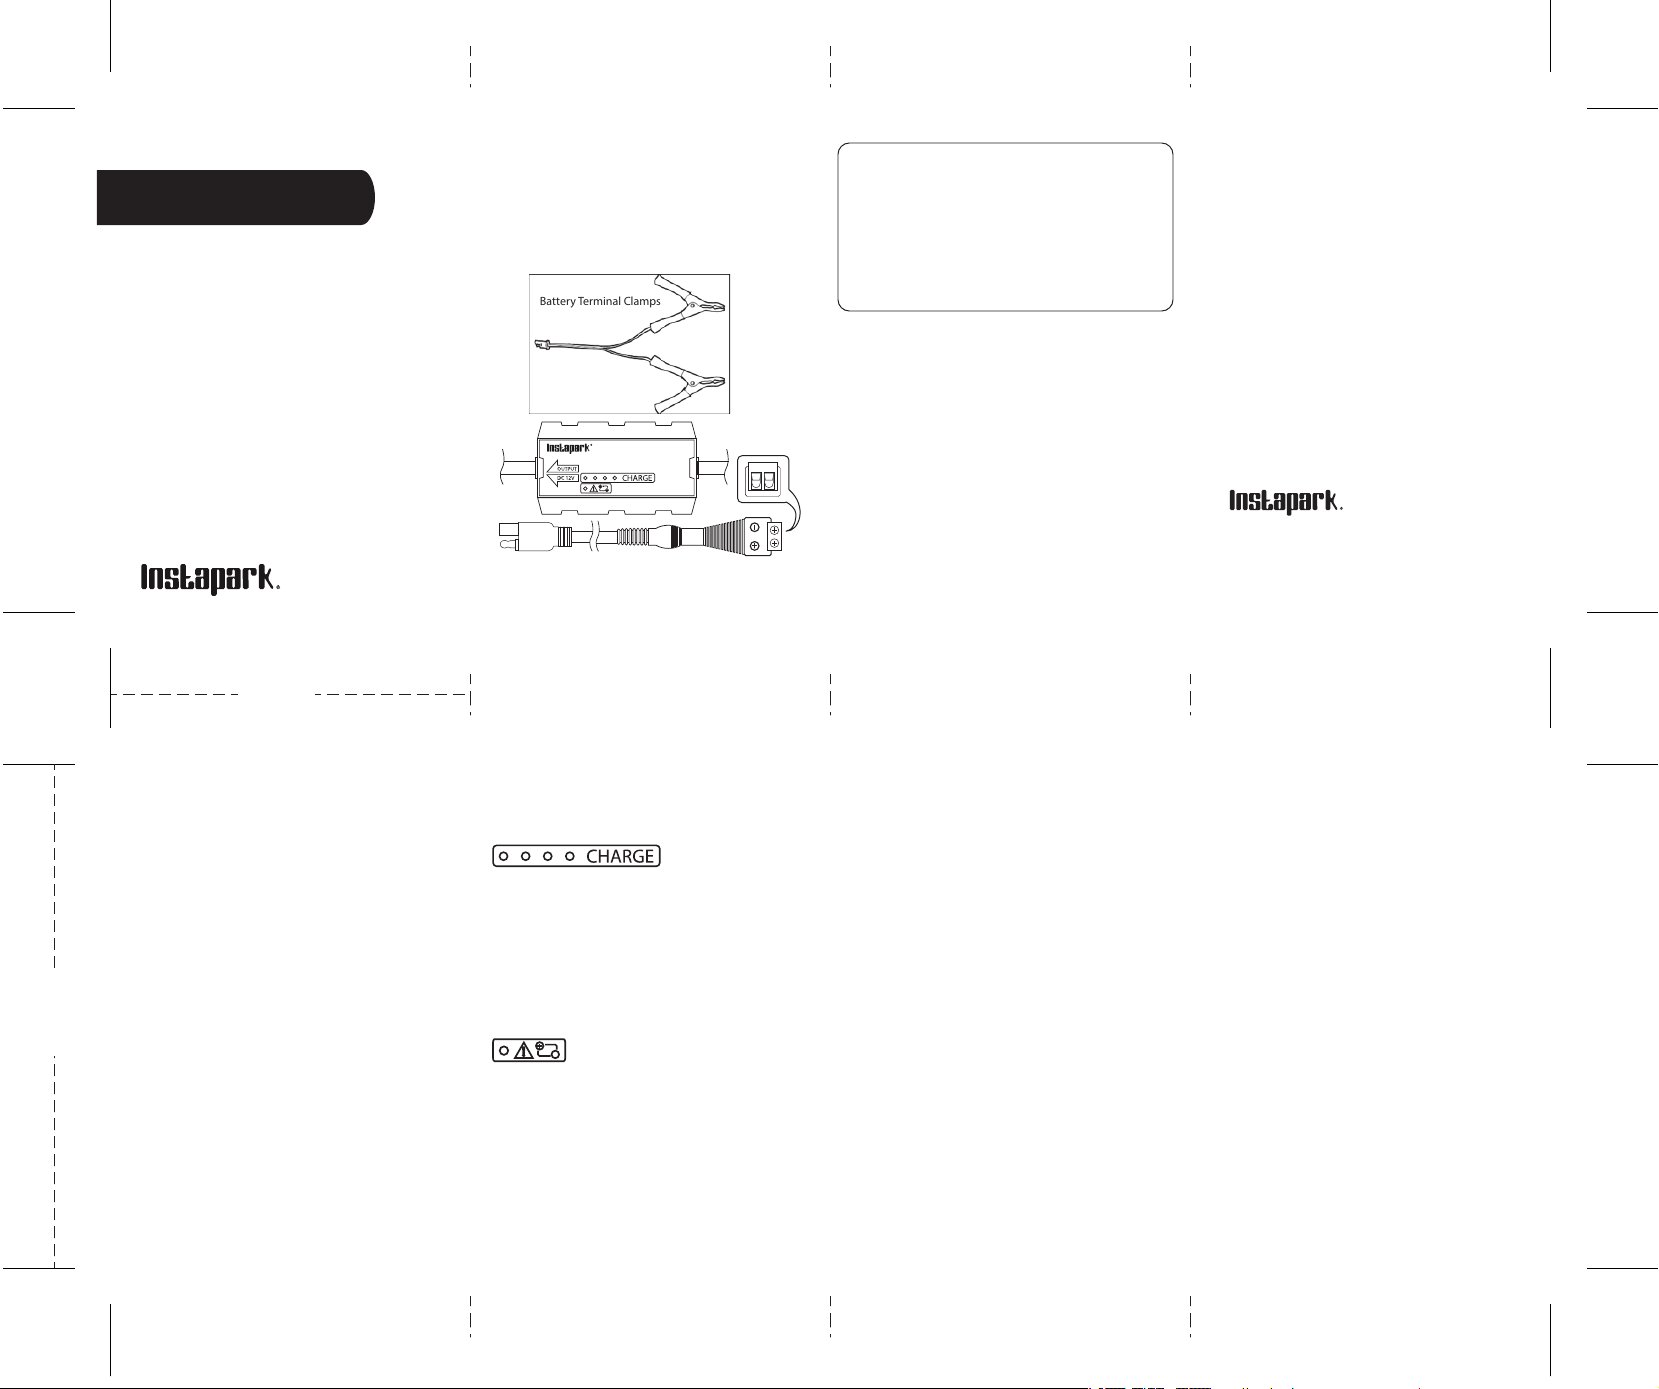
Battery Terminal Clamps
INCC1205 PWM Solar controller
General Introduction:
Operating Instructions:
Connecting the Charge Controller’s Input
to a Mercury27
(sold separately) Portable
Solar Charger:
Using the Charge Controller to Charge a
Battery with the Terminal Clamps:
TROUBLESHOOTING
CARE AND MAINTENANCE
Connecting the Charge Controller’s
Input to a Solar Panel:
Charging Indicators:
Thank you for selecting the Instapark INCC1205
Charger Controller, which is designed to use for
12V battery maintenance, charging RVs, speciality
vehicles, antique and classic cars, marine deep cycle
batteries, motorcycles, lawn mowers, tractors, ATVs,
snowmobiles, personal watercraft and more. With
proper care and use, it will give you years of
dependable service. Please read and observe all
safety warnings and cautions and this entire user’s
instruction manual, before installing or using this
device. The instruction manual should then be
retained for quick reference whenever the unit is used.
Ensure that all installation and operating instructions
and safety precautions are understood and carefully
followed by anyone installing or using the charger.
Plug the charge controller’s input female connector
directly into the Mercury27’s 12V output
1. Plug the 5.5mm x 2.1mm female to bare wires
adapter to the charge controller’s input.
2. Use a Philips screwdriver to loosen the screws
for both the positive and negative terminals on
the adapter.
3. Plug the solar panel’s positive wire (red) into the
positive terminal of the adapter.
4. Plug the solar panel’s negative wire (black) into the
negative terminal of the adapter.
5. User the screwdriver to tighten the screws.
• Check that the charger is properly connected to a
solar panel or a Mercury27 portable solar charger.
• Check that the solar panel or Mercury27 is exposed
to direct sunlight.
• If the battery to be maintained has fallen below 2
volts, the battery cannot be recharged with this unit.
• Make sure that output connection is secured.
• Check correct polarity connections.
With proper care and minimal maintenance, the Solar
Charge Controller will provide years of dependable
service. For maximum performance,
manufacturer recommends:
1
. Storing the unit in a clean, dry,
cool place when not in use.
2. Cleaning the unit casing and cords (as necessary)
with a dry (or slightly damp) cloth. Ensure that unit is
completely disconnected from battery and power
source, before cleaning.
3. To maintain the operating condition and maximize
the life of the charger cords, always coil them loosely
for storage. Do not wrap them around the unit or
crimp them with a tight band.
1.
Connect the 2-pole output on the charge controller
to the 2-pole connector on the wire with terminal clamps
2. Connect the positive clamp (red) to the positive post
of the battery.
3. Connect the negative clamp (black) to the negative
post of the battery.
4. Observe the green LED lights to make sure the battery
is charging properly.
5. Monitor the unit periodically.
4 Green LEDs – Charging Indicator
Red LED – Battery Indicator
• Constant on: battery connection is reversed
Unit Not Charging
WARRANTY
Our company provides customers with a warranty of 18
months from the date of purchase.
WARNINGS:
• Do not use charger if cords have been damaged in
any way — call Technical Support
toll-free at (800)716-0100.
• There are no user-serviceable parts in this unit.
• Do not open the unit. In the event of malfunction,
it must be returned to manufacturer for professional
testing and repair. Opening the unit will void the
manufacturer’s warranty.
CONTACT US
For any inquiries or comments concerning our products
please send an email to [email protected] and we will
respond as soon as possible. If there is any
quality-related issue with the product, you may request a
REPLACEMENT OR REFUND by submitting a request form
at www.instapark.com/contactus/
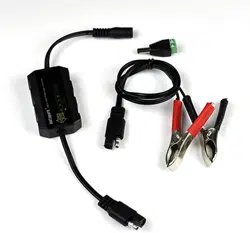
Package Includes
• Instapark™ INCC1205 12 volt / 5 amp Solar Charge
Controller
• Battery Terminal Clamps
• 5.5mm x 2.1mm female to bare wires
(solar panel output) adapter
• User manual
INCC1205 12 volt / 5 amp
Solar Charge Controller
Instruction
Manual
Toll Free : 1-800-716-0100
Phone: 562-946-8677
Fax: 562-946-8680
2.5”
3.5”