Copyright ©2005-2019 ISPRING WATER SYSTEMS, LLC. All rights reserved.
WSP-ARB USER MANUAL Ver.04/2019
OVERVIEW
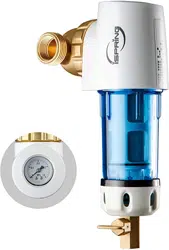
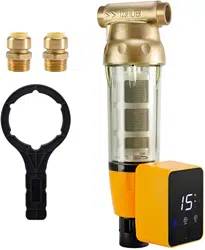
iSpring WSP-ARB
Reusable Spin-down Sediment Water Filter with Scraper and Auto Flushing Module
The iSpring WSP-ARB filters out particulate, impurities, sediment, rust, floating objects
and other pollutants in water. It should be installed as a central water purification pre-
filter to protect terminal equipment and appliances such as downstream pipelines, water
purifiers, water heaters, wall-hung boilers, washing machines, and showerheads.
The iSpring WSP-ARB is flushable and reusable. A toggle switch allows particles
trapped in the filter to be flushed out without having to shut down the water supply first.
Product Specification
Model Name: WSP-ARB
Flow Rate: 22-35 GMP
Feed Water Temperature: 40°F - 100°F
Connector Size: 1 inch MNPT and ¾ inch Push-
Fit
Auto Flushing Module Specification
Dimension: 4.2 In. (L) X 3 In. (W) X 2.4 In. (D)
Power: 100-240V 5V/1A or 3 X AA Battery
Temperature: 40°F - 100°F

PRODUCT FEATURES
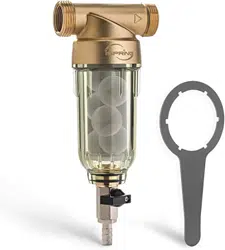
• High capacity system is constructed with, 316L food grade stainless steel
precision filter mesh;
• Integrated auto flushing module with scraper, effectively traps all kinds of
impurities without needing to remove the filter;
• Core components are made of materials that are highly pressure resistant, safe,
and reliable;
• Special explosion-proof transparent housing provides clear visibility and is
intuitive and convenient to use;
• Unique cleaning features conveniently remove contaminant buildup from the filter
housing with a just a few turns of the scraper knob;
• Universal fittings are easily installed and adaptable to other applications.
INSTALLATION AND MAINTENANCE TIPS
• This system must be installed in a dry indoor environment away from heat
sources;
• This system is only suitable for 40°F - 100 °F municipal tap water; please do not
use with wastewater and corrosive liquids;
• During installation, make sure that the direction of water flow marked on the
valve body is consistent with the flow direction of the pipeline;
• The installation location must provide reliable drainage;
• Depending on water quality, it is necessary to flush the filter screen at least once
a month;
• Take care to protect the components during regular cleaning and maintenance.
We are committed to providing you with complete and reliable products and service.
Please contact us immediately if you have any questions.
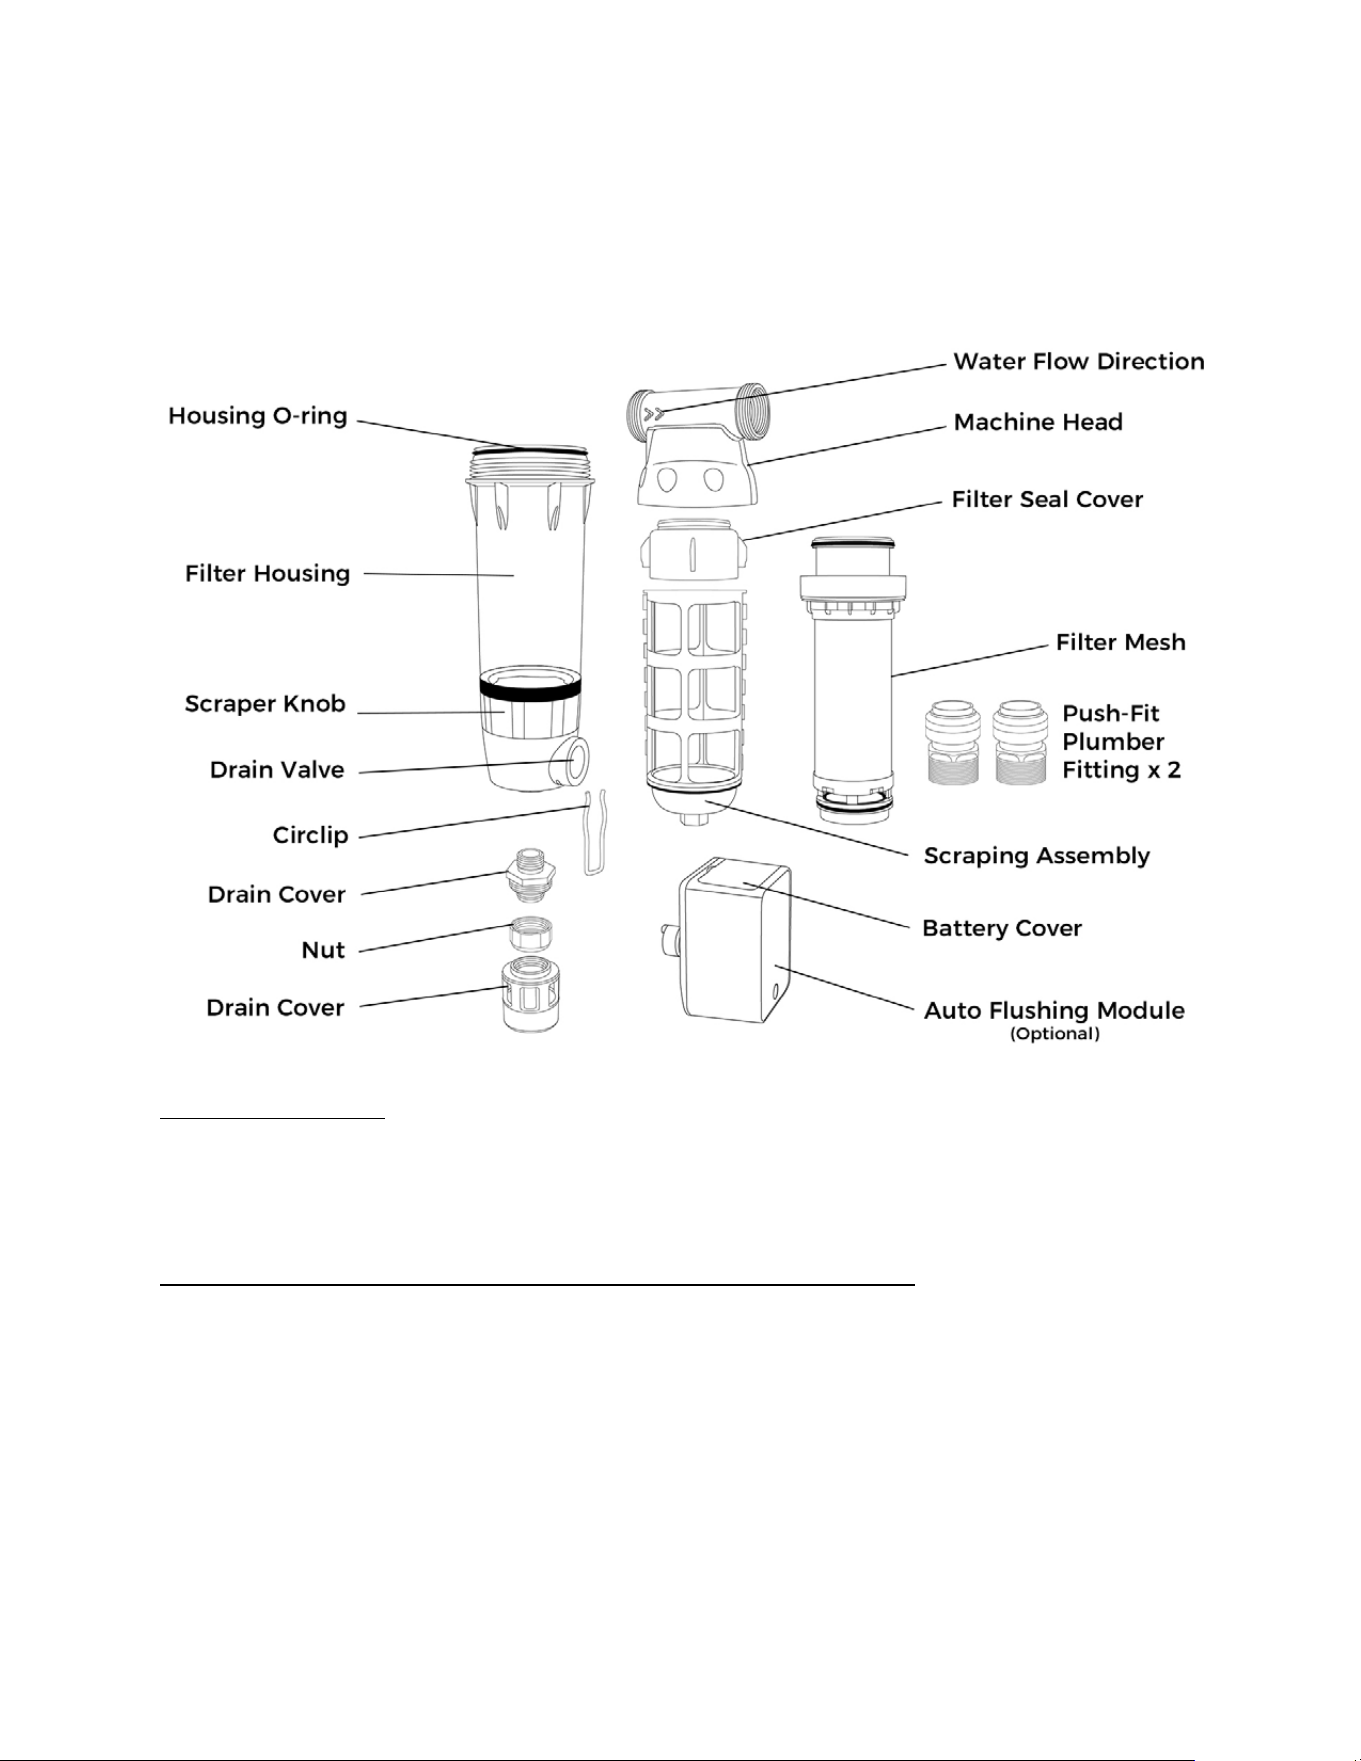
PARTS IDENTIFICATION
HOW TO INSTALL
To fit different plumbing sizes, the unit comes with two types of threads on both ends: 1
inch FNPT and ¾ inch Push-Fit Plumber Fitting.
Please pay attention to the flow direction indicated by the arrow.
• Close the main inlet valve and drain the remaining water from the pipe.
• When installing, make sure that the direction of water flow marked on the valve
body aligns with the direction of water flow in the pipeline.
• After the filter is installed, the filter housing assembly must be kept upright.

Apply plumber’s tape
• PPR pipeline installation requires firm welding with special welding equipment.
• This product should not be installed outdoors. It should be located away from
direct sunlight, heat sources, fuel oils, and chemicals.
• Make sure to apply plumber’s tape evenly.
• When tightening the hex nut with a wrench, make sure that other parts are not
turning with it.
• After the filter is installed, check for any water leakage at the joints.
PRODUCT INSTRUCTIONS
• After installation, open the inlet water main valve to allow water flow into the filter.
• Before flushing, ensure that there is a reliable drainage system. You can also
flush the drain water in to a suitable container.
• Turn the drain valve knob to flush the drain.
• Press the on/off button to turn on the auto flushing module (optional) on, then
press the “drain” button to flush the drain.
• Turn the scraper knob clockwise or counterclockwise 3 to 4 times while draining
the water to clean the filter mesh.
• We recommend flushing at least once a week for 30 seconds each time,
depending on the quality of the incoming water.
• To clean the filter cartridge after it has been used continuously for 8-12 months,
remove the stainless steel filter mesh and clean it with a brush or soak it in
vinegar. For best results, we recommend that it be professionally cleaned.
DISASSEMBLING THE FILTER CARTRIDGE

• Buildup on the filter mesh can affect water output. If normal scraping or rinsing
doesn’t remove the buildup, we recommend removing the filter assembly.
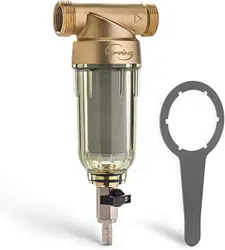
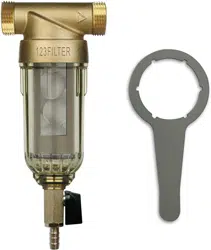
• To remove the filter assembly, unscrew the filter housing counterclockwise using
the included wrench.
• Remove the filter assembly and clean the filter mesh.
Note: You do not need to remove the scraping assembly if you’re only cleaning the
filter assembly.
INSTALLING THE SCRAPING AND FILTER ASSEMBLIES
• To insert the scraping assembly into the filter housing, place the
quadrilateral hole with rounded corners into the hexagonal hole
on the bottom of the filter housing, and insert it into the bottom.
• When installing the filter assembly, align the four ‘bumps’ inside
the scraper assembly with the four grooves on the upper filter
housing, and insert it into the bottom.
TROUBLESHOOTING
Issue
Possible Causes
Solutions
No water
Water source doesn’t have water.
Inlet water valve isn’t open.
Wait for water to come back on
Open the inlet valve
Low outlet flow
Inlet water valve isn’t fully open.
Surface of the filter is partially
blocked.
Fully open the inlet valve
Flush the filter mesh to remove debris
Water leakage at the joint
Filter parts have been
disassembled.
Loose parts at the leaking location
Not enough Teflon tape on the
threads.
O-rings at the leaking location are
damaged.
Check to see if the seal is misaligned
or missing.
Retighten the threaded joint with a
wrench.
Reapply plumber’s tape and tighten.
Replace O-rings.
Does not display pressure
values
Pressure gauge is damaged.
Inlet water valve isn’t open.
Replace pressure gauge.
Open the inlet valve.

CUSTOMER SATISFACTION AND WARRANTY REGISTRATION
To register your product for the warranty, please visit our website at 123filter.com and
go to the “Warranty Registration” tab.
We provide a 30-day money back guarantee, a 1-year manufacturer warranty, and
lifetime tech support for all of our products. If you ordered from a website other than
123Filter.com (Amazon, Home Depot, etc.), please be sure to fill in your order
information upon registration of your system. If you have any questions or concerns
about your product, please do not hesitate to call or email us, or you can use the
notes/comments section upon your warranty registration. Your satisfaction is key to our
business!
If you are happy with our products and service, please show your support
by writing a product review on Amazon. Even just a single linetakes you
just a minute, but means a lot to us. Thank you!
How to Contact Us
Office Hours: Monday-Friday, 8:30 am - 5:30 pm EST
Phone: (678) 261-7611
Email: support@123filter.com

iSpring Water Systems, L.L.C.
3020 Trotters Pkwy, Alpharetta, GA 30004
(678) 261-7611