Loading ...
Loading ...
Loading ...
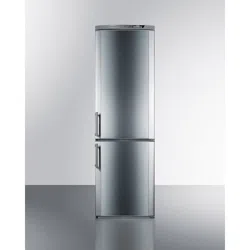
6
• Leveling legs can be adjusted by turning them counter-clockwise to raise the
refrigerator or clockwise to lower it. Correct adjustment of the feet avoids
excessive vibration and noise.
Any electrical work required to install this appliance should be carried out by a
qualified or authorized person.
Electrical requirements
! WARNING! This appliance must be grounded!
• Do not use an extension cord.
• Make sure there is a suitable power outlet (115V AC, 60Hz, 15 amps) with
proper grounding to power the refrigerator-freezer.
• The electrical safety of the appliance is only assured when the grounding
system in the house is installed in accordance with regulations.
• When positioning the appliance, do not let the power cable get stuck under it;
otherwise, the cable will be damaged.
• Ensure that plug remains easily accessible. Do not use a multiple adapter bar.
• Avoid the use of three-to-two prong adapters or cutting off the third grounding
prong in order to accommodate a two-prong outlet. This is a dangerous
practice since it provides no effective grounding for the refrigerator and may
result in shock hazard.
This appliance allows you to reverse the door opening from left to right and back.
(When you receive the appliance, the doors open from the left.) You can change
the direction of the door opening by following this procedure to make the change.
You will need a small adjustable wrench, a Phillips-head screwdriver and a thin-
bladed flathead screwdriver (or putty knife).
Reversing the door swing
1. First, disconnect the appliance from the power supply.
2. Remove all food, loose items and fittings from the appliance and door
shelves. Remove the base grill.
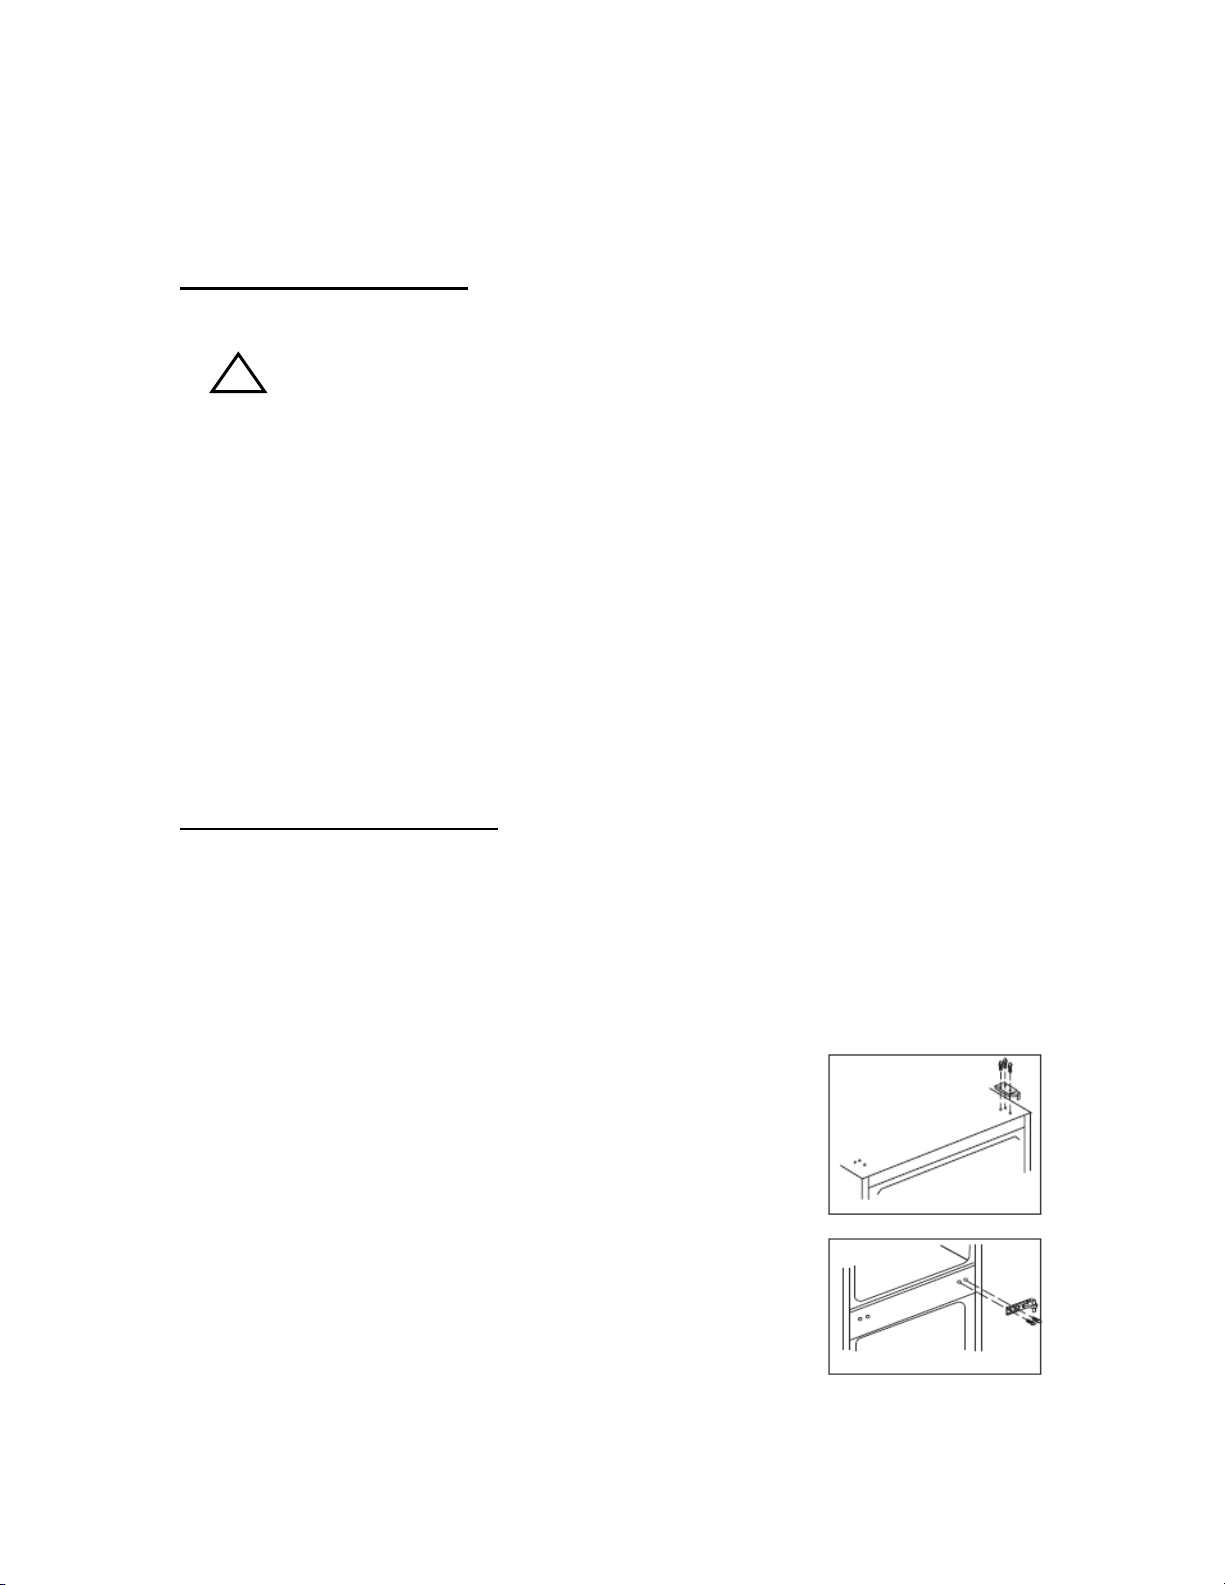
3. Remove the left upper hinge cover. Then remove the
right upper hinge cover and the three bolts. Remove
the upper hinge that holds the door in place. Lift the
door and place it on a padded surface to prevent
scratching it.
4. Remove the two flange screws, then remove the
middle hinge that holds the lower door in place. Lift off
the lower door and place it on a padded surface to
prevent scratching it.
Loading ...
Loading ...
Loading ...