Loading ...
Loading ...
Loading ...
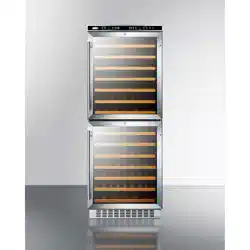
8
3. Remove the lower door hinge (2) and then install it at the designated position on the opposite side.
And install the door shaft assembly (3) accordingly. (Fig. 2)
4. Remove the center hinge (4) by unscrewing the two fixing bolts. Be careful to hold the glass door
firmly after removing the bolts. Pull down to remove the upper glass door and place it on a padded
surface to prevent scratching it. (Fig. 3)
5. Remove the door axle (5) from the right upper hinge then install and tighten it in the left upper hinge.
(Fig. 4)
6. Set the upper glass door to the designated position. Then turn around the center hinge 180° and refit
it on the opposite side by screwing the two fixing bolts. Level the door by adjusting the two fixing
bolts. And make sure that the spacers which the hinge pins sit on are correctly positioned. (Fig. 3)
7. Set the lower glass door to the designated position and install the two lock screws (1) to connect the
door shaft assembly (3) with the glass door and tighten them before the door is leveled.
8. Remove the handles from the left side of the doors and install them on the right side. (See next
section.)
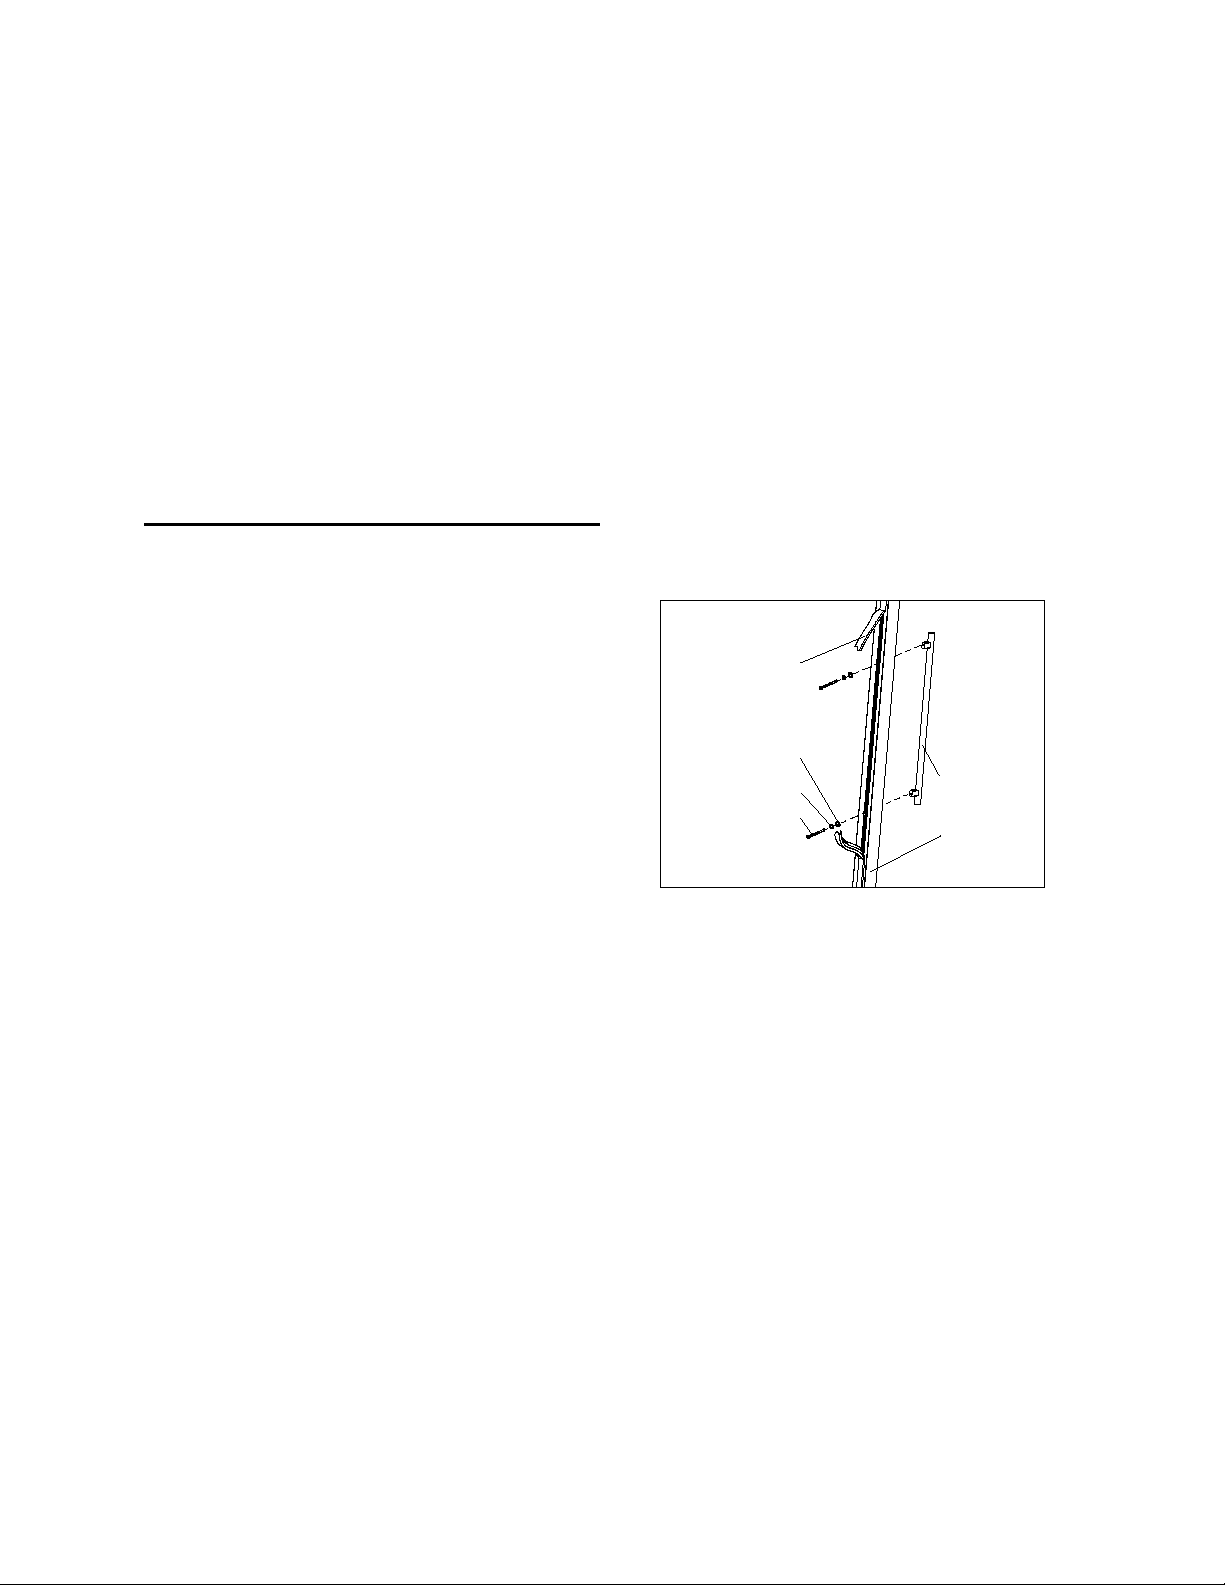
INSTALLING THE STAINLESS STEEL HANDLES
This wine cellar includes two (2) stainless steel handles that are not required to operate the unit. To install
each handle, follow the instructions below:
1. Pull away the door gasket in the area where
the handle is to be installed. The gasket is
easily displaced by hand; no tools are
necessary.
2. Using a flathead screwdriver, remove the two
(2) pre-installed decorative plugs from the
back of the door. Save the decorative plugs
for future use.
3. Insert the two (2) Phillips head handle screws
with the lock washers and flat washers
through the gasket side of the door frame until
the screws pass through the door frame.
Follow the sequence shown in the figure.
4. Align the handle with the screws installed in step # 3 above. Tighten the screws using a Phillips
head screwdriver until the handle is both flush and secured tightly against the door frame. (DO
NOT over-tighten as this will cause damage to the handle assembly and stainless steel door
surface.)
5. Restore the door gasket to its original position.
Handle
Door Frame
Gasket
Screw
Lock Washer
Flat Washer
Loading ...
Loading ...
Loading ...