Loading ...
Loading ...
Loading ...
6
ASSEMBLY INSTRUCTIONS
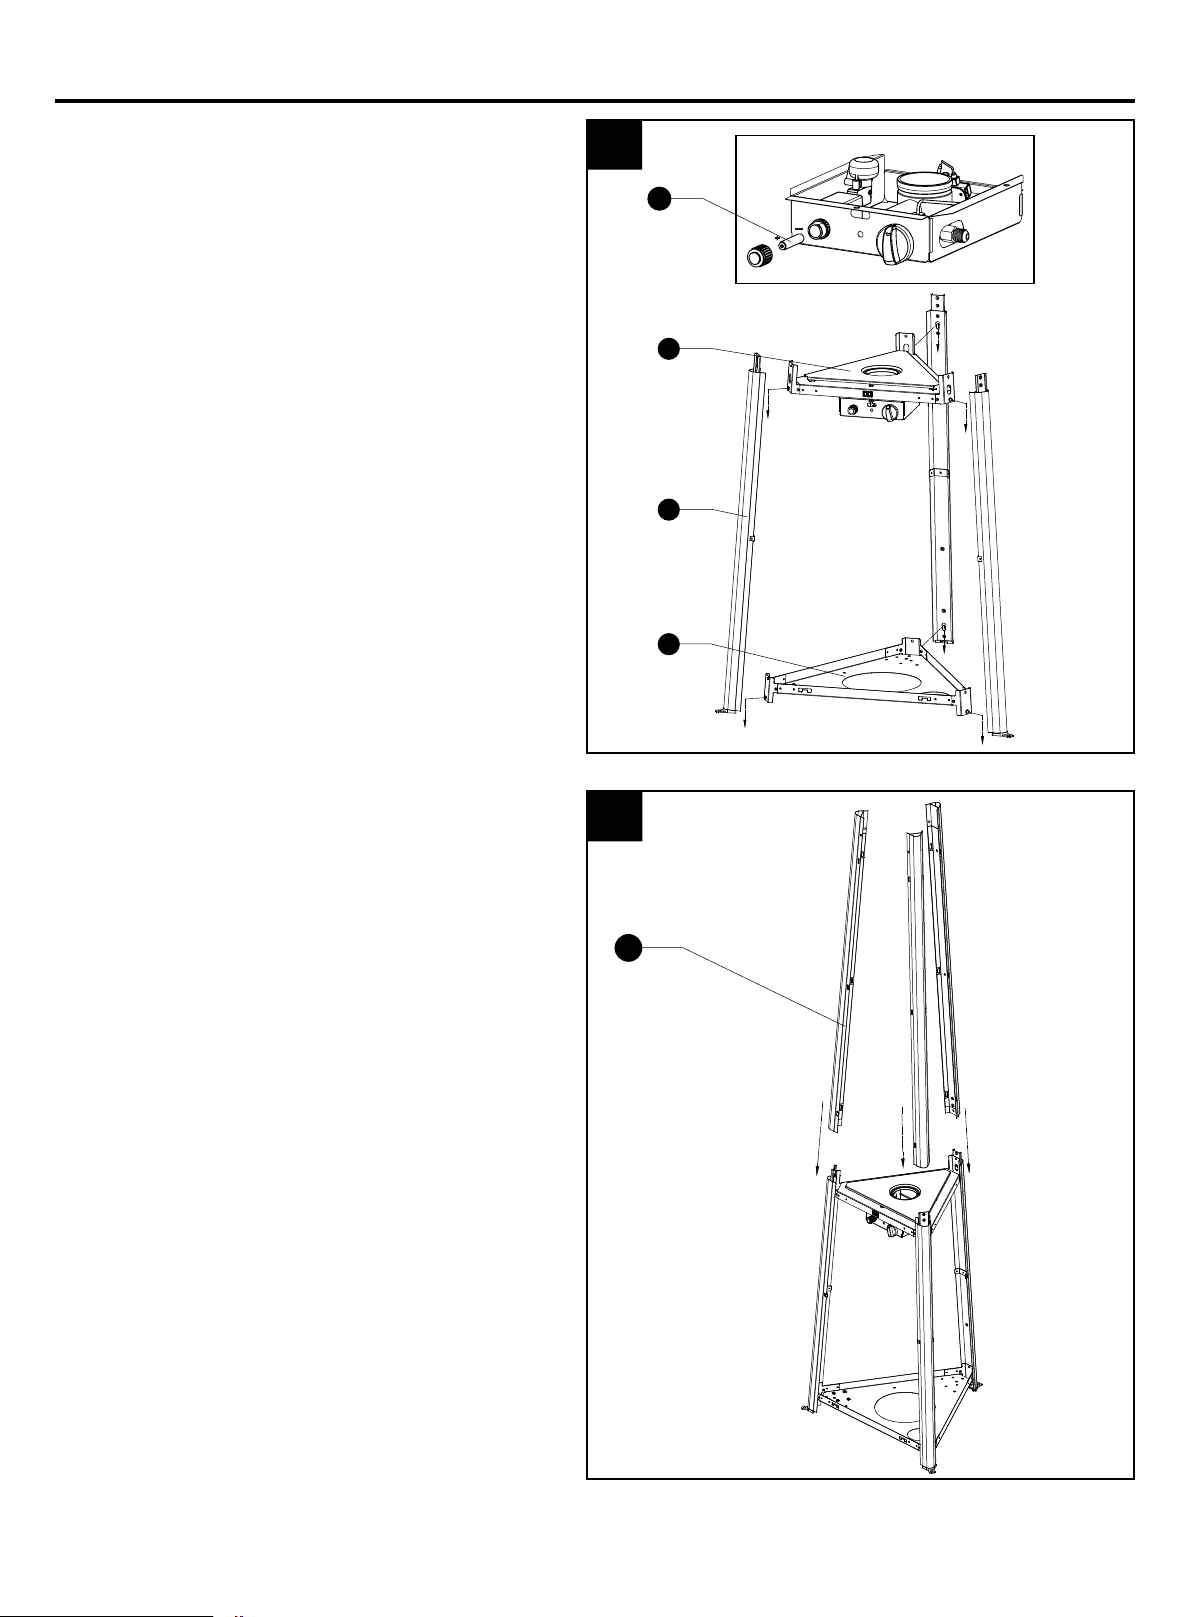
1
2
1-1. Unscrew the switch button, load small
battery, tighten the switch button.
1-2.Insert the hoods of bottom plate (N) to the
lower holes of the three lower supports (K)
Insert the hoods of control box assembly (J)
to the upper holes of the three lower
support (K).
Note: Make sure align the side of bottom
plate (N) with the holes with the side of control
box assembly (J) with the magnet.
2.Insert three upper supports (E) to the three
lower supports (K).
J
K
N
E
MM
AA Battery (1.5 V)
Loading ...
Loading ...
Loading ...