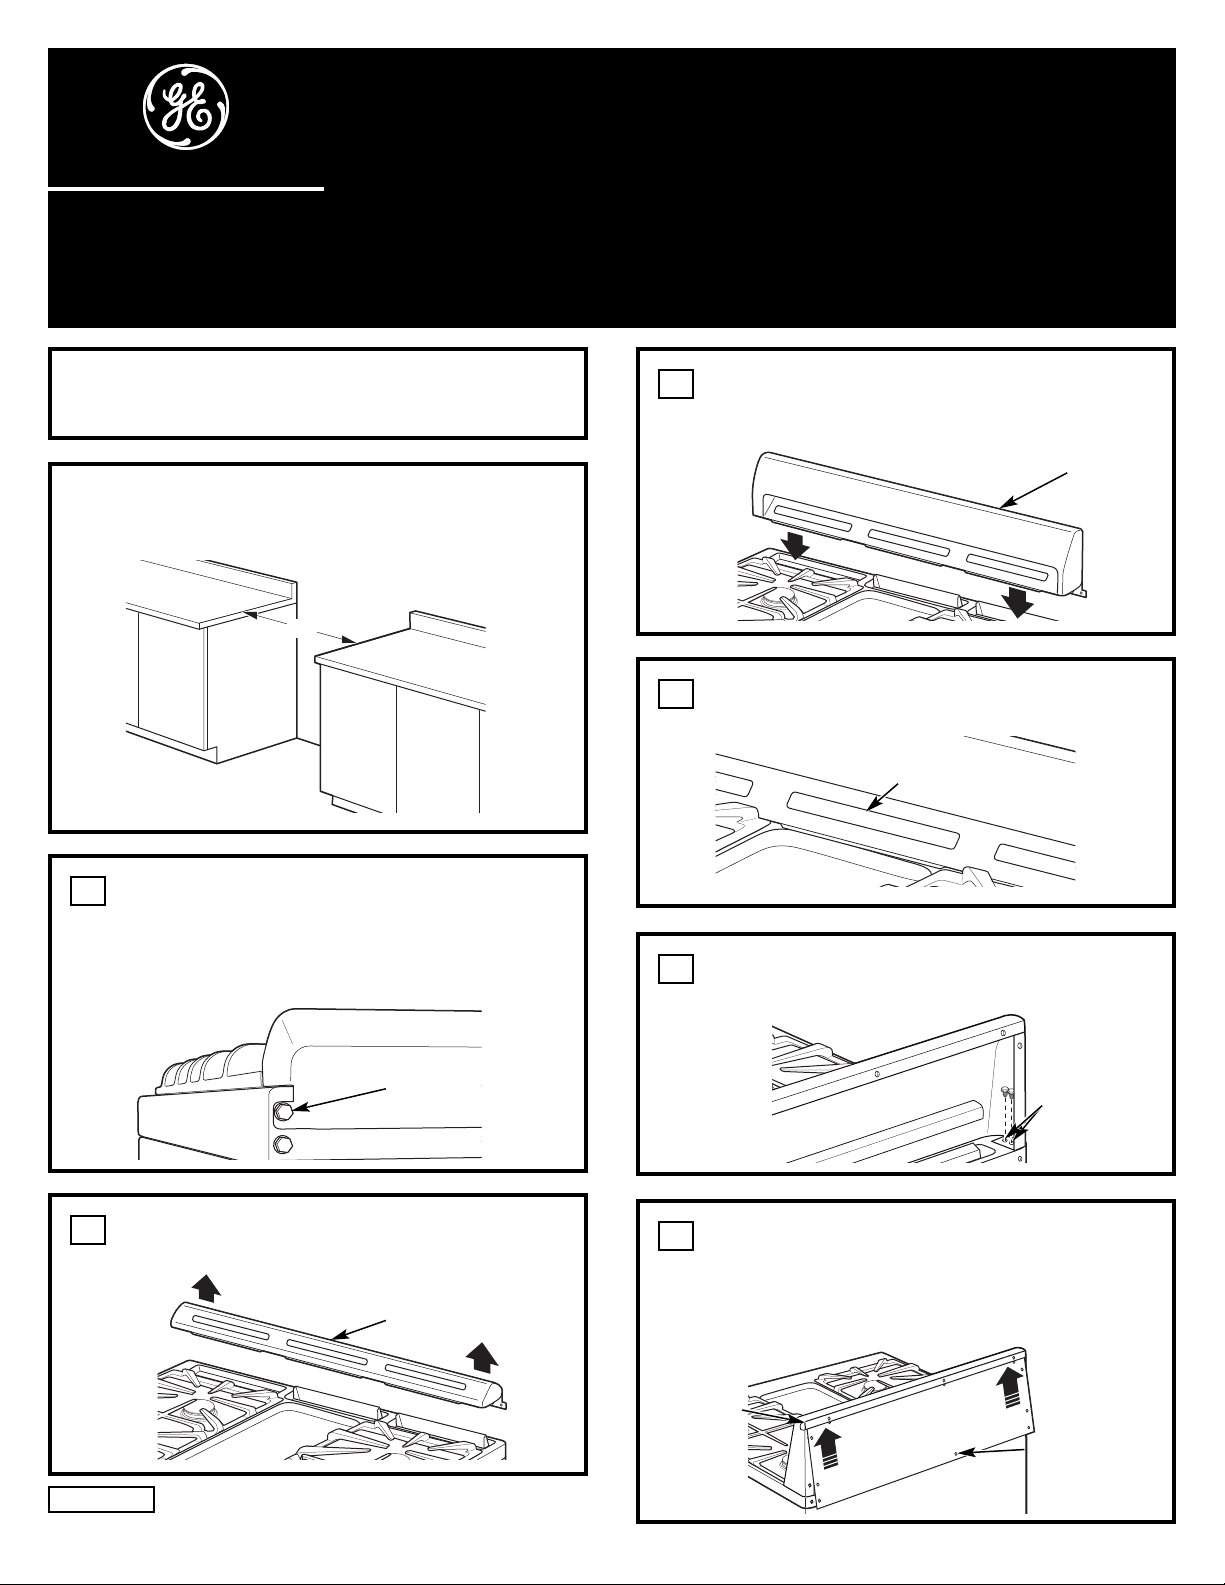
Take the backguard and hook the front into
the large slots in the cooktop. The vent trim was
hooked in this same way before you removed it.
3
Installation instructions
JXS80SS
for your new Backguard
Before you begin – Read these instructions completely and carefully.
IMPORTANT – OBSERVE ALL GOVERNING CODES AND ORDINANCES.
Note to Installer – Be sure to leave these instructions with the Consumer.
Note to Consumer – Keep these instructions with your Owner’s Manual for future reference.
TOOLS NEEDED
• 1/4″ Hex Driver, 1/4″ Open-End Wrench or 1/4″ Box Wrench
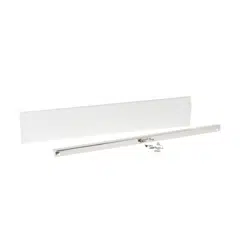
Backguard
This kit is used in an installation where the standard 25″
deep countertop has a backguard, and the countertop is
completely removed to the back wall.
31-21366
08-07 JR
Printed in the United States
30″
Remove the protective film that covers the
backguard (peel up from corner).
Remove 3 screws (one on each end and one in the
middle) holding the vent trim onto the range. Use a
1/4″ hex driver. Keep the screws for later use.
1
Back of range
Screws
Remove the vent trim by lifting the rear side and
pulling upward.
2
Vent
trim
Rotate the backguard into place. Make sure that
the center vent is clear upon installation.
4
Vent should
be clear
Cooktop
Slide the backguard panel under the top of the
backguard retaining tab. Using the three screws
removed earlier and the seven supplied screws,
screw down the backguard to the range using
the 1/4″ hex driver.
6
Back of range
Screw
locations
(WB36K10694)
Attach the backguard to the top of the cooktop
using four screws (two on each side).
5
Back of range
Screw
locations
Retaining
tab