Loading ...
Loading ...
Loading ...

Page 12
Replacing Fuses
Warning
To avoid electrical shock, remove the test leads and any input signals before replacing the battery
or fuses. To prevent damage or injury, INSTALL ONLY quick acting fuses with the following
Volt/Amp current interrupt rating:
F340: 500mA, 500V Fast Blow Fuse
F342: 10A, 500V Fast Blow Fuse
Fuse Replacement
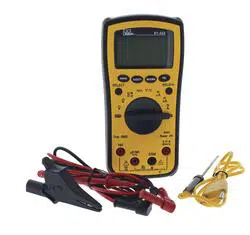
The 61-340 and 61-342 are fused in both the μA /mA input and 10 amperes input ports.
The μA /mA input port is fused by F340: 500mA, 500V Fast Blow fuse. The 10A input port is fused by
F342: 10A, 500V Fast Blow fuse
1. Remove the rubber holster
2. Remove the screw on the battery cover and open the battery cover.
3. Remove the two screws at the bottom of back cover and a screw under the support stand.
4. Take out the old battery, and remove the back case cover.
5. Replace the defective fuse with the standard rated fuse for this meter
6. Replace the back case cover. Reinsert the case screws. It is recommended you replace the
old battery with a new battery.
7. Return the battery cover and reinstall the battery cover screw.
8. Replace the rubber boot.
Use only a fuse with the amperage, interrupt voltage, and speed rating specified.
Cleaning
Warning
To avoid electrical shock or damage to the meter, never allow water inside the case. To avoid
damaging the meter’s housing, never apply solvents to the meter.
Form Number TM61340-2 Rev 3 January 2008
Loading ...
Loading ...
Loading ...
