Loading ...
Loading ...
Loading ...
4
USE & OPERATION (CONTINUED)
EN
Make sure to position the air cooler correctly before you set up and start using the product. Please
refer to the COOLER LOCATION section of the separate Safety & Maintenance Guide.
COOLER LOCATION
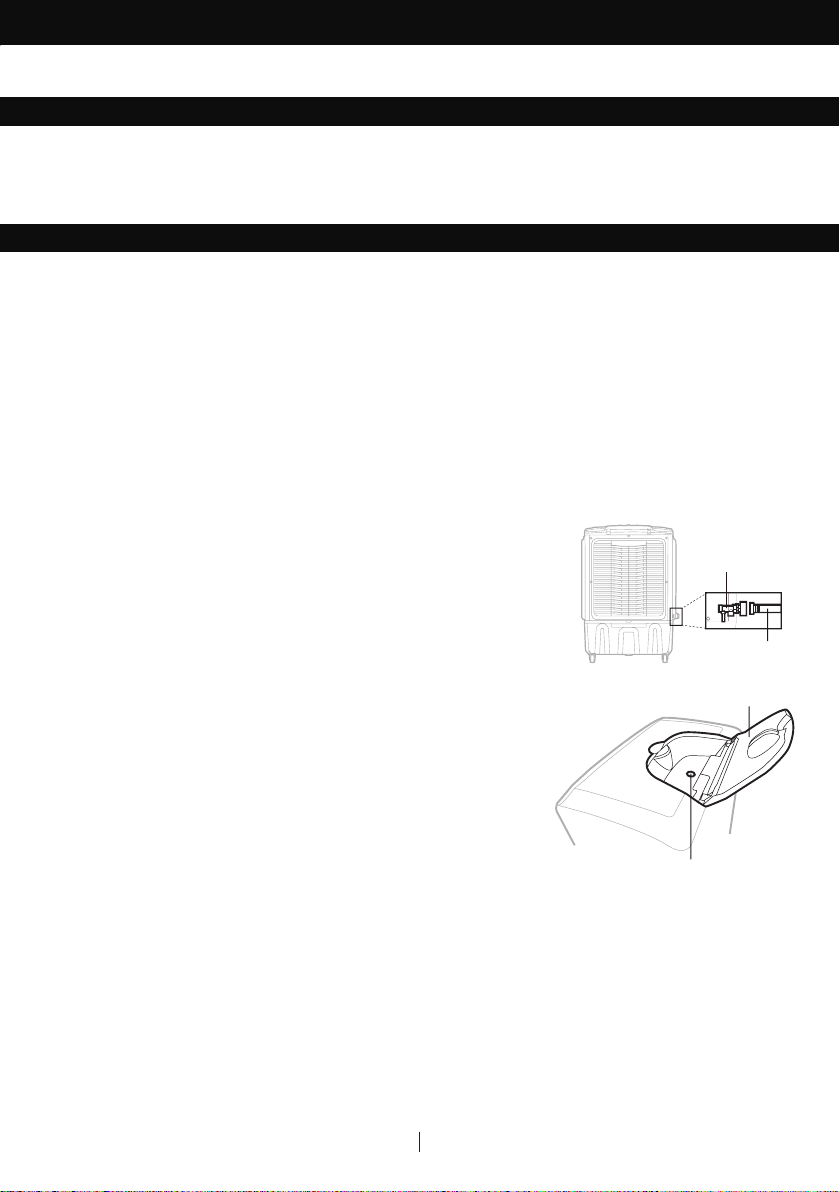
Locate the male connector at one end of the garden hose.
Insert the garden hose connector into the water inlet valve of
the cooler. Screw and tighten the water inlet valve onto the
threaded part of the garden hose connector, making sure the
hose connector is secured to ensure there will be no leaks. If
there is leakage, the hose and the water inlet valve may not be
connected properly. Try to disconnect, replace and tighten the
water inlet valve again.
When the connection is secured, turn ON the water supply and
the water will flow into the water tank of the cooler.
The cooler is now set so the water refills automatically when
the water tank is empty, or when the water reaches below a
minimum level.
When the water tank is full, the water inlet valve will
automatically stop the water supply from overflowing.
Please open the water valve for minimum flow as too
much pressure could damage the inlet pressure control system.
WARNING: The maximum water inlet pressure is 0.5 MPa.
It is ideal to use the Continuous Water Supply Connection to run the unit for long periods of time
without refilling the tank. This also helps prevent pump failure in case the cooler is running with
inadequate water in the tank.
CAUTION: Unplug the unit from the electrical power outlet before filling or emptying the water tank.
Continuous Water Supply Connection:
For a continuous water supply, you will need a garden hose that is connected to a main water supply.
Note: The garden hose is not included. Please make use of a garden hose which is compatible with
the unit connection.
FILLING WITH WATER
•
•
•
•
•
Garden Hose
Water
Inlet Value
Water Fill Door
Water Inlet Hole
Loading ...
Loading ...
Loading ...