Before you start:
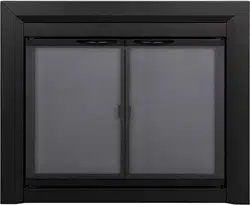
1. Remove all contents from the packaging. Make sure the glass doors are placed on a flat
padded surface, so you don’t damage your brand new glass door! Make sure when you’re
handling the glass door, you grab the sides and not the top.
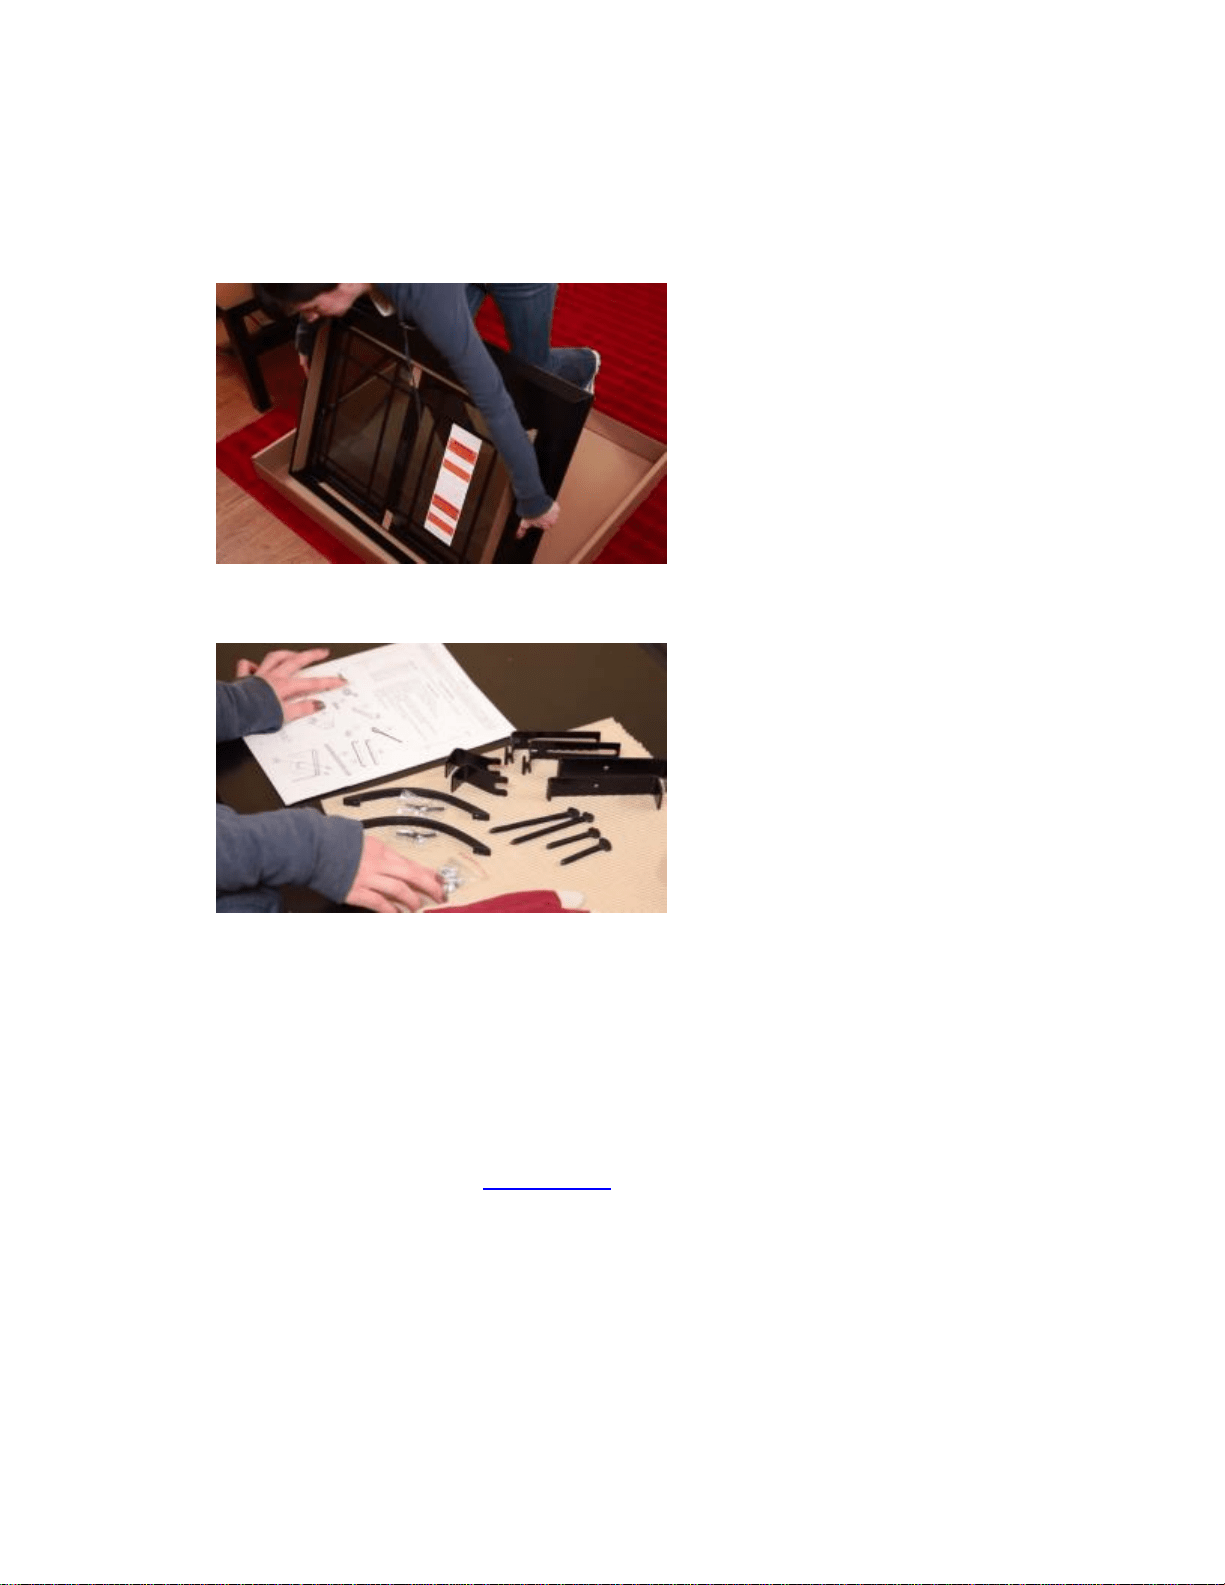
2. Check the contents of the package with the parts list, making sure that there are no parts
missing. (call the manufacturers customer service center at 1877 447 4768 if you have parts
missing)
3. Make sure the fireplace is cool.
NOTE: Ensure your fireplace has been neutralized. Newly built fireplaces, sometimes contain a
residue of acid from the construction of the build. This can cause red spots and rust.
Instructions
1. Mount door handles using screws provide, attach both door handles
2. Riser bar installation – This is included in your package, however many fireplaces don’t require
it.
If your fireplace is within the measurement, it’s usually not required
3. Put the gloves on to install the fiberglass insulation. It’s designed to protect the metal finish of
the frame. separate 3″ and 2″ into 3 strips each. There’s 4 channels at the back your fireplace
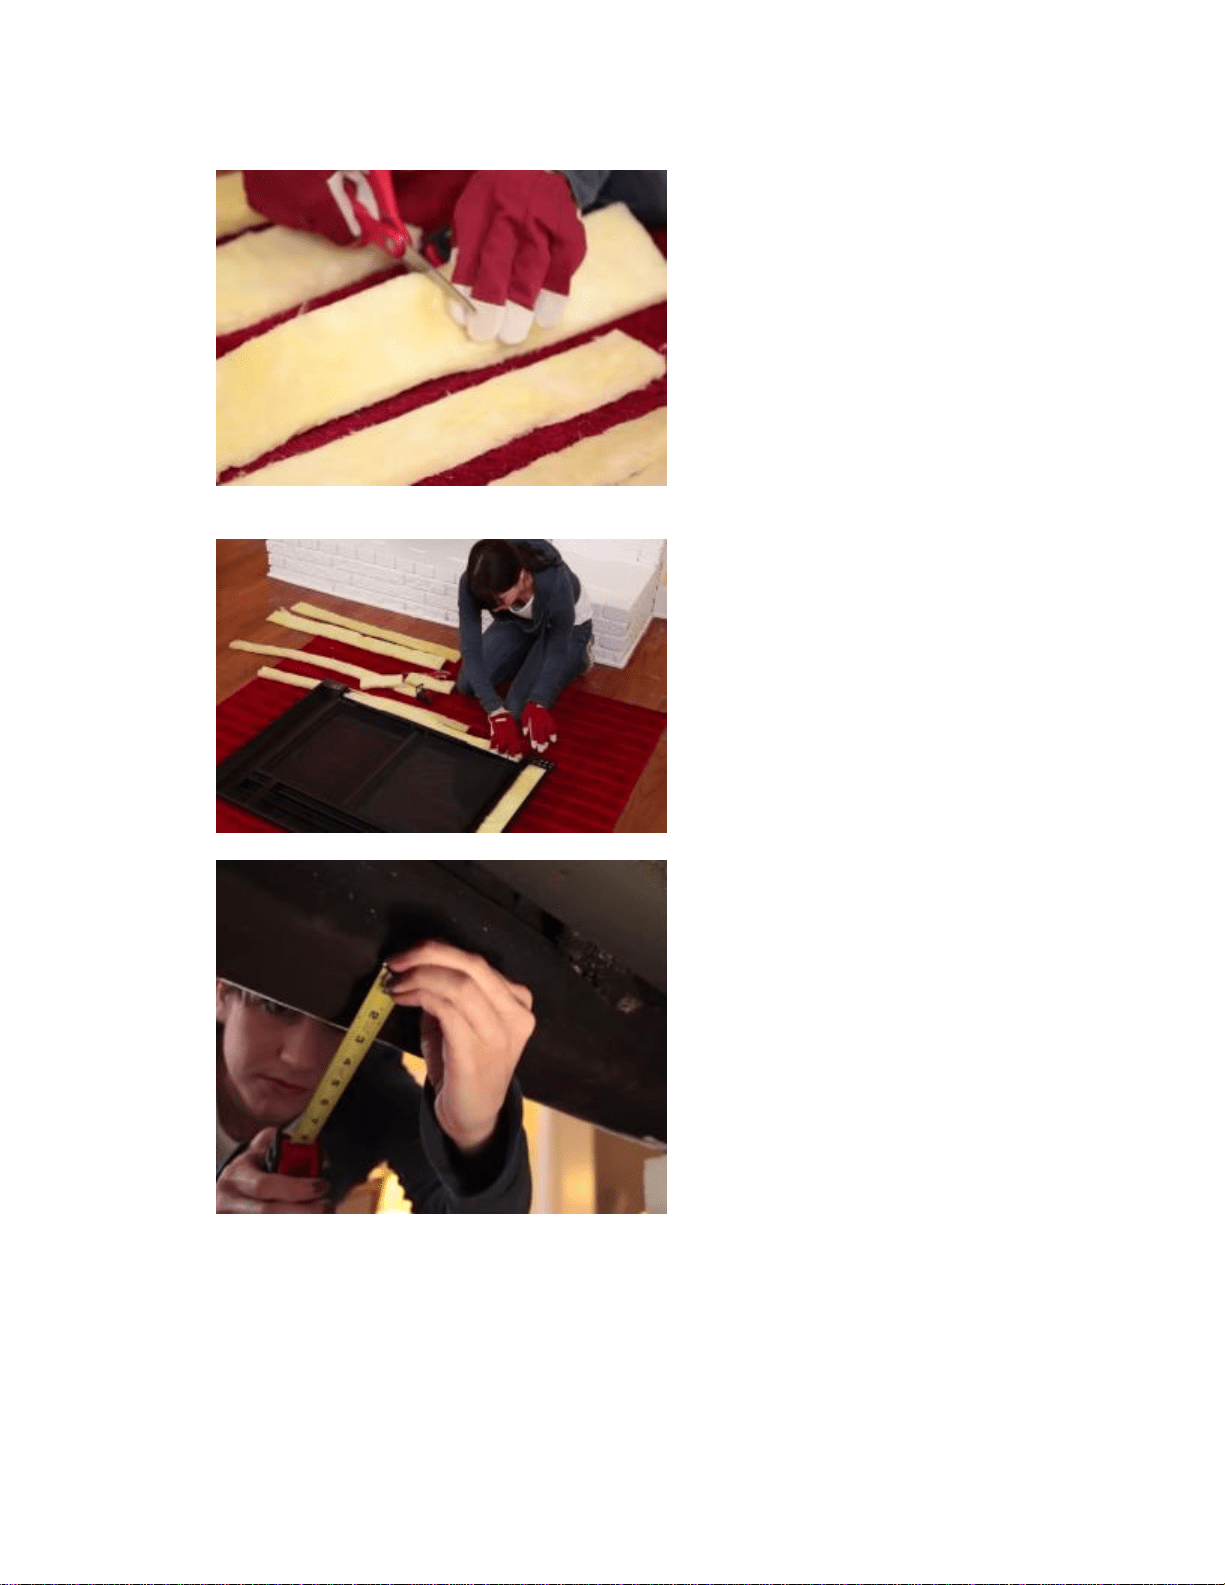
door. You need to measure the length of each channel, then cut the fibreglass insulation to fit.
4. place each fiberglass insulation into the respective channel. They don’t necessarily have to fill
the channels to the full depth
5. Locate the Lintel bar, the L shape angle iron that supports the top of the fireplace.
Measure the width of the Lintel bar. If the width of the Lintel bar is less than 3″ or greater
than 4″, check the manual.
6. Measure the distance from the bottom of the fireplace to the lintel bar (top) and check to
determine where the lintel bar will line up with the slotted brackets. If reaches the top, key
bracket facing the T-head facing up,

7. If the measurement is not the same height as the slotted brackets, assemble the key bracket
with the T-head facing down.
T-bracket facing up
T-bracket facing down
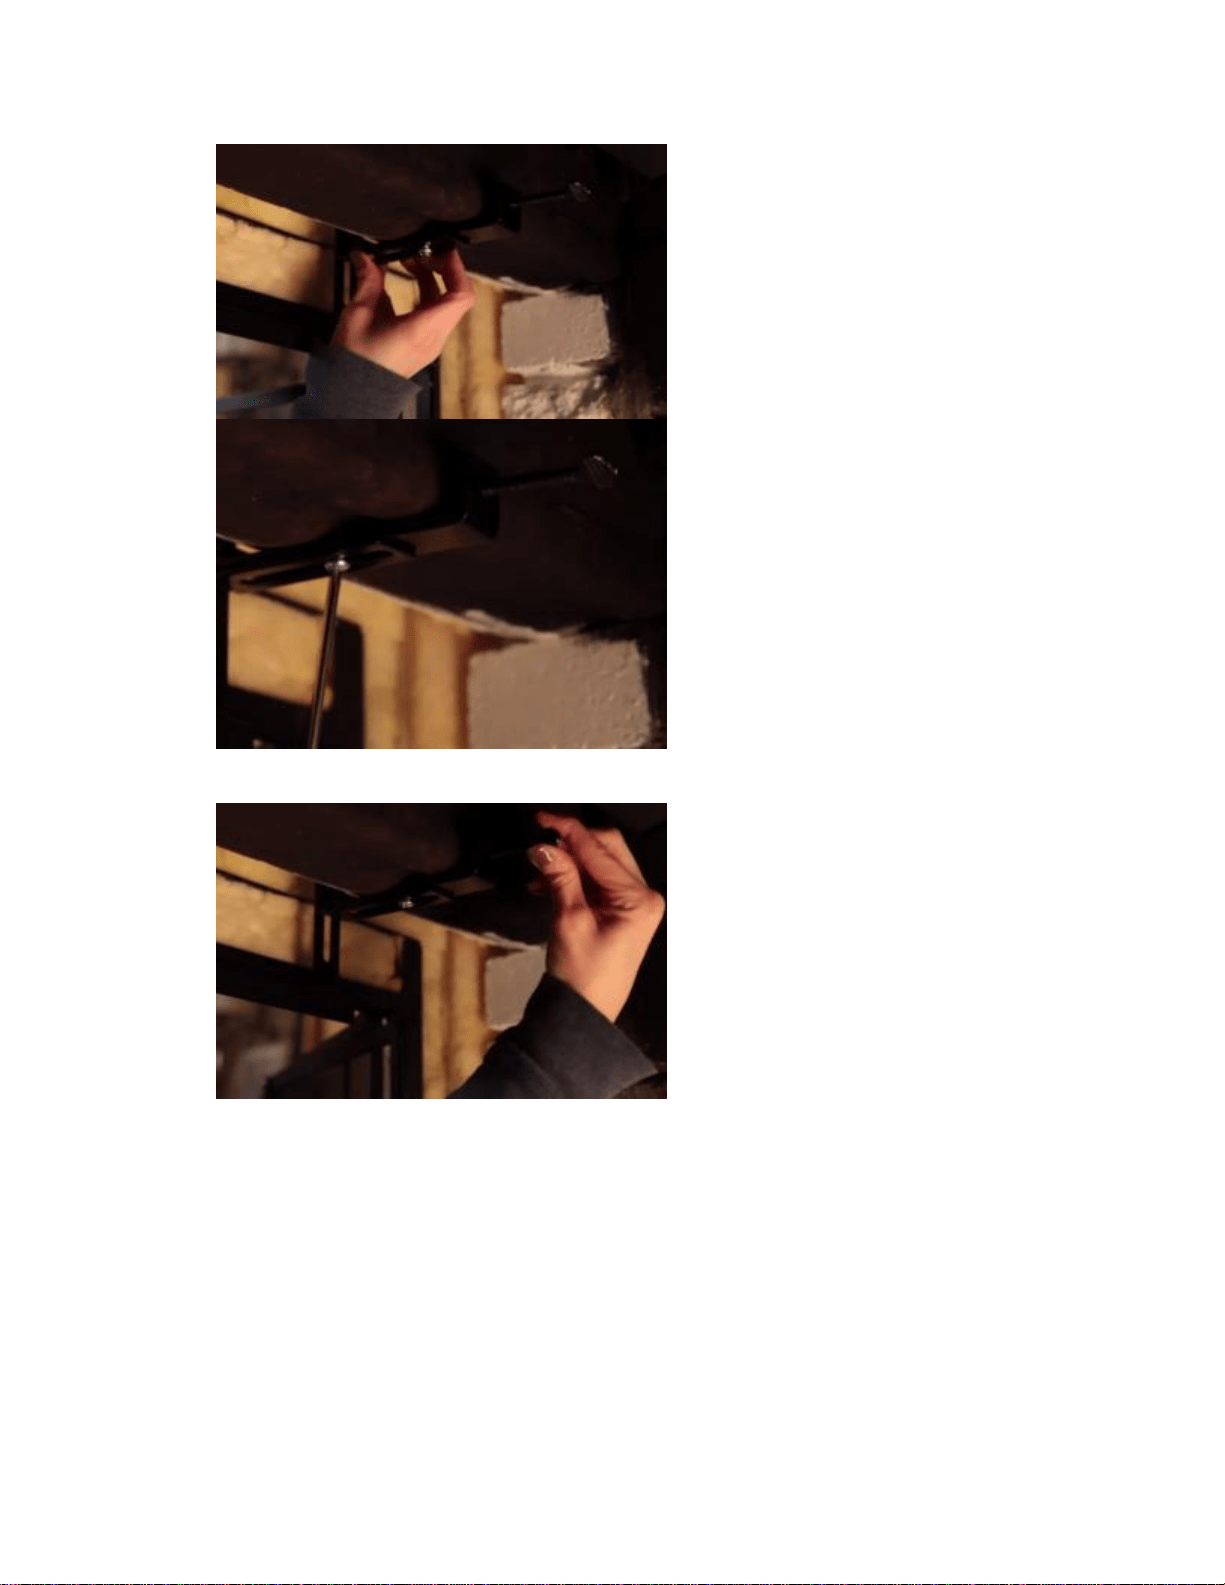
8. Attach the key bracket with the lentil clamp with the 1/4″ 20 x 1/4″ machine screw. Don’t
tighten. With the one quarter twenty x 2″ thumb screw in to the lintel clamp. Don’t tighten
the thumb screw yet.
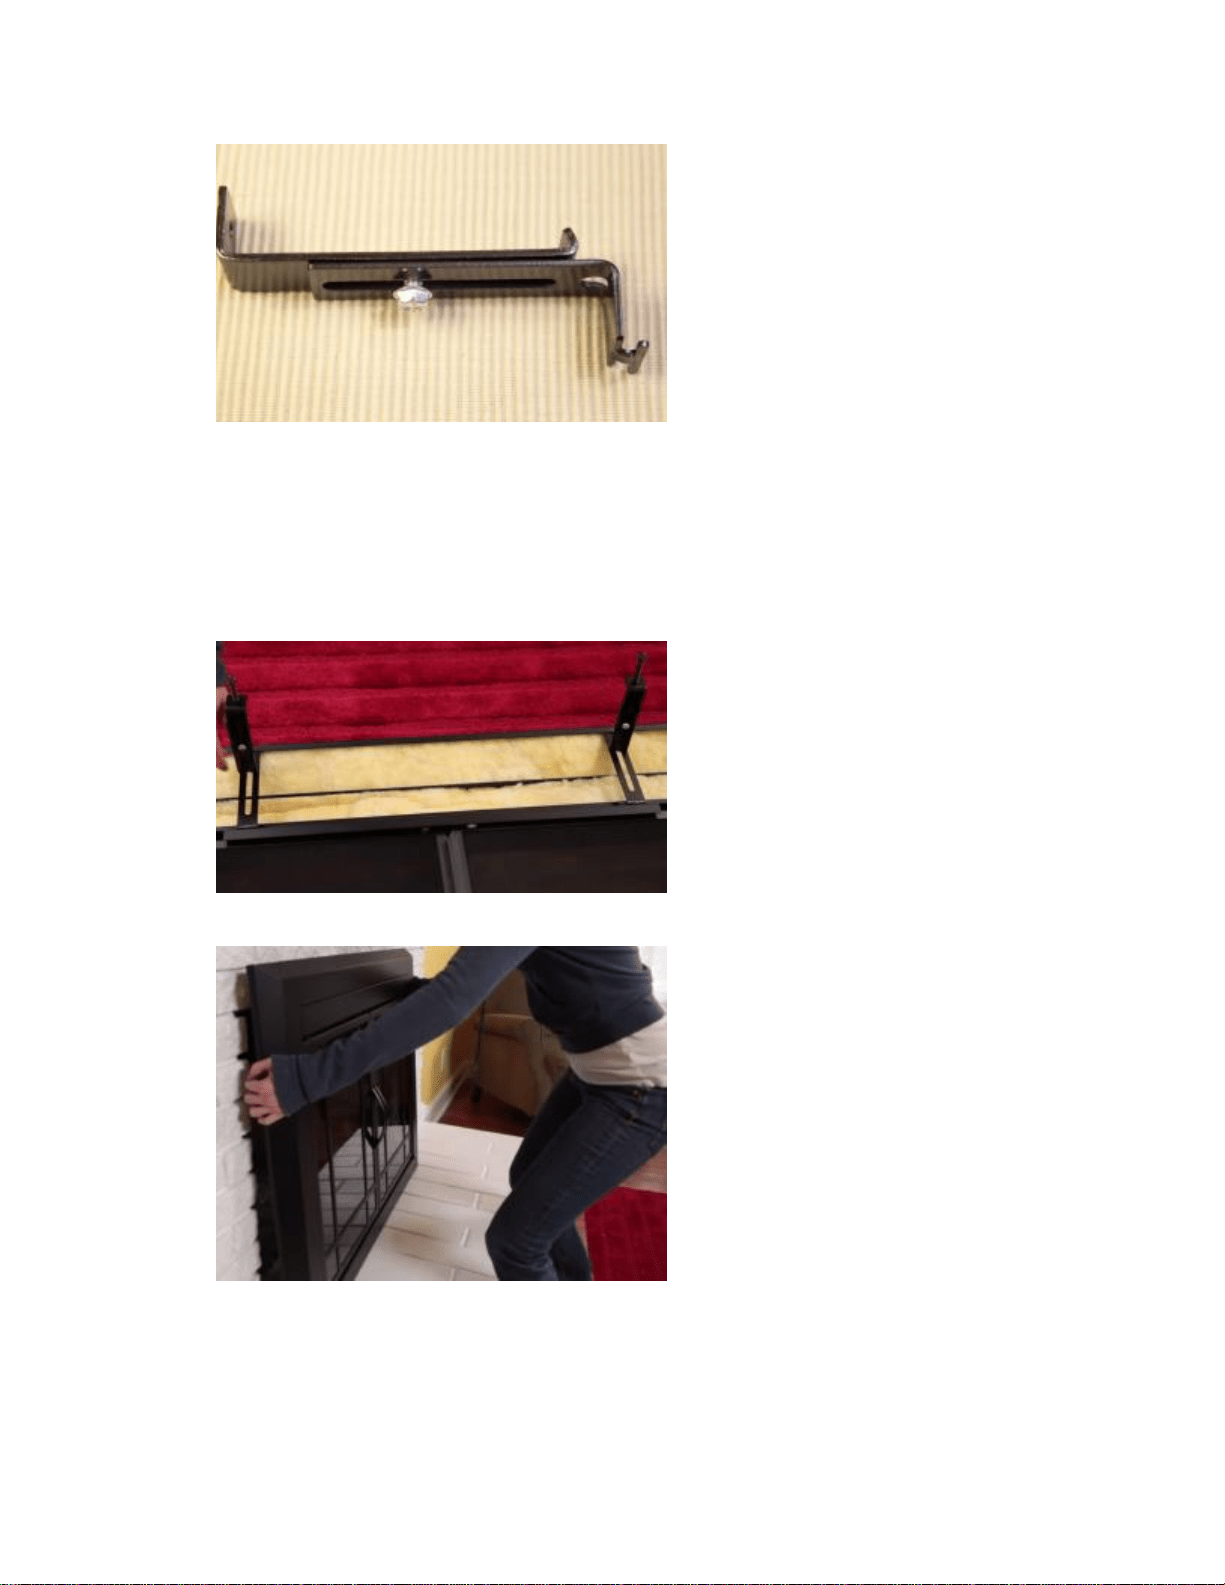
9. Place each T-head with the key bracket and slot it into the back door and turn bracket
assembly to the horizontal position.
10. Gently place the fireplace door against the fireplace door.
11. Reach inside the fireplace, through the door to slide the lintel clamp back or forward into the
lip of the clamp as firmly against the lintel bar, then tighten the screw,
12. Making sure the doors are firmly agaisnt the fireplace, tighten the thumb screws until the
doors are secure on top. Repeat on the other side
13. Insert the 1/4 20 x 3 1/2″ thumb screw into the pressure bracket then insert the pressure
bracket into the pair of holes, closest to the side of the fireplace opening making sure
thumbscrews pointing towards the sidewall of the fireplace, tighen the thumb screw into the
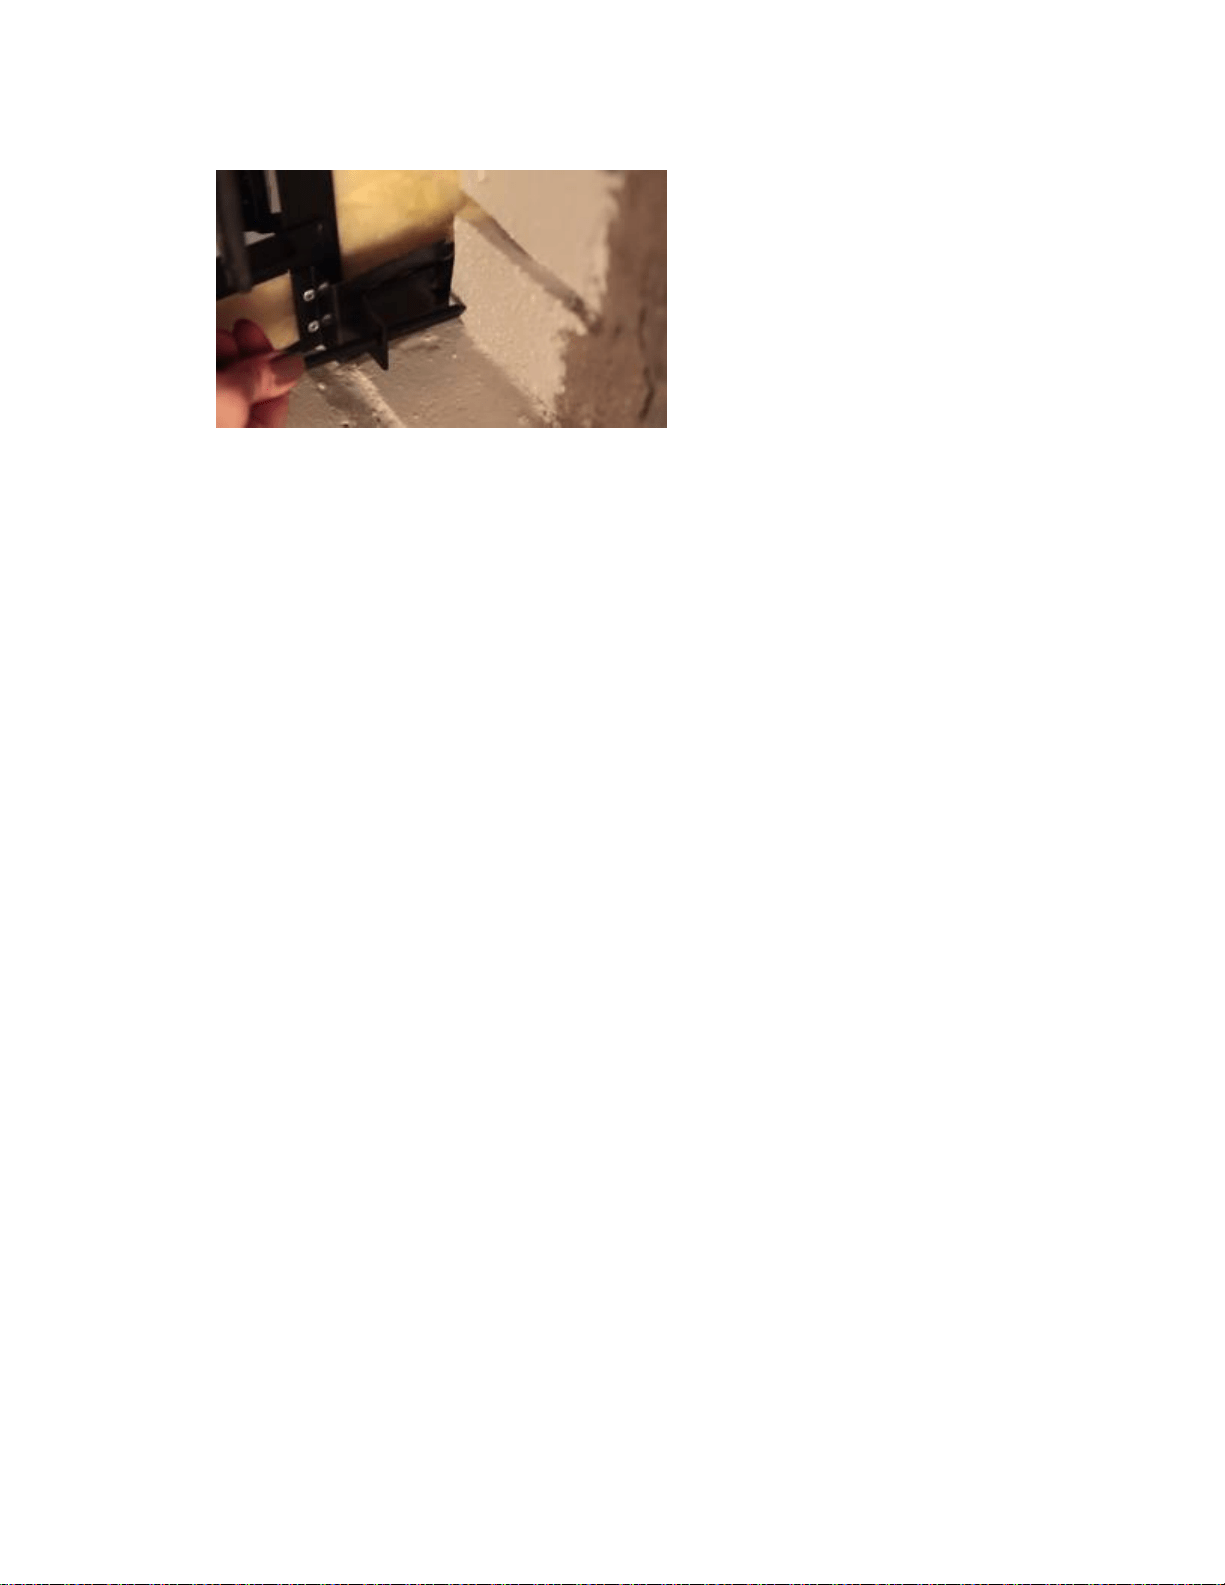
wall. Repeat on the other side
Always ensure the glass doors are open when you’re burning a fire, to ensure the glass
doors don’t shatter.
Never clean doors while they’re still hot!