Loading ...
Loading ...
Loading ...
49-60466-4
BEFORE YOU BEGIN
Read these instructions completely and
carefully.
• IMPORTANT – Save these
instructions for local inspector’s use.
• IMPORTANT – Observe all
governing codes and ordinances.
• Note to Installer – Be sure to leave these
instructions with the Consumer.
• Note to Consumer – .HHSWKHVH
instructions for future reference.
•
WARNING
This appliance must be properly
JURXQGHG6HH³(OHFWULFDO6XSSO\´
• If you received a damaged beverage center or
wine chiller, you should immediately contact your
dealer or builder.
• Skill Level – Installation requires basic mechanical
skills. Proper installation is the responsibility of the
installer. Product failure due to improper installation
is not covered under the GE Appliance Warranty.
Questions? Call 800.GE.CARES (800.432.2737) or Visit our Website at:
GEAppliances.com
Installation Beverage Center
Instructions and Wine Chiller
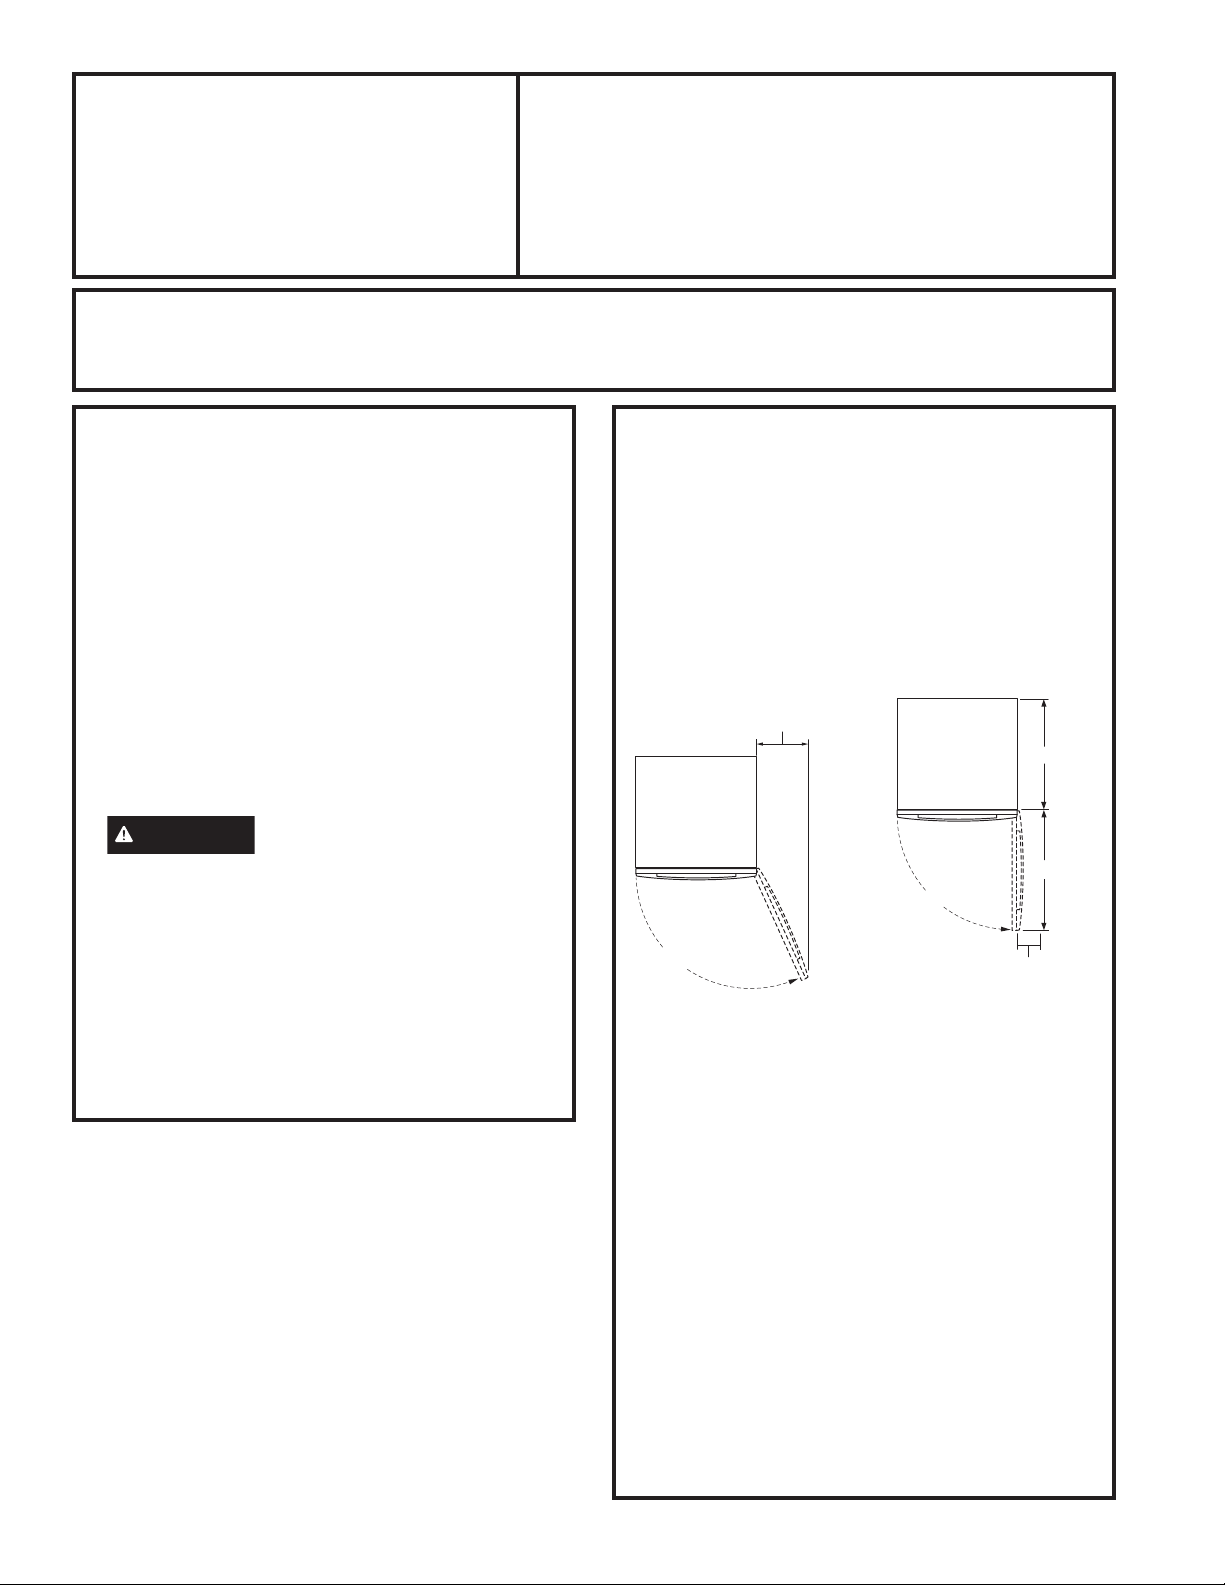
PRODUCT CLEARANCES
The beverage center and wine chiller is factory set
IRUDGRRUVZLQJ
When installed in a corner:
• Allow 4" min. clearance on the hinge side for the
GRRUVZLQJDQGWRDOORZUDFNVWRVOLGHRXW
$OORZPLQLPXPFOHDUDQFHRQWKHKLQJHVLGHIRU
DIXOOGRRUVZLQJ
• The door swing is reversible on all models. If
desired, change the door swing before installation.
Choose the location:
• These products may be closed in on the top and
three sides as long as the front is unobstructed for
air circulation and proper access to the door.
• 'RQRWLQVWDOOWKHUHIULJHUDWRUZKHUHWKH
WHPSHUDWXUHZLOOJREHORZ)&EHFDXVH
it will not run often enough to maintain proper
temperatures.
• 'RQRWLQVWDOOWKHUHIULJHUDWRUZKHUHWKH
WHPSHUDWXUHZLOOJRDERYH)&EHFDXVHLW
will not perform properly.
• 'RQRWLQVWDOOWKHUHIULJHUDWRULQDORFDWLRQH[SRVHG
to water (rain, etc.) or direct sunlight.
• These products are not designed to be stacked
one over the other.
INSTALLATION INSTRUCTIONS
10" Minimum
to Wall
110°
21-5/8"
23-5/8"
4" Minimum
to Wall
90°
'RRU6ZLQJ
Loading ...
Loading ...
Loading ...