Loading ...
Loading ...
Loading ...
esatto.house
11
Reversing the Door
Before your begin, power o the appliance before reversing the door and remove all food
from the door storage.
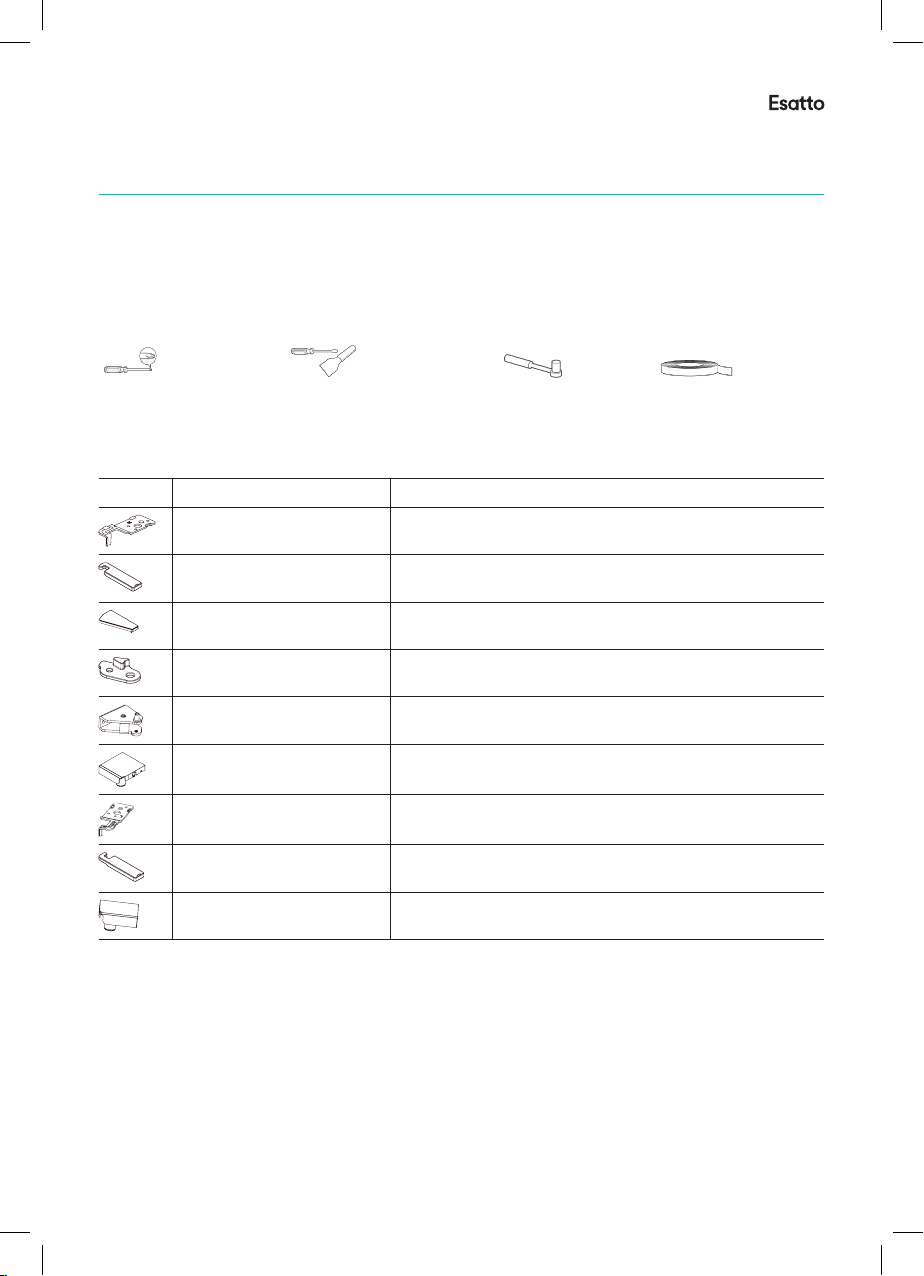
Tools required:
Cross screwdriver Putty knife or 5/6” socket Masking tape
thin-blade screwdriver and ratchet
Parts involved when reversing the door:
Part Note
1 × Right upper hinge Pre-installed on the refrigerator.
Remove when the door is reversed and keep for future use.
1 × Right upper hinge cover Pre-installed on the refrigerator.
Remove when the door is reversed and keep for future use.
1 × Decorative cover Pre-installed on the refrigerator.
Still in use when door is reverse.
1 × Stopper Pre-installed on the refrigerator.
Still in use when door is reverse.
1 × Stopper lower hinge Pre-installed on the refrigerator.
Still in use when door is reverse.
1 × Left decorative cover Pre-installed on the refrigerator.
Still in use when door is reverse.
1 × Left upper hinge In the attached plastic bag.
Take out for door reversal.
1 × Left upper hinge cover In the attached plastic bag.
Take out for door reversal.
1 × Right decorative cover In the attached plastic bag.
Take out for door reversal.
Cross screwdriver
List of tools to be provided by the user
socket and ratchet
Masking tape
Putty knife
thin-blade screwdriver
Parts to be used for door reverse
Number
Name
Quantity
1
1
1
1
1
1
1
1
1
1
2
3
4
5
6
Right upper hinge
Upper right hinge
cover
Decorative cover
Stopper
Stopper Lower
hinge
Pre-installed on the refrigerator, removed when the door
is reversed, and kept for future use
Pre-installed on the refrigerator, still used when door
is reversed
Note
Pre-installed on the refrigerator, removed when the door
is reversed, and kept for future use
Pre-installed on the refrigerator, still used when door
is reversed
Pre-installed on the refrigerator, still used when door
is reversed
In the attached plastic bag, take them out for use
when door is reversed
8
9
Left upper hinge
Upper left hinge
cover
In the attached plastic bag, take them out for use
when door is reversed
In the attached plastic bag, take them out for use
when door is reversed
7
Left decorative
cover
Right decorative
cover
Pre-installed on the freezer, still used when door
is reversed
2.3 Door Right-Left Change
2.2 Leveling feet
Schematic diagram of the leveling feet
Adjusting procedures:
a. Turn the feet clockwise to raise the refrigerator;
b. Turn the feet counterclockwise to lower the refrigerator;
c. Adjust the right and left feet based on the procedures above to a horizontal level.
(The picture above is only for reference.The actual configuration will depend on the physical product
or statement by the distributor)
5/16″
Loading ...
Loading ...
Loading ...