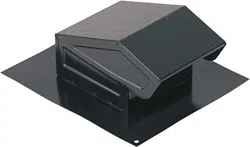
MODEL 636 / 636AL ROOF CAP
INSTALLATION INSTRUCTIONS
For 3” or 4” Round Duct
Plan installation carefully. Before installing roof cap,
make sure that birdscreen is in place. Refer to “MAIN-
TENANCE” section. Roof cap will accept 3” or 4” round
duct. Tape all joints with duct tape to prevent air and
water leaks. NOTE: DO NOT INSTALL THE ROOF
CAP ON A FLAT ROOF.
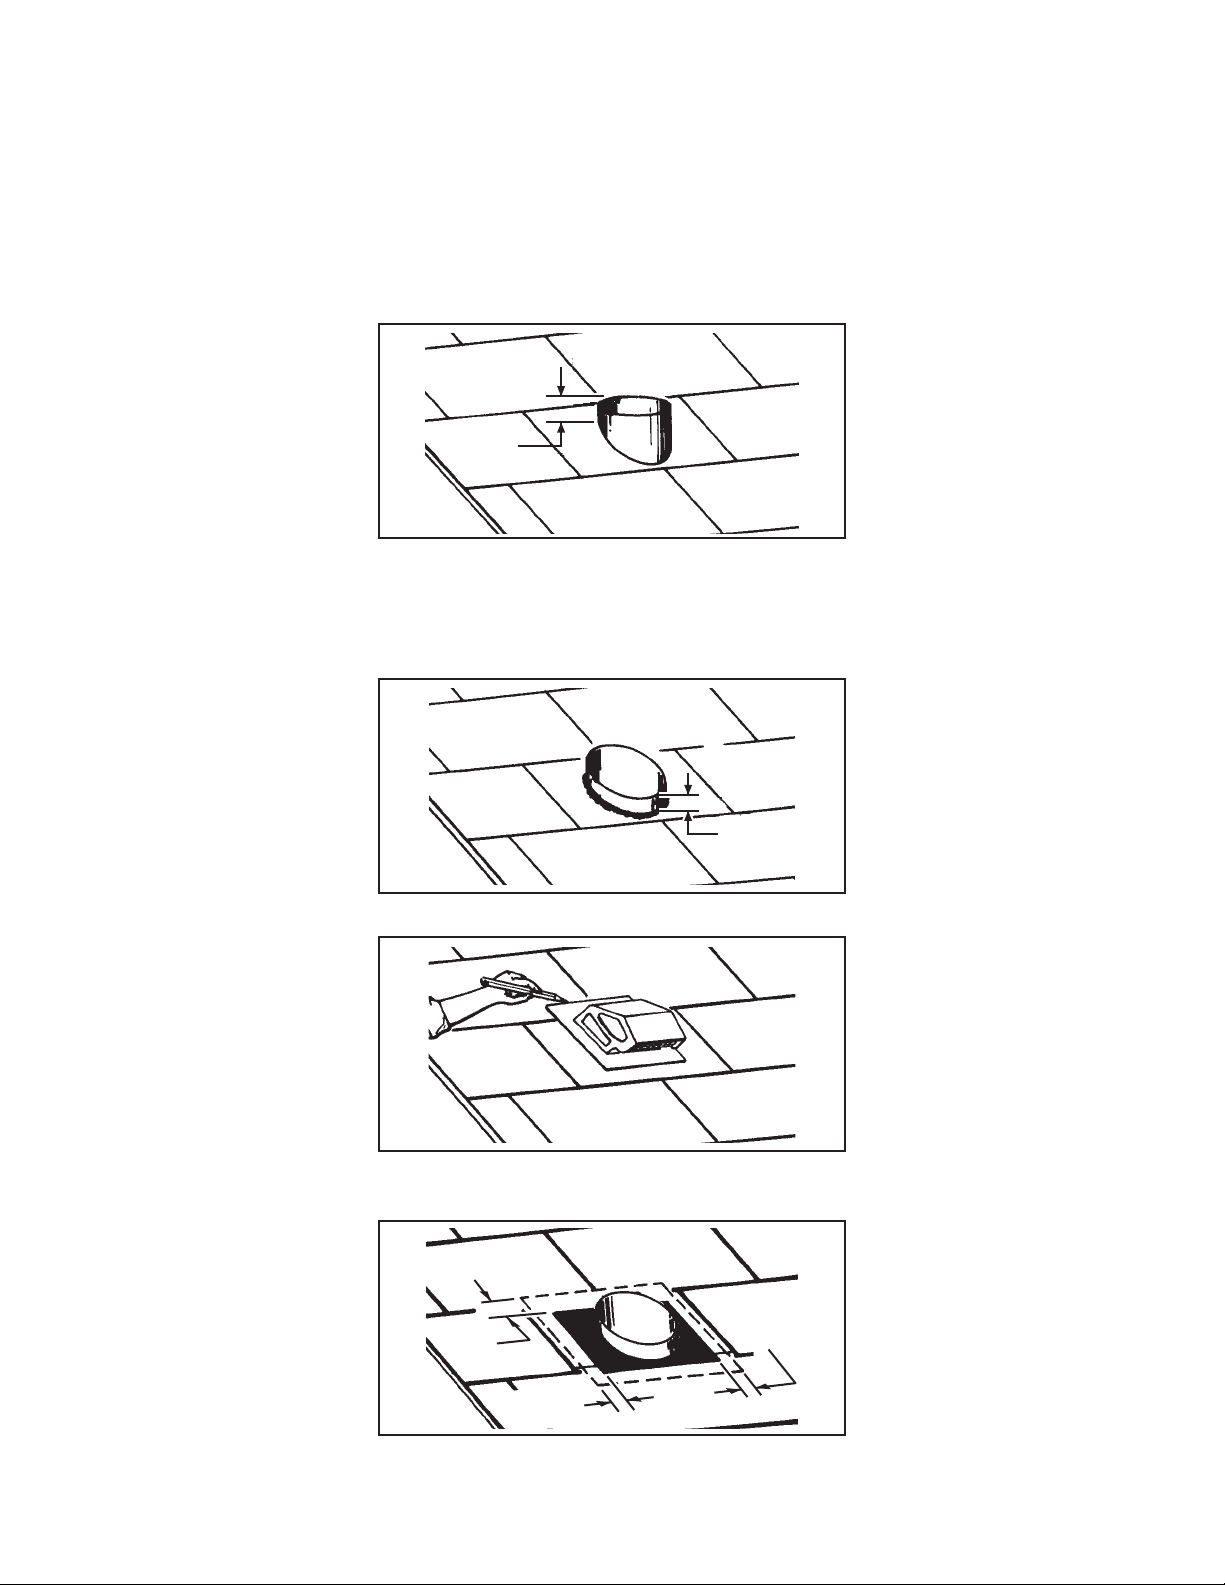
1. Cut hole in roof approximately ½” larger than duct-
work.
2. Insert ductwork through opening and run it back to
fan. Leave a maximum of ¾” of duct projecting above
roof surface on the high side.
3. Trim ductwork parallel to roof pitch.
¾"
MAX.
¾"
MAX.
4. Lay roof cap over ductwork and trace outline of roof
flange onto shingles.
2"
1¾"
1¾"
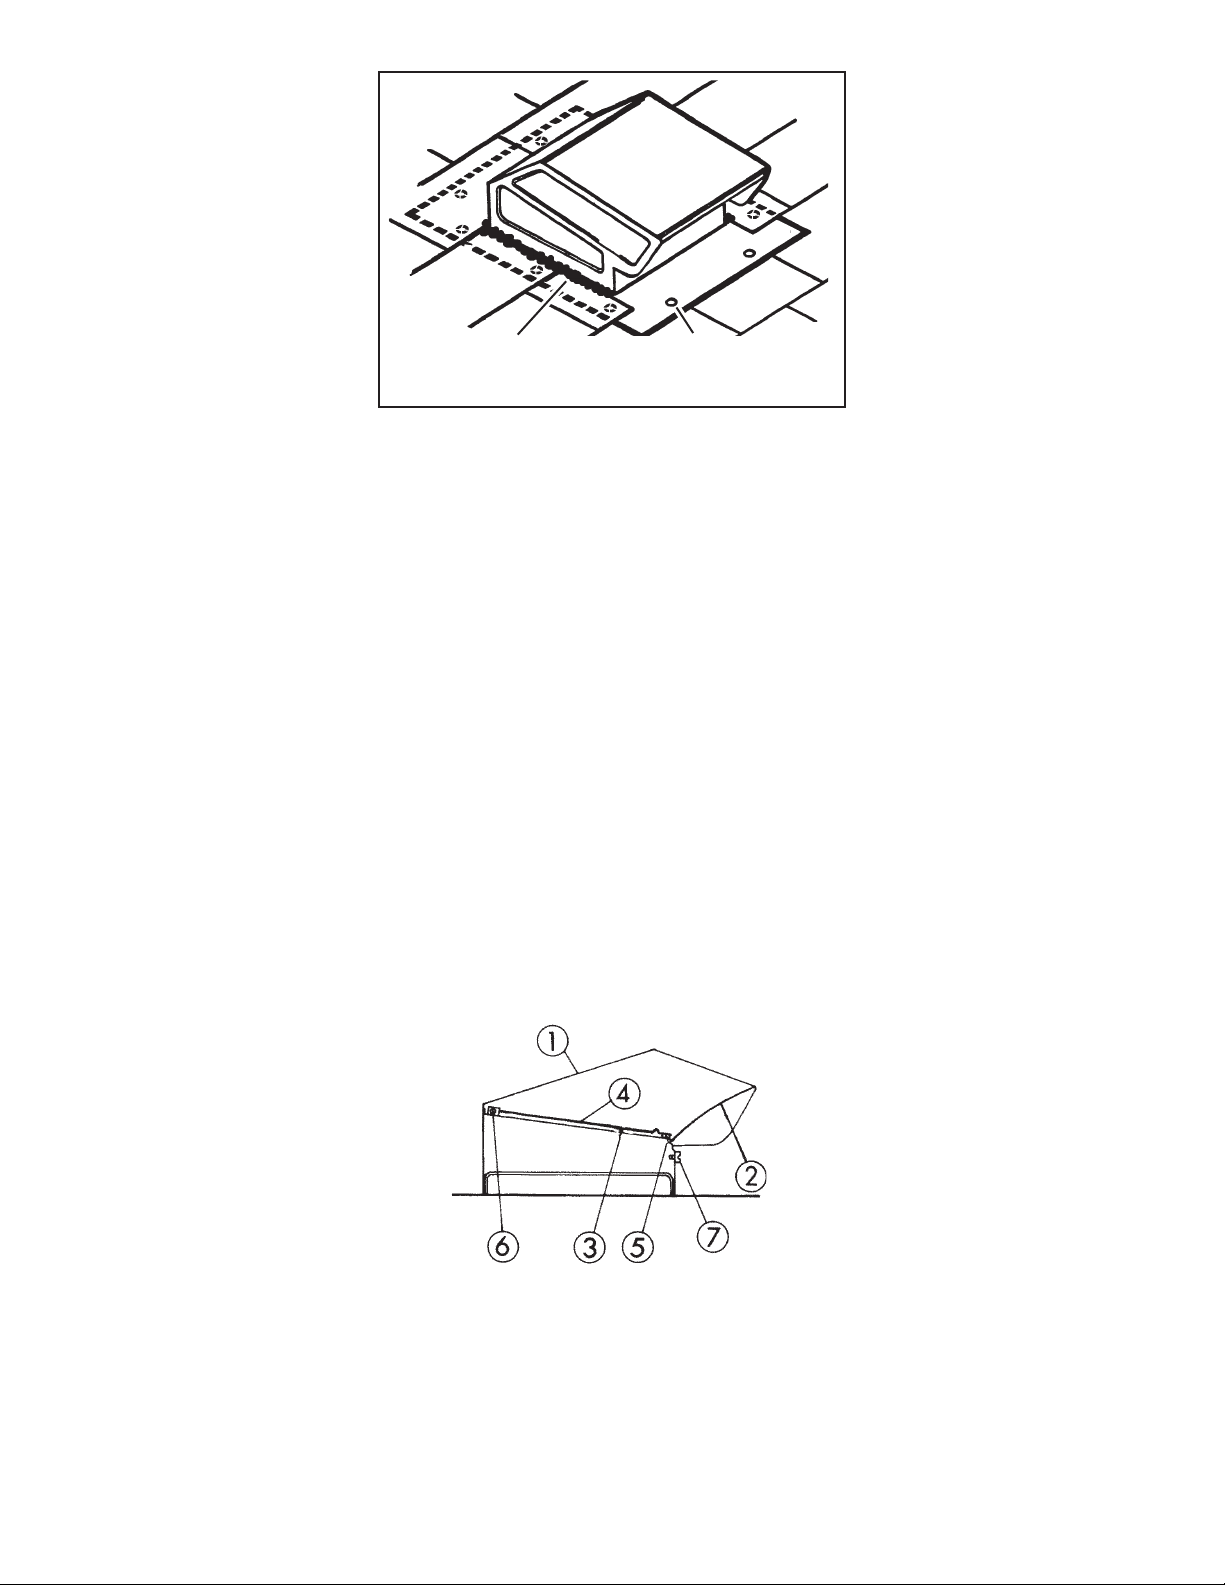
5. Trim shingles as shown, so they will fit snugly around
hood of roof cap when installed. Seal all around duct
with roof cement.
MAINTENANCE
To replace damper flap or gasket material:
1. Remove birdscreen, using sharp pointed tool. Pull
screen down and pop it out.
2. Remove screw (Item #7) in center of damper plate
assembly and pull assembly out.
3. Pull out damper rod and lift damper flap out.
4. Replace defective or worn parts and reinstall damper
flap with rib in flap facing up.
5. Slide damper plate assembly into grooves on inside
of cap and replace screw. Make sure that damper
opens freely.
6. Replace screen and position as shown.
NOTE: The high quality paint coating on our outdoor
accessories may be used as the exterior finish or as
a prime coat for the finish of your choice. Apply the
coating best suited for the special conditions of your
application.
99041929D
6. Carefully lift shingles and slide back flange of roof
cap under shingles. Nail flange to roof under shingles
at top and two sides. Nail directly to roof at bottom.
7. Use roof cement to seal shingles to top and sides
of roof cap. Seal all nail heads with roof cement as
well.
NAILS
(Seal all nail heads
with roof cement)
ROOF CEMENT
(Seal shingles to roof cap
on sides and top)
KEY PART NO. DESCRIPTION
1 97006558 Housing for 636 (Black)
97011262 Housing for 636AL (Aluminum)
2 98005783 Bird Screen
3 98008277 Damper Plate
4 98005784 Damper Flap
5 99500326 Sealant Strip
6 98005785 Damper Rod
7 99150576 Screw
%URDQ1X7RQH//&+DUWIRUG:,
ZZZEURDQFRP