Loading ...
Loading ...
Loading ...
11
RANGE HOOD CARE
Cleaning
IMPORTANT: Clean the hood and grease lters frequently
according to the following instructions. Replace grease
ltersbefore operating hood.
Exterior Surfaces
To avoid damage to the exterior surface, do not use steel wool
or soap-lled scouring pads.
Always wipe dry to avoid water marks.
Cleaning Method:
■ Liquid detergent soap and water, or all-purpose cleanser
■ Wipe with damp soft cloth or nonabrasive sponge,
andthenrinsewith clean water and wipe dry.
Metal Grease Filter
1. Remove the lter by pulling the spring release handle
andthen pulling down the lter.
2. Wash metal lter as needed in dishwasher or hot
detergentsolution.
3. Reinstall the lter by making sure the spring release handles
are toward the front. Insert aluminum lter into upper track.
4. Push in spring release handle.
5. Push up on metal lter and release handle to latch into place.
6. Repeat steps 1-5 for the other lter.
Non-Vented (recirculating) Installation Filters
The charcoal lter is not washable. It should last up to 6 months
with normal use. Replace with Charcoal Filter Kit. See the
“Assistance or Service” section for information on ordering.
To replace charcoal lter:
1. Remove metal grease lter from range hood. See “Metal
Grease Filter” in this section.
2. Bend spring clips away from metal grease lter.
3. Place charcoal lter into top side of metal lter.
4. Bend spring clips back into place to secure the
charcoallterto the metal lter.
5. Replace metal grease lter. See “Metal Grease Filter”
inthissection.
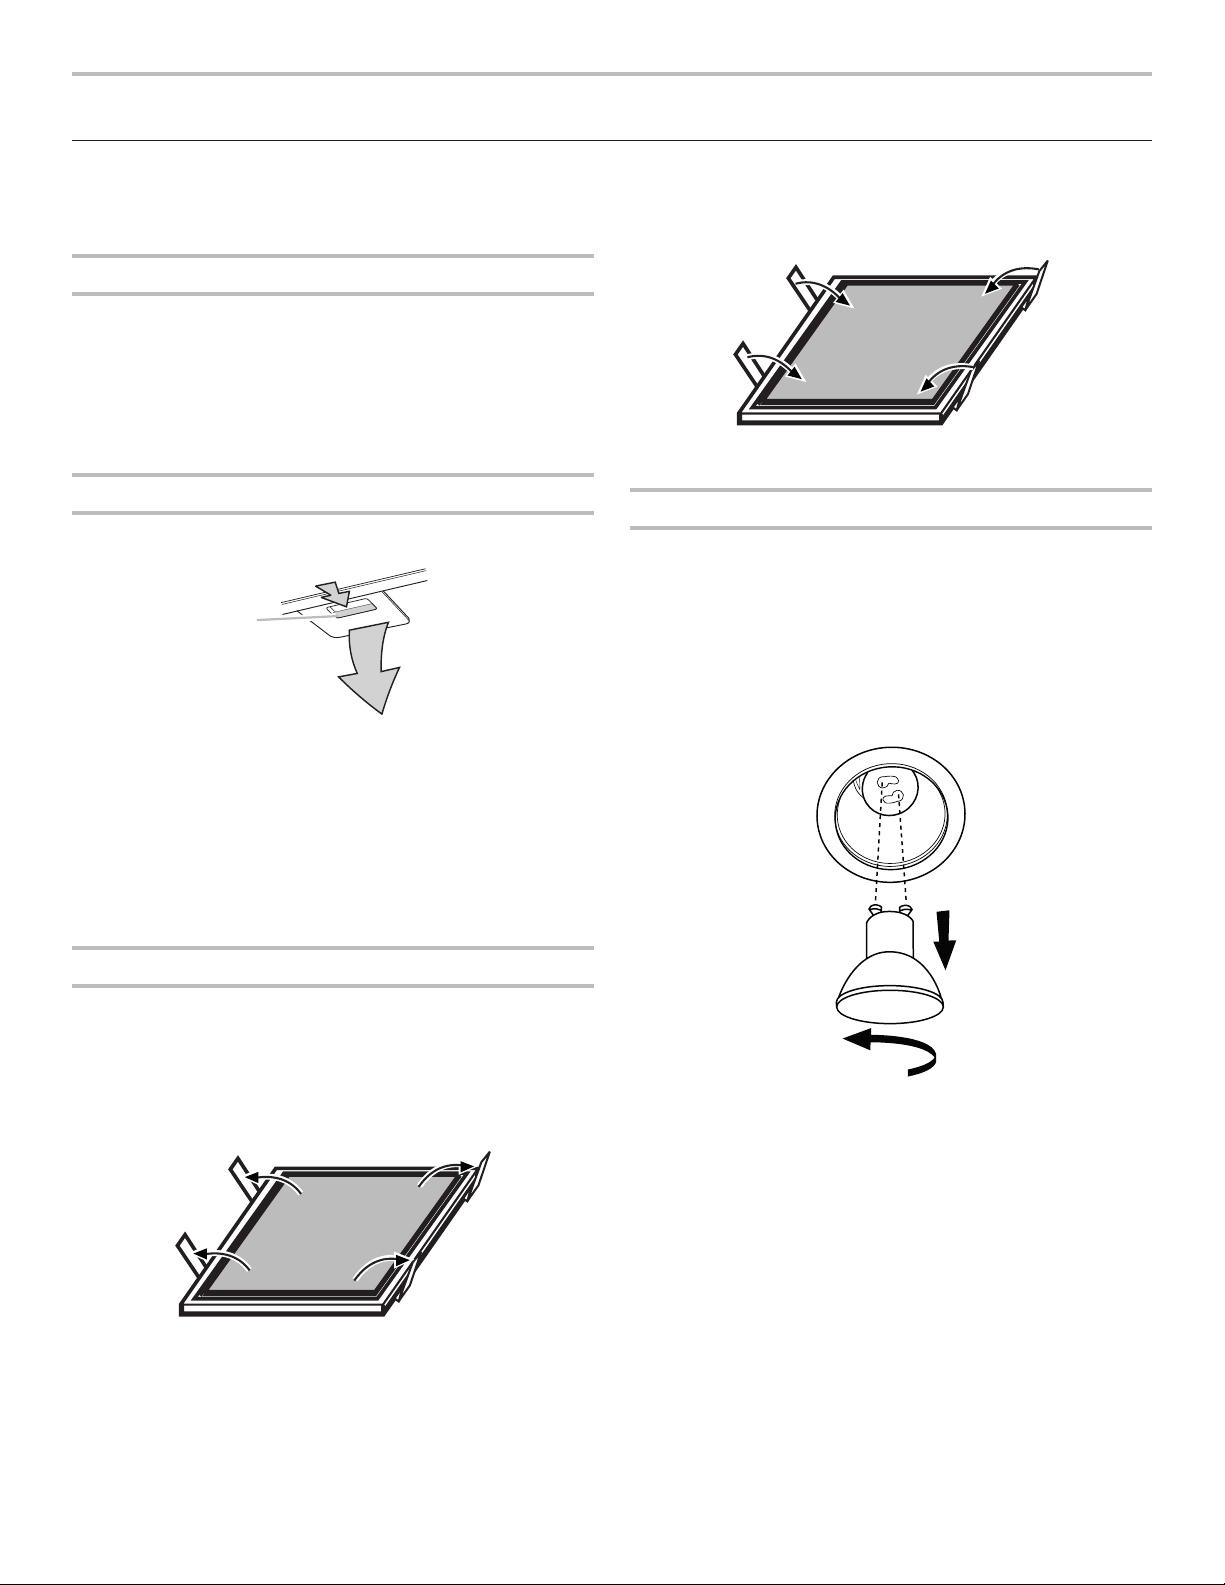
Replacing a LED Lamp
Turn off the range hood and allow the LED lamp to cool. To avoid
damage or decreasing the life of the new bulb, do not touch bulb
with bare ngers. Replace bulb, using tissue or wearing cotton
gloves to handle bulb. Replace it with an appropriate Energy
Star Compliant Lamp, 120 V~, 7.5 W maximum, LED bulb with a
GU10 base.
If new lamps do not operate, make sure the bulbs are inserted
correctly before calling service.
1. Disconnect power.
2. Push up on the lens and turn it counterclockwise.
3. Remove the bulb and replace it with a 120 V~, 7.5 W
maximum LED bulb with a GU10 base. Turn it clockwise to
lock it into place.
4. Repeat steps 2-3 for the other bulb if needed.
5. Reconnect power.
A
A. Spring release handle
Loading ...
Loading ...
Loading ...