Loading ...
Loading ...
Loading ...
18
Installation
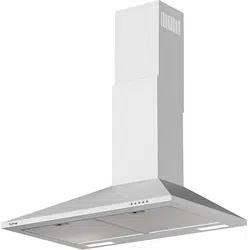
1. Conrm the location to install your range hood
of each piece of hardware. Use removable tape,
pencil, or erasable marker to mark the installation
position. Measure the height between the stove
top and the bottom edge of your range hood and
make sure it is between 26 and 30 inches. Due to
different ceiling height, this recommended height
range may not be applicable.
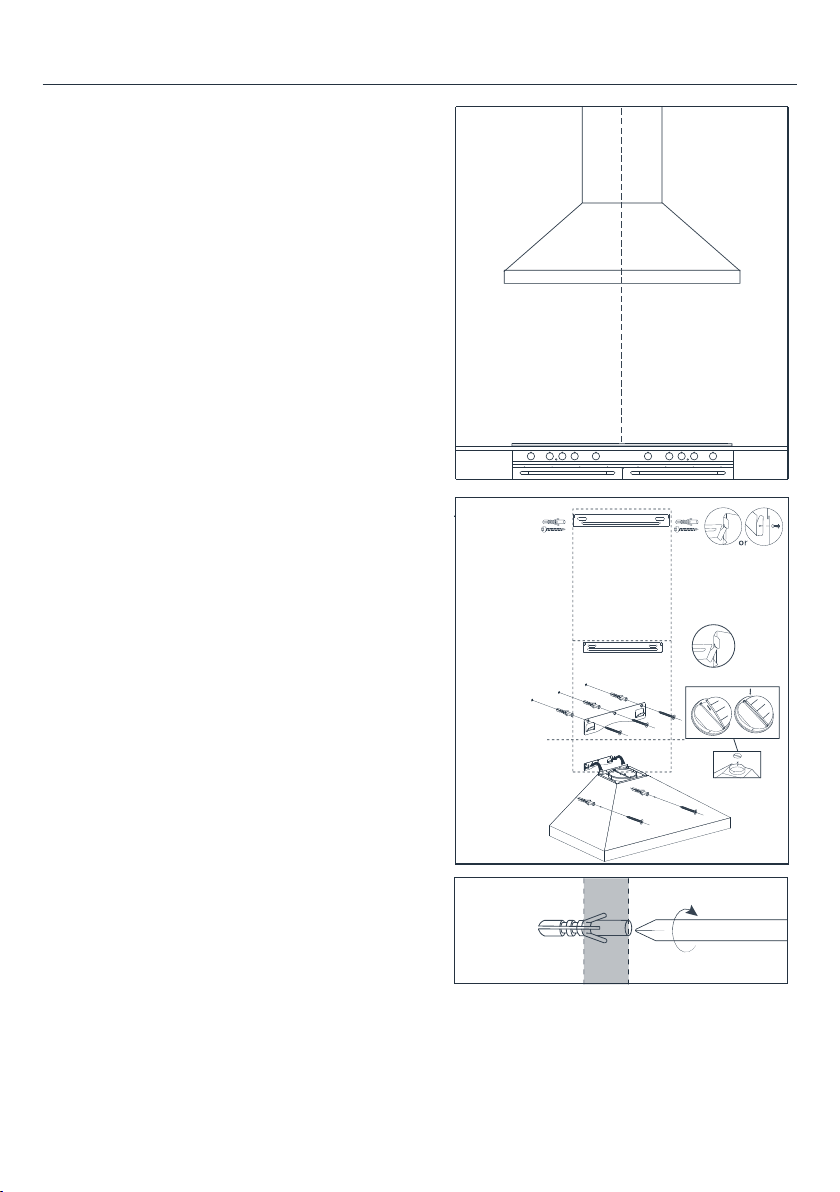
2. Determine offset height of the mounting bracket
mounting position on the range hood, note its
orientation and how it is mounted on to the range
hood body. Mark the location of the mounting
bracket on the installation surface.
3. Mark screw hole locations
Use your marked location of the bottom of the
range hood, measure upward the distance of the
mounting bracket offset, found in the previous
step. Mark in the center of the installation
surface, this will be your center screw location.
Use the bracket centered on the wall with a level,
mark the location of the other screws. Use a
power drill to drill the screw holes, make sure not
drill into any power cables, wires or pipes.
4. Install the range hood bracket
Double check if your bracket is level, then mount
hardwares as they are designed as a system for a
safe installation. Fasten as many mounting points
as possible into a wall stud, structural or sub-
frame for a secure result.
5. Position the range hood
With the help of an extra person, lift the range
hood body and hang it onto the mounting bracket
to check the alignment. Be careful that the
mounting bracket can only support the range
hood temporarily during the alignment. After
the range hood is aligned and level, mark the
mounting hole locations inside the cavity of the
range hood. Drill holes according to those marks,
then mount the range hood to the wall carefully.
Do not drill into any wires, cables or pipes.
6. Mark chimney mounting bracket
Screw the upper chimney onto the chimney
mounting bracket. Temporarily place the lower
chimney onto the range hood and place its
mounting bracket into place and mark its
installation holes. Remove the lower chimney.
Mark the screw hole locations of the upper
against the wall, if there is any crown molding or
Ensure the chimneys and mounting brackets are
level and centered.
Secure upper
support frame
Loading ...
Loading ...
Loading ...