Loading ...
Loading ...
Loading ...
8 49-3000373 Rev 0
Getting started
USING THE WASHER
A
B
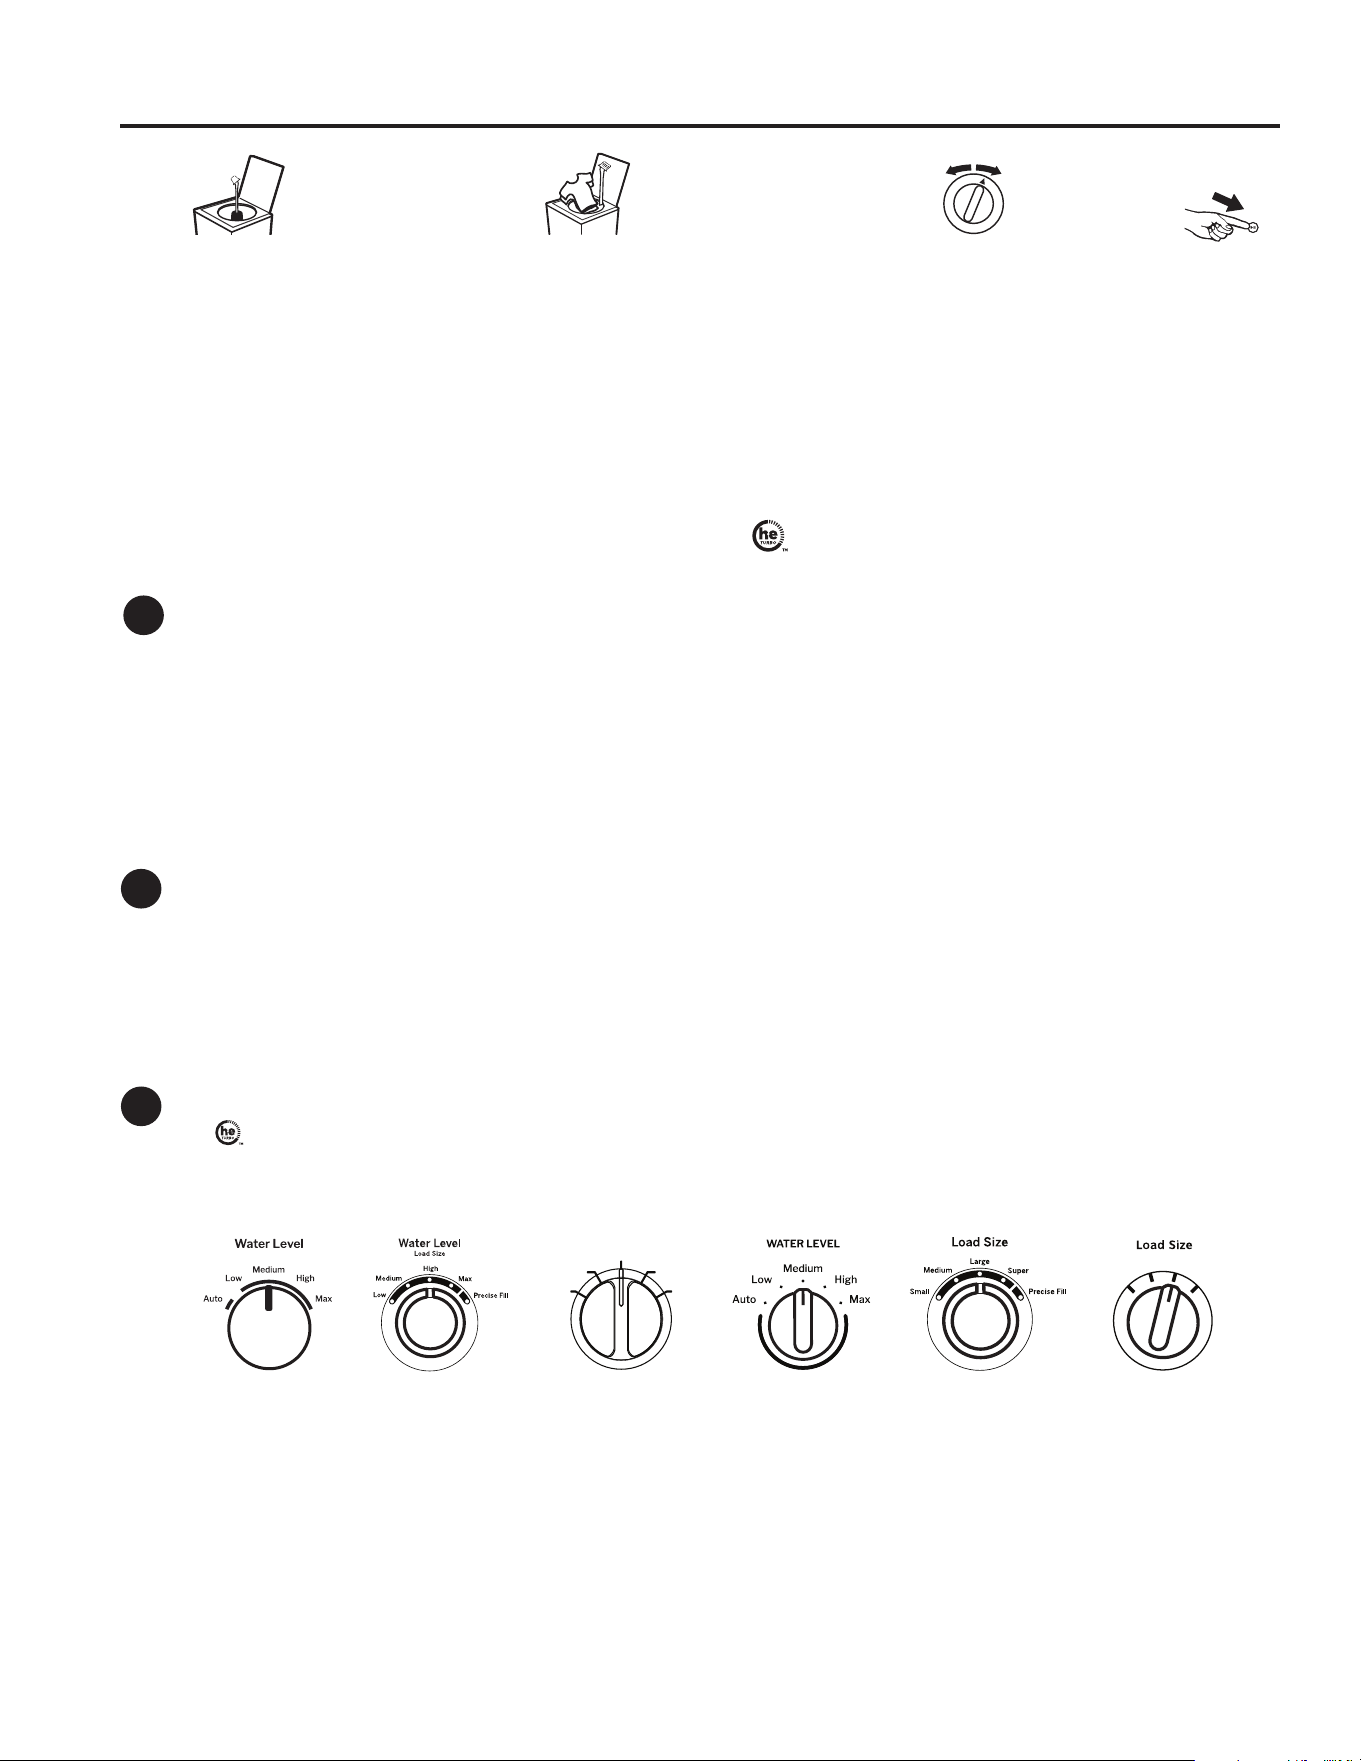
Water Level
Add detergent to the bottom of the basket and fabric softener to the dispenser (on some models) prior to loading clothes.
Loosely load items in the washer basket. Overloading may negatively impact wash performance. Adjust the water level
accordingly.
Make the water level selection:
Auto (on some models)
– For convenience, best performance and optimal efficiency, select Auto for models so equipped. This selection automatically provides
the correct amount of water suited to the size and type of load placed in the unit. Lid will be locked for the duration of the load sensing
process, which includes a brief spin period and a portion of the water fill.
– If you prefer to manually select the water level, select Low through Max. While Auto is best for most loads and general washing,
you may want to manually select the water level for specialty items such as bulky, lightweight comforters or pillows, where you want
to ensure a larger water level is applied. Manual water level selections should be made for wet items placed in the washer, such as
soaked towels or garments.
– The washer will not fill with water when
Auto
is selected if the lid is opened. When the lid is closed the machine is able to
begin filling with water in order to sense the load size.
NOTE: This is a high-efficiency washing machine. This system requires less water while providing effective cleaning action. You may
notice that the water level is lower than on your previous washer. This is normal.
C
Start/Pause
Press Start/Pause to begin the cycle. NOTE: If the lid is closed, the lid will lock only during the load sensing portion of the cycle
(when the Auto selection is made or models which do not have a water level selection) and during spin portions of the cycle. Lid
will unlock after load sensing and spin.
Pressing Start/Pause will unlock the lid (if locked at that time), pause the cycle and the Fill, Soak, Wash, Rinse, and Spin
light indicators will blink.
To continue the cycle, press Start/Pause again. If water remains in the machine, select the Drain & Spin cycle to drain basket and
spin water out of the washer basket. NOTE: Machine will automatically cancel and drain when water is present and the lid is
left open for 15 minutes or the unit is left in a paused state for 24 hours with the lid closed. Select cycle and press Start/
Pause to begin new cycle.
Cycle Status Lights
Shows whether the washer is in the Fill, Soak, Wash, Rinse or Spin portion of the cycle.
If an out-of-balance condition is detected by the washer, the Spin and Rinse lights will blink during the remaining portion of
the cycle and will stay illuminated for a short time after cycle completion. When the washer tries to redistribute the load, the
Rinse light will be illuminated solid while the Spin light continues to blink (on some models). When this occurs, the washer
is taking actions to correct the out-of-balance condition and complete the cycle normally. In some cases, the washer may
not be able to balance the load and spin up to full speed. If you notice the load is more wet than normal at the end of the
cycle, redistribute the load evenly in the wash basket and run a Drain & Spin cycle.
(features and appearance will vary by model)
• Loosely add items around
agitator or Infusor. Overloading
may negatively impact wash
performance. See page 15 for
suggested loading examples.
• Add the manufacturer’s
recommended amount of
detergent to the top of the
load after adding clothes. We
recommend the use of High
Efficiency detergents such as
in your energy efficient washer.
Step 2
Step 3
Step 4
Step 1
• Close lid. • Press Start/
Pause.
•
Add fabric softener to the
fabric
softener dispenser
(on some
models); see
page 14.
•
If using detergent packets,
add to the bottom of the
wash basket before adding
clothes.
NOTE: Unit will not start
with lid open if Auto is
selected except on Bulky
cycle.
• Select wash cycle.
• Select wash options, including Deep
Rinse or Extra Rinse option (on some
models) when using fabric softener.
• Select options.
• Select Water Level (on some models).
Regular Large
Small
Precise Fill
Water Level
LOW
MED MAX
AUTO
HIGH
Loading ...
Loading ...
Loading ...