Loading ...
Loading ...
Loading ...
23
Maintenance
WEEKLY CLEANING
In addition to the daily cleaning, it is necessasry to clean
the control lter and behind the fan guard on a weekly ba-
sis. This is necessary for proper functioning of the oven.
Scale will build up on the fan and heat source leading to
a less efcient oven.
Cleaning the Control Filter
The control lter is located below the control compart-
ment, in front of the spray hose.
1. To remove, pull down on the black knob on the left of
the lter.
2. Clean the lter with soap and water.
3. Reinstall the lter. Press up on the lter until the back
of the knob is inserted into the hole in the bottom of
the oven.
4. Push up on the center of the knob to expand the back
of the knob securing the lter.
Cleaning Behind the Fan Guard
1. Loosen the two screws and on the fan guard (or baf-
e).
2. Swing the bafe forward.
3. Thoroughly spray cleaner onto the fan and heat
source. Place the oven in the steam mode for ap-
proximately 10 minutes.
4. After ten minutes, rinse the cleaner off. Return the fan
guard to the closed position. Rotate the two screws to
secure the fan guard.
PREVENTIVE MAINTENANCE
The best preventive maintenance measures are the
proper initial installation of the equipment and a
program for cleaning the appliance routinely. The Oven/
Steamer requires no lubrication. Contact the factory, the
factory representative or a local Blodgett Combi service
company to perform maintenance and repairs should they
be required.
Deliming - BCM Only
The control keeps track of boiler usage between descal-
ing. When the oven has reached 95% of the time the con-
trol warns the operator that the oven needs to be delimed.
This is a warning only, the oven can be used all day
before deliming.
Deliming the Oven
1. Be sure the container delivering the deliming agent
to the appliance is full. Be sure to use a non-diluted
deliming agent.
VENDOR PRODUCT NAME
Ecolab Keystone Lime-a-way
scale remover
Calibre
Parkside Pro Products Vestec 691
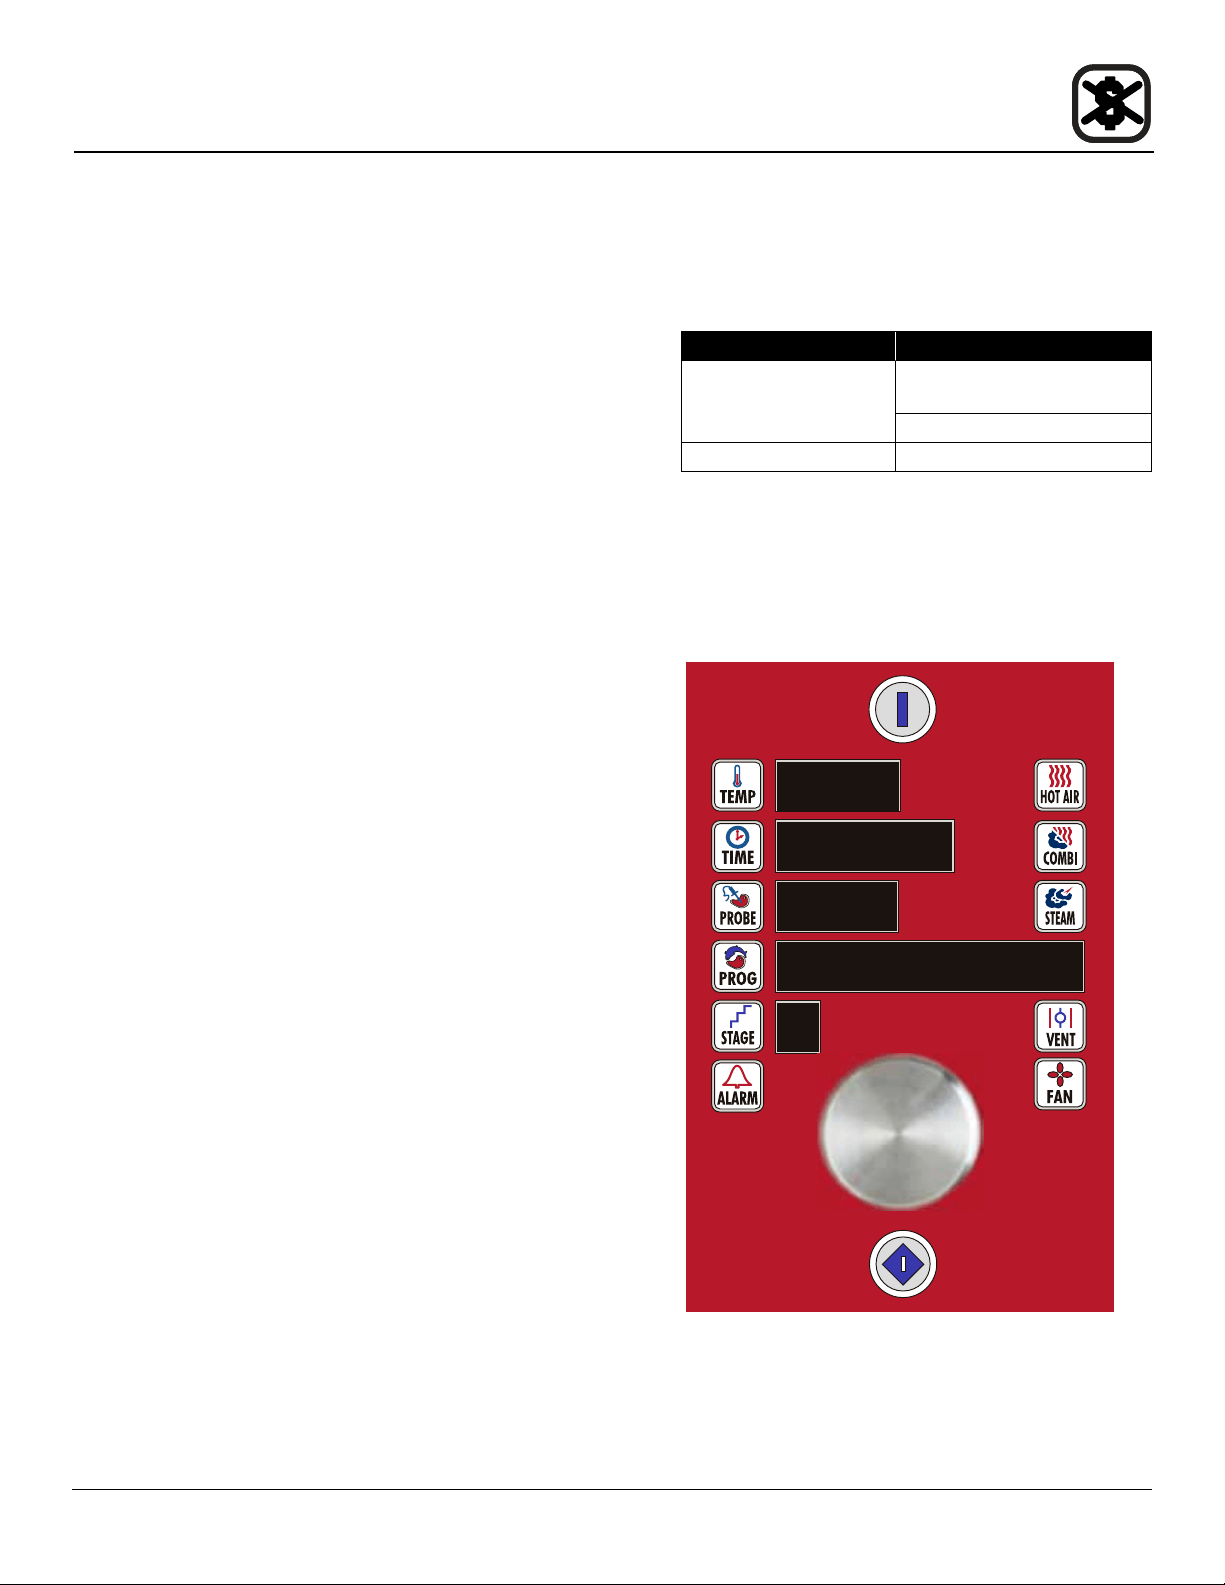
2. Press the PROGRAM key. Turn the dial until DELIM-
ING is displayed.
3. Press the START/STOP key.
4. The remainder of the process is automatic. The con-
trol displays the deliming steps as they occur.
DELIME
Figure 10
5. The oven can be delimed at any time. Simply turn the
dial to the program DELIMING and press the Start/
Stop key.
Cleaning & Preventative Maintenance