Loading ...
Loading ...
Loading ...
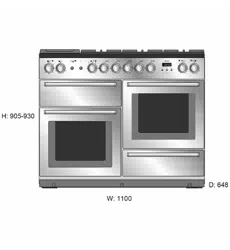
17
Fig. 2.21
1
2
Accessories
Glide-out Shelves
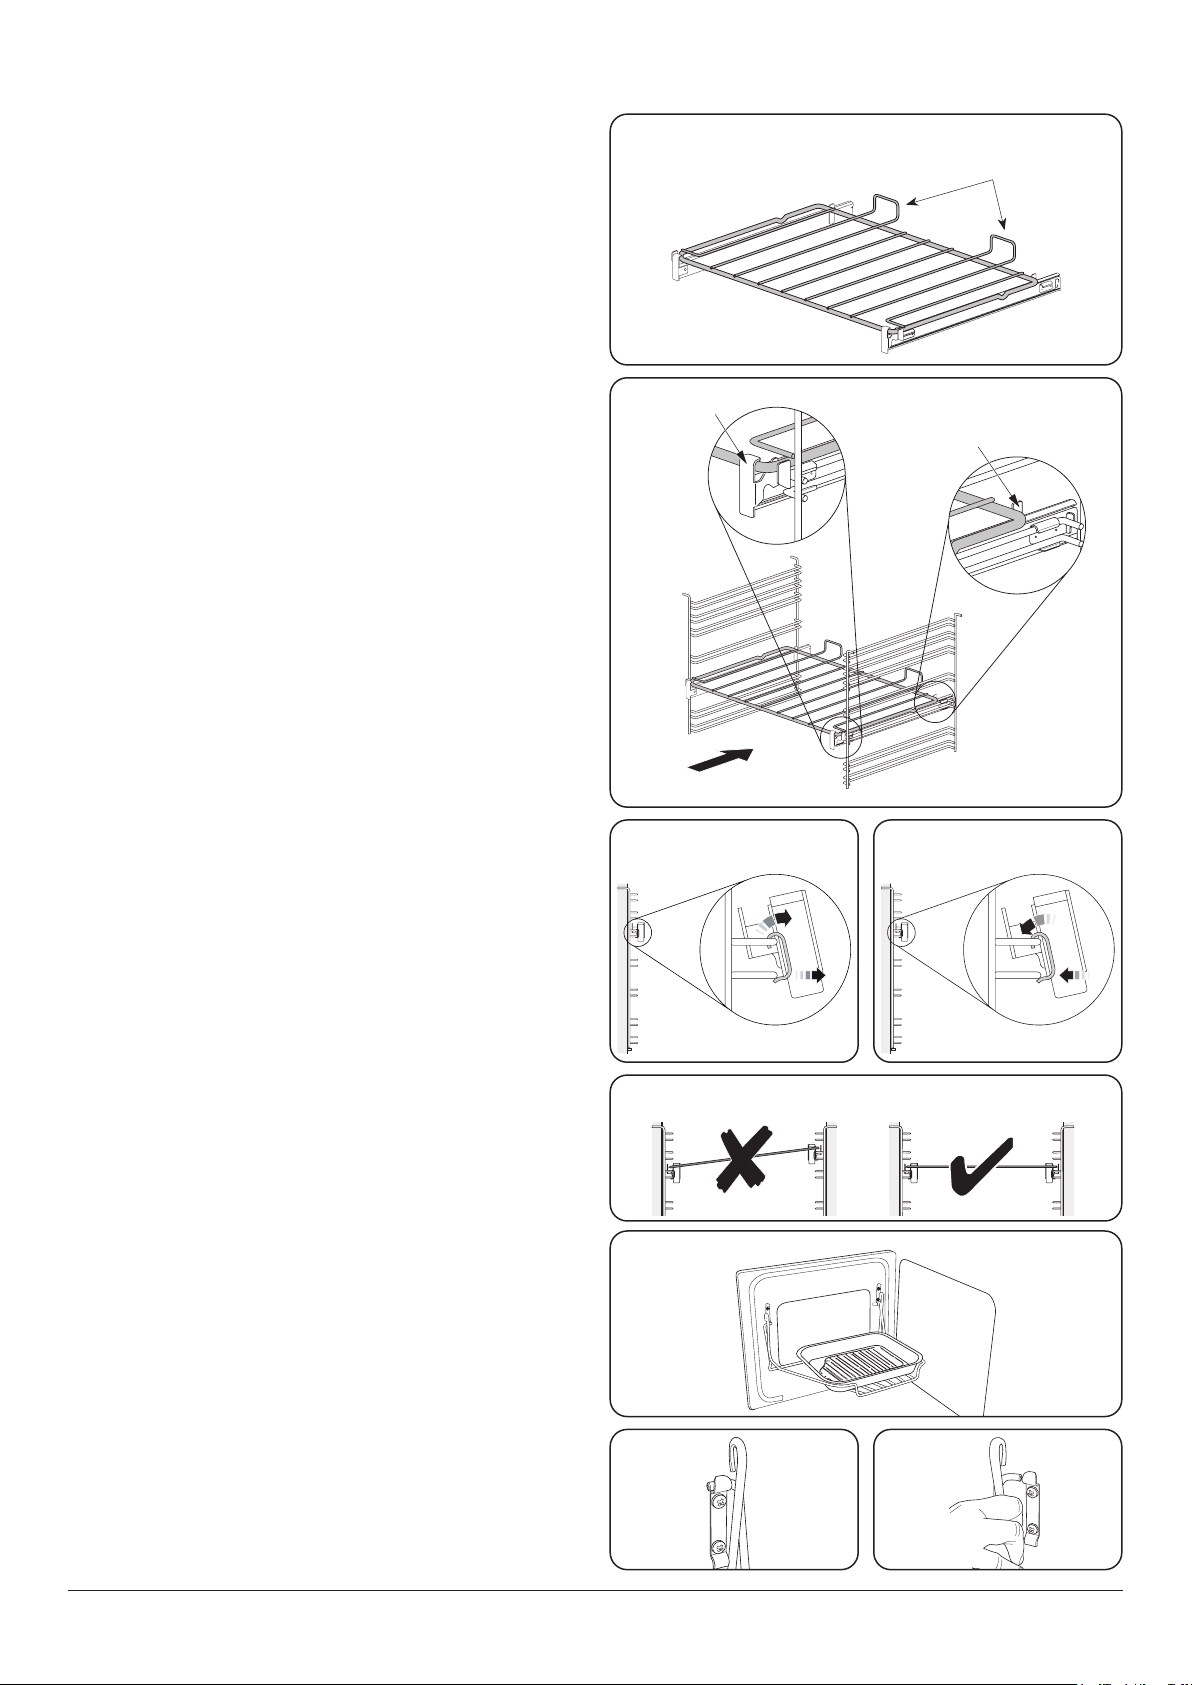
The oven shelves (Fig. 2.19) are retained when pulled
forward but can be easily removed and retted.
Both ovens are supplied with glide-out oven shelves.
To t the glide-out shelves, hook the front of the shelf onto
the runners as shown (Fig. 2.20). The rear of the shelf should
rest on the runners, in front of the rear stop (Fig. 2.20).
The glide-out shelves and runners can be easily removed or
repositioned.
To remove the glide-out shelves
Raise the rear of the shelf, so that it clears the rear stops. Then
unhook from the front locating bracket.
To remove the glide-out runners
Twist to unclip the base of the runners from the shelf
supports. Then unhook the runner from the top rung of the
shelf support and remove (Fig. 2.21).
To refit the glide-out runners
Hook the rear of the runner over the top rung of a pair of shelf
supports. Then hook the front of the runner onto the same
rung. Push to clip under the bottom rung (Fig. 2.22).
Ensure that the shelf runners are tted in the same position
on each side (Fig. 2.23).
The front of the shelf runners can be identied by the bracket
(Fig. 2.20).
n
DO NOT put the glide-out shelf runners in a
dishwasher.
The Handyrack (Optional extra)
The Handyrack (Fig. 2.24) ts to the left-hand oven door
only. Food cooking on it is easy to attend to, because it is
accessible when the door is open.
The maximum weight that can be held by the Handyrack
is 5.5 kg (12 lb). It should only be used with the supplied
roasting tin, which is designed to t the Handyrack. Any other
vessel could be unstable.
It can be tted at two dierent heights. One of the oven
shelves must be removed and the other positioned to suit.
When the Handyrack is used in its highest position, other
dishes can be cooked on the bottom shelf position or base of
the oven.
When the Handyrack is used in its lowest position, other
dishes can be cooked on the second shelf position or base of
the oven.
To t the Handyrack, locate one side of it on the door bracket
(Fig. 2.25).
Then spring the other side out to clip it onto the other
bracket (Fig. 2.26).
Fig. 2.19
Fig. 2.20
Fig. 2.22
Fig. 2.23
Fig. 2.24
Fig. 2.25 Fig. 2.26
FRONT
Rear stop
Front
bracket
2
1
ArtNo.320-0015
Fitting the Handyack 1
ArtNo.320-0014 Handyrack on LH door
ArtNo.320-0016
Fitting the handyrack 2
Shelf guard
Front
Loading ...
Loading ...
Loading ...