Loading ...
Operation
The unique flame effect may be enjoyed whether or not the heating
elements are in operation.
Controls
The heater controls are located behind the door of the heater.
Three switches provide a choice of heat settings. A switch is in the
ON position when the side with the markings on (i.e. I , I , or II ) is
pushed in.
Fig. 2
Switch 1 ( I ) Controls the electricity supply to the heater and
flame effect.
Note: This switch must be in the ON
( I ) position for heater to operate with or without
heat
.
Switch 2 ( I ) Provides 1kW heat output
Switch 3 ( II ) Provides 2kW output with switch 2
Maintenance
WARNING – BEFORE UNDERTAKING ANY MAINTENANCE
OR CLEANING REMOVE PLUG OR
DISCONNECT FROM THE ELECTRICITY
SUPPLY.
Lamp Replacement
The product complies with the Australian/New Zealand Safety Standards AS/NZ S 335.2.30:1997 and 2002 Part 1 also the European Standard ElectromagneticCompatibility (EMC)
EN 55 014-1:1993, EN 61000-3-2:1995, EN 61000-3-3:1995, EN 55 014-2:1997 which cover the essential requirements of EEC Directive 89/336/EEC.
Fig. 3
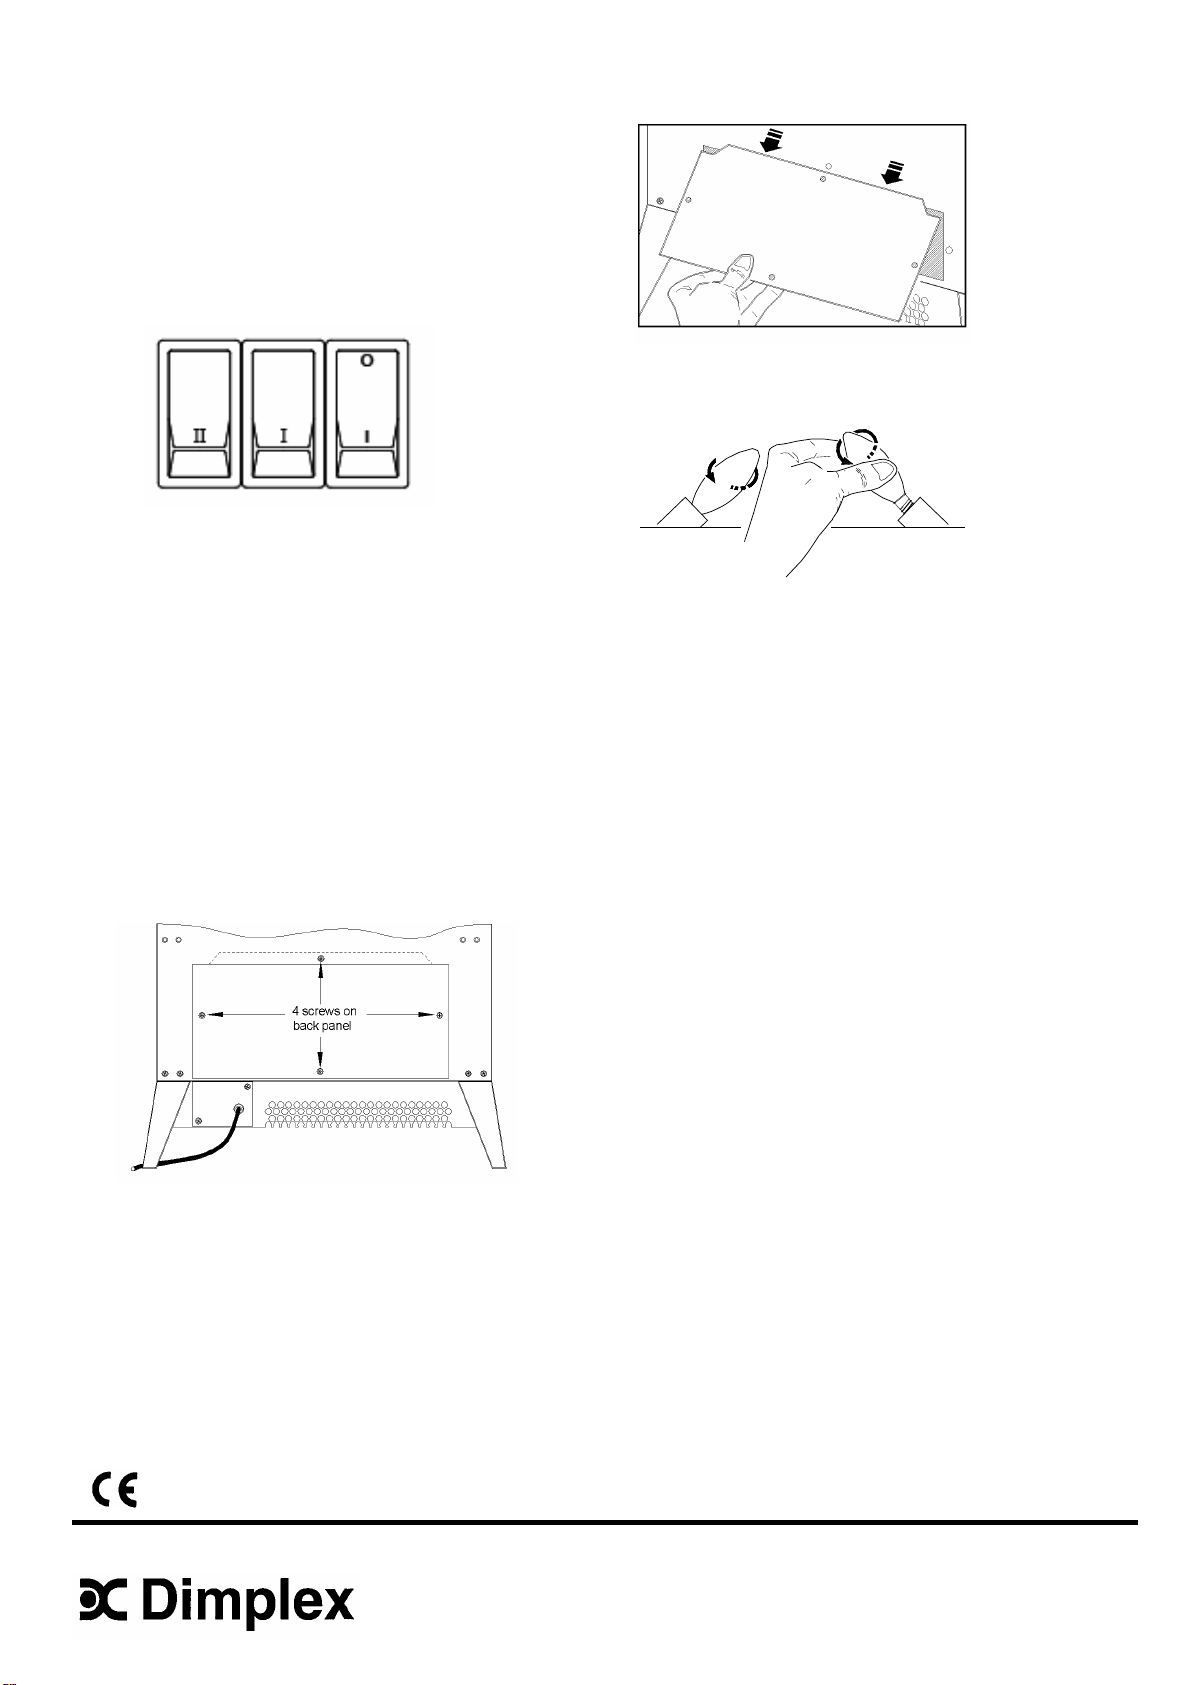
Two lamps are located behind the back panel as indicated in Fig.3.
Specification subject to change without prior notice.
Fig. 4
To gain access to the lamps, the four screws which secure the back
panel, must be removed. Remove and slide out panel as indicated
on Fig. 4
Fig. 5
Remove the defective lamp by unscrewing it as shown - see Fig. 5.
Replace with a 60W E14 SES Clear Candle lamp.
Take care not to over-tighten the lamp. Refit the back panel and
secure with the four screws.
Safety cut-out
An automatic cut-out will switch off the heater if for any reason it
overheats. This could occur for instance, if the air inlet or outlet were
restricted in any way. If the cut-out operates, the heater will switch
off. The heater will switch on once the obstruction has been
removed and the heater has cooled. If the cut-out continues to
operate intermittently, the heater should be switched off and
Customer Services contacted.
Cleaning
For general cleaning use a soft clean duster – never use abrasive
cleaners. The plastic viewing screen should be cleaned carefully
with a soft cloth. DO NOT use proprietary glass cleaners
.
After Sales Service
Please see the separate Warranty leaflet for details of your
Warrantee & after sales service including contact details.
Should you require after sales service, please get in touch with the
supplier through whom you purchased the appliance, or the contact
number on your Warranty leaflet.