Loading ...
Loading ...
Loading ...
. Keephandsawayfromthebladeandallmovingparts.
. Alwaysweareyeprotectionorfaceshield.
. Alwaysstopthebandsawbeforeremovingscrap
piecesfromtable.
o Neverattemptto sawstockthatdoesnothavea flat
surface,unlessa suitablesupportisused.
. Alwaysholdmaterialfirmlyandfeedit intotheblade
ata moderatespeed.
. Alwaysturnoffthemachineifthematerialisto be
backedoutofan uncompletedcut.
. Makesurethatthebladetensionandbladetracking
areproperlyadjusted.
. Make"relief"cutsbeforecuttinglongcurves.
. Releasebladetensionwhenthesawwillnotbe
usedfora longperiodoftime.
ON/OFF SWITCH
Refer to Figure 14.
WARNING: Before starting check if any part of your
band saw is missing, malfunctioning, has been dam-
aged or broken, such as the motor switch, or other
operation control, a safety device or the power cord,
turn the band saw off and unplug it until the particular
part is properly repaired or replaced.
The ON/OFF switch is located on the left front of the
saw column. To turn saw ON, pull the switch to the up
position. To turn saw OFF, push the switch to the down
position.
The saw can be locked from unauthorized use by lock-
ing the switch. To lock the switch:
. Turn the switch to OFF position and disconnect saw
from power source.
. Pull the key out. The switch cannot be turned on with
the key removed.
NOTE: Should the key be removed from the switch at
the ON position, the switch can be turned off but cannot
be turned on again.
. To replace key, slide key into the slot on switch until
it snaps.
Switch
\
Switch Key
Figure 14 - ON/OFF Switch
ADJUSTMENTS
The blade tracking, tension and blade guides have been
properly adjusted at the factory. However, the adjustments
may change while the saw is in transit.
It is recommended to verify these adjustments before
operating saw.
CHANGING AND ADJUSTING THE SAW
BLADE
This band saw is factory-equipped with a general-purpose
wood cutting blade; the saw blade is set prior to delivery.
To change the saw blade, the following procedure must
be followed:
WARNING: To avoid injury from unexpected starting,
whenever changing the saw blade or carrying out
adjustments, switch the band saw off and remove the
power cord from the main outlet. To avoid injury to
hands when handling the saw blade, wear gloves
whenever necessary.
. Remove the rip fence, the guide rail, the wing nut
and screw from the table.
° Open the upper and lower doors by turning the door
locking knobs.
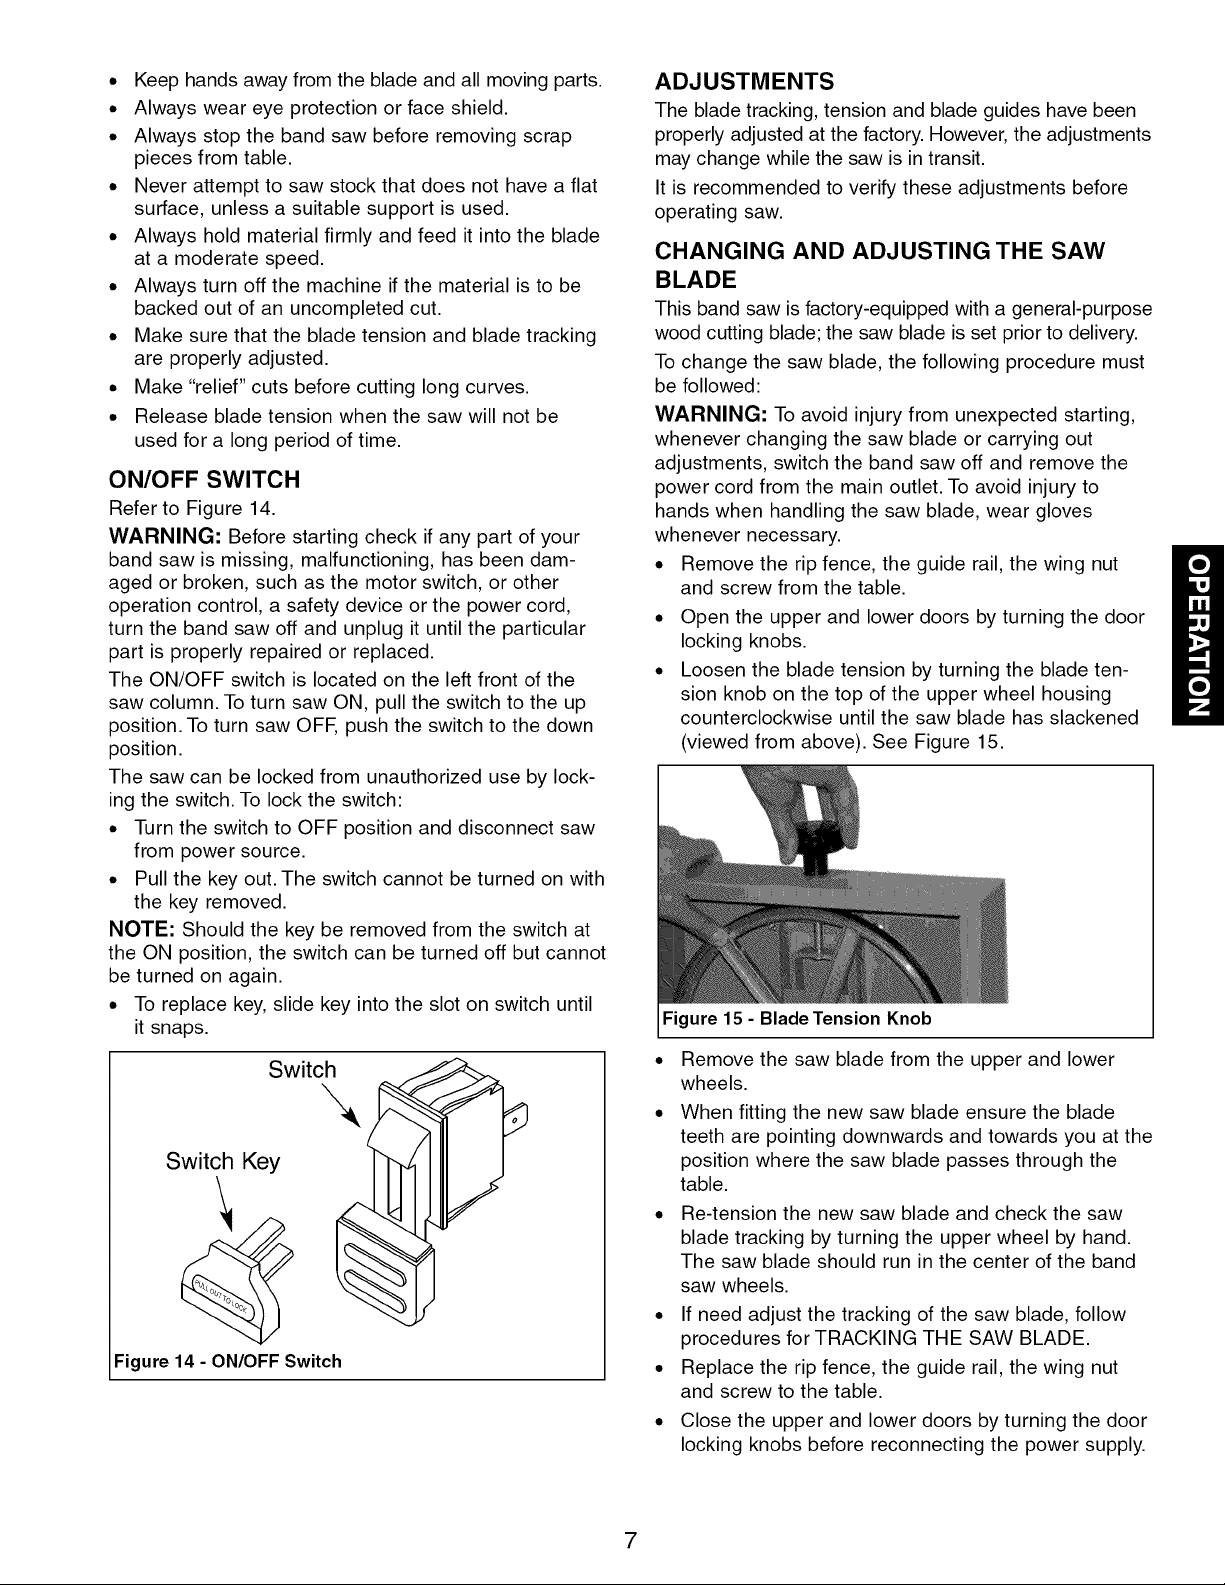
. Loosen the blade tension by turning the blade ten-
sion knob on the top of the upper wheel housing
counterclockwise until the saw blade has slackened
(viewed from above). See Figure 15.
Figure 15 - Blade Tension Knob
. Remove the saw blade from the upper and lower
wheels.
. When fitting the new saw blade ensure the blade
teeth are pointing downwards and towards you at the
position where the saw blade passes through the
table.
. Re-tension the new saw blade and check the saw
blade tracking by turning the upper wheel by hand.
The saw blade should run in the center of the band
saw wheels.
. If need adjust the tracking of the saw blade, follow
procedures for TRACKING THE SAW BLADE.
. Replace the rip fence, the guide rail, the wing nut
and screw to the table.
. Close the upper and lower doors by turning the door
locking knobs before reconnecting the power supply.
7
Loading ...
Loading ...
Loading ...